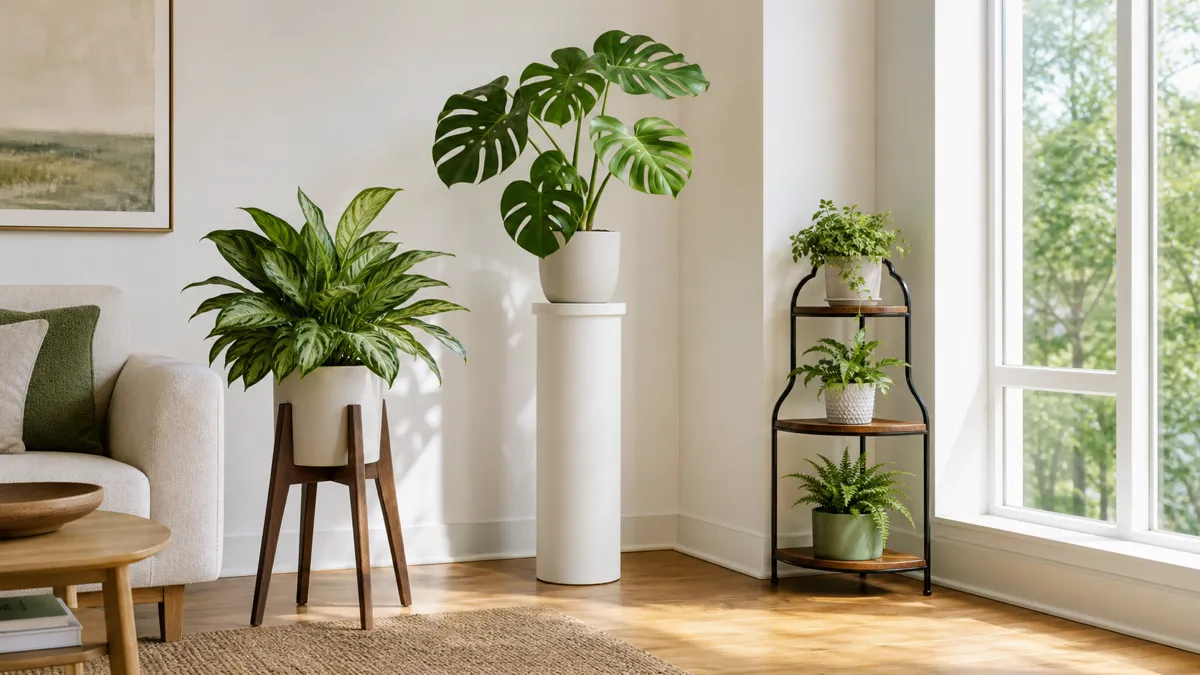
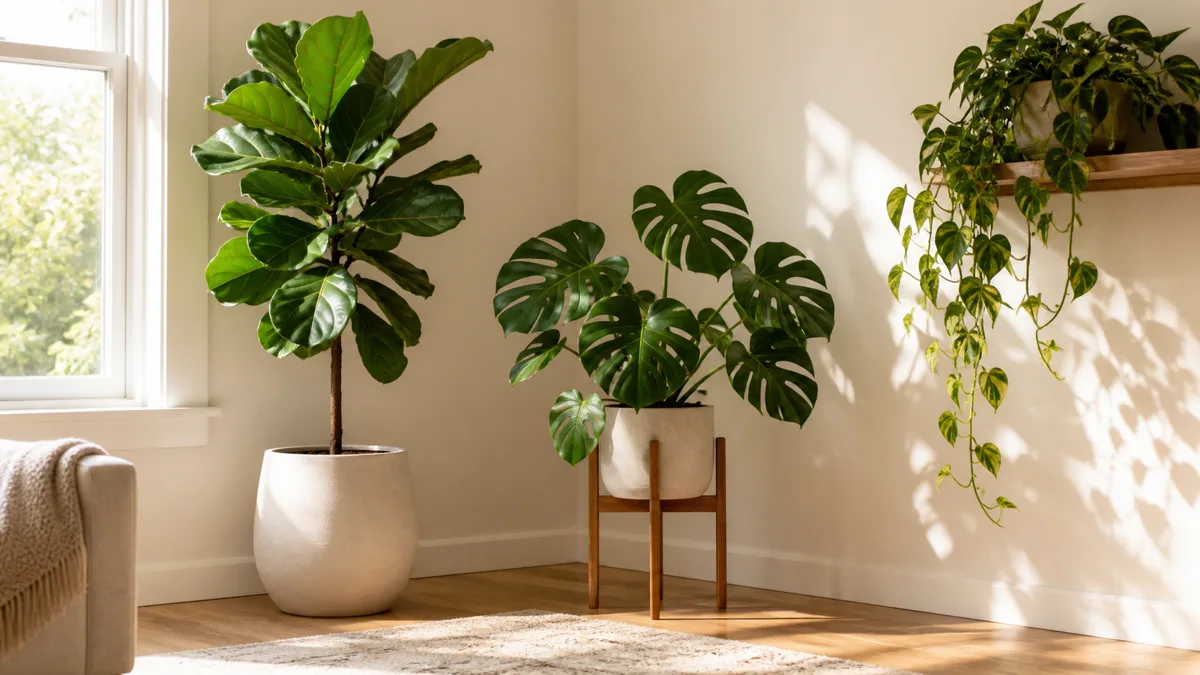
An indoor garden does not require a sunroom or a greenhouse extension. It requires one neglected corner, an honest light assessment, and a setup designed around how you actually live.
The 16 setups below range from a single floating shelf to a full vertical living wall. Each is a self-contained concept you can build in a weekend.
- 1Windowsill herb garden
- 2Tropical corner
- 3Vertical living wall
- 4Propagation station
- 5Self-watering garden
- 6Mounted display
- 7Reading nook garden
- 8Bathroom spa garden
- 9Under-cabinet kitchen garden
- 10Succulent desert garden
- 11Moss wall
- 12Staircase cascade
- 13Balcony-to-indoor transition
- 14Single-shelf ecosystem
- 15Low-light hallway garden
- 16Your first garden this weekend
The windowsill herb garden that actually produces
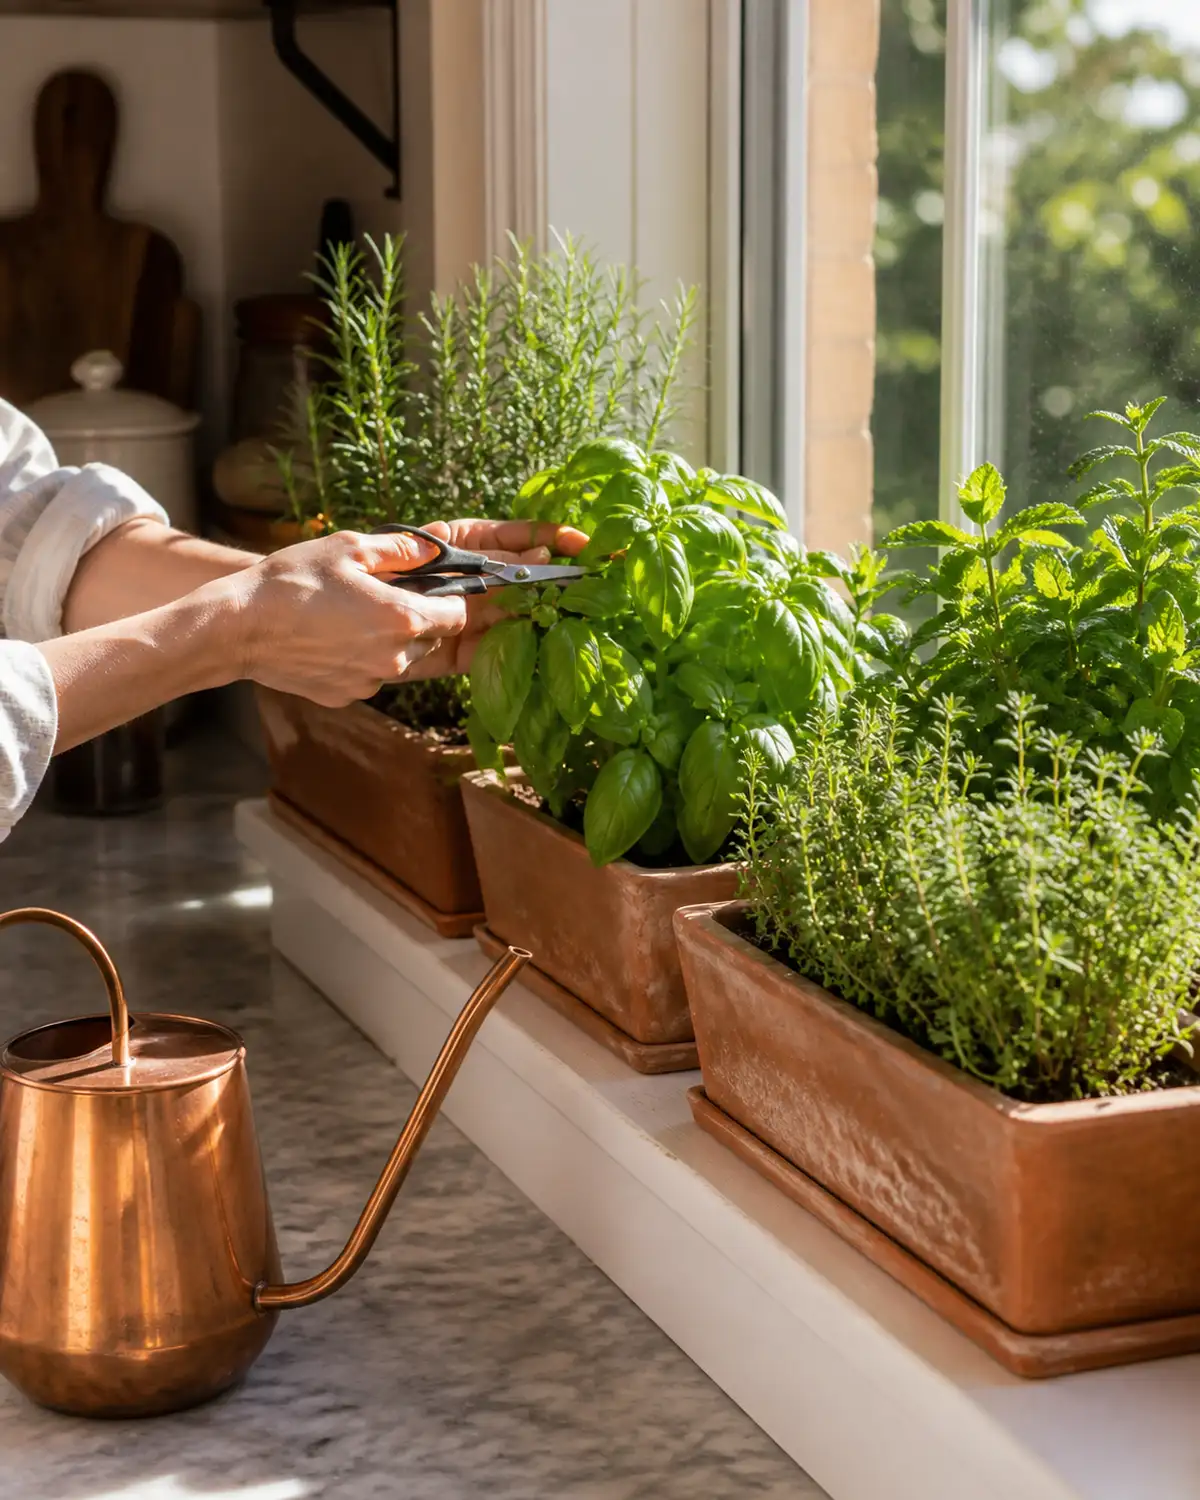
A windowsill herb garden is the most accessible indoor garden for beginners because the feedback loop is immediate: you plant, you snip, you eat. No waiting months to see whether your effort worked.
The non-negotiable requirement is light. Herbs are Mediterranean plants that need six or more hours of direct sun daily. A south-facing or west-facing windowsill delivers this naturally. North-facing windows do not — herbs grow leggy, flavorless, and thin without adequate direct light.
- Best starter herbs by light tolerance: basil (needs the most sun), rosemary (needs dry heat and full sun), thyme (tolerates slightly less), mint (the most shade-tolerant, grows aggressively), chives (moderate light, compact)
- Container choice: terracotta with saucers over sealed ceramic — drainage matters more than aesthetics for herbs
- The harvest technique that keeps production going: cut stems above a leaf node rather than pulling leaves individually, and the plant branches at that node, doubling its productive shoots
The most common failure with windowsill herbs is overwatering. These are Mediterranean plants that prefer soil drying slightly between waterings — the exact opposite of tropical houseplants that want consistent moisture. If your basil is wilting despite moist soil, the roots are drowning.
Compact varieties bred for containers outperform full-size garden varieties indoors. Look for 'Spicy Globe' basil, 'Blue Boy' rosemary, and creeping thyme. They stay proportioned on a sill where full-size plants quickly outgrow the space.
For north-facing kitchens, a small grow light positioned above the herbs makes container gardening viable where sunlight alone cannot. Even six hours of supplemental LED light transforms a dim kitchen sill into a producing herb station.
The tropical corner that feels like a different climate
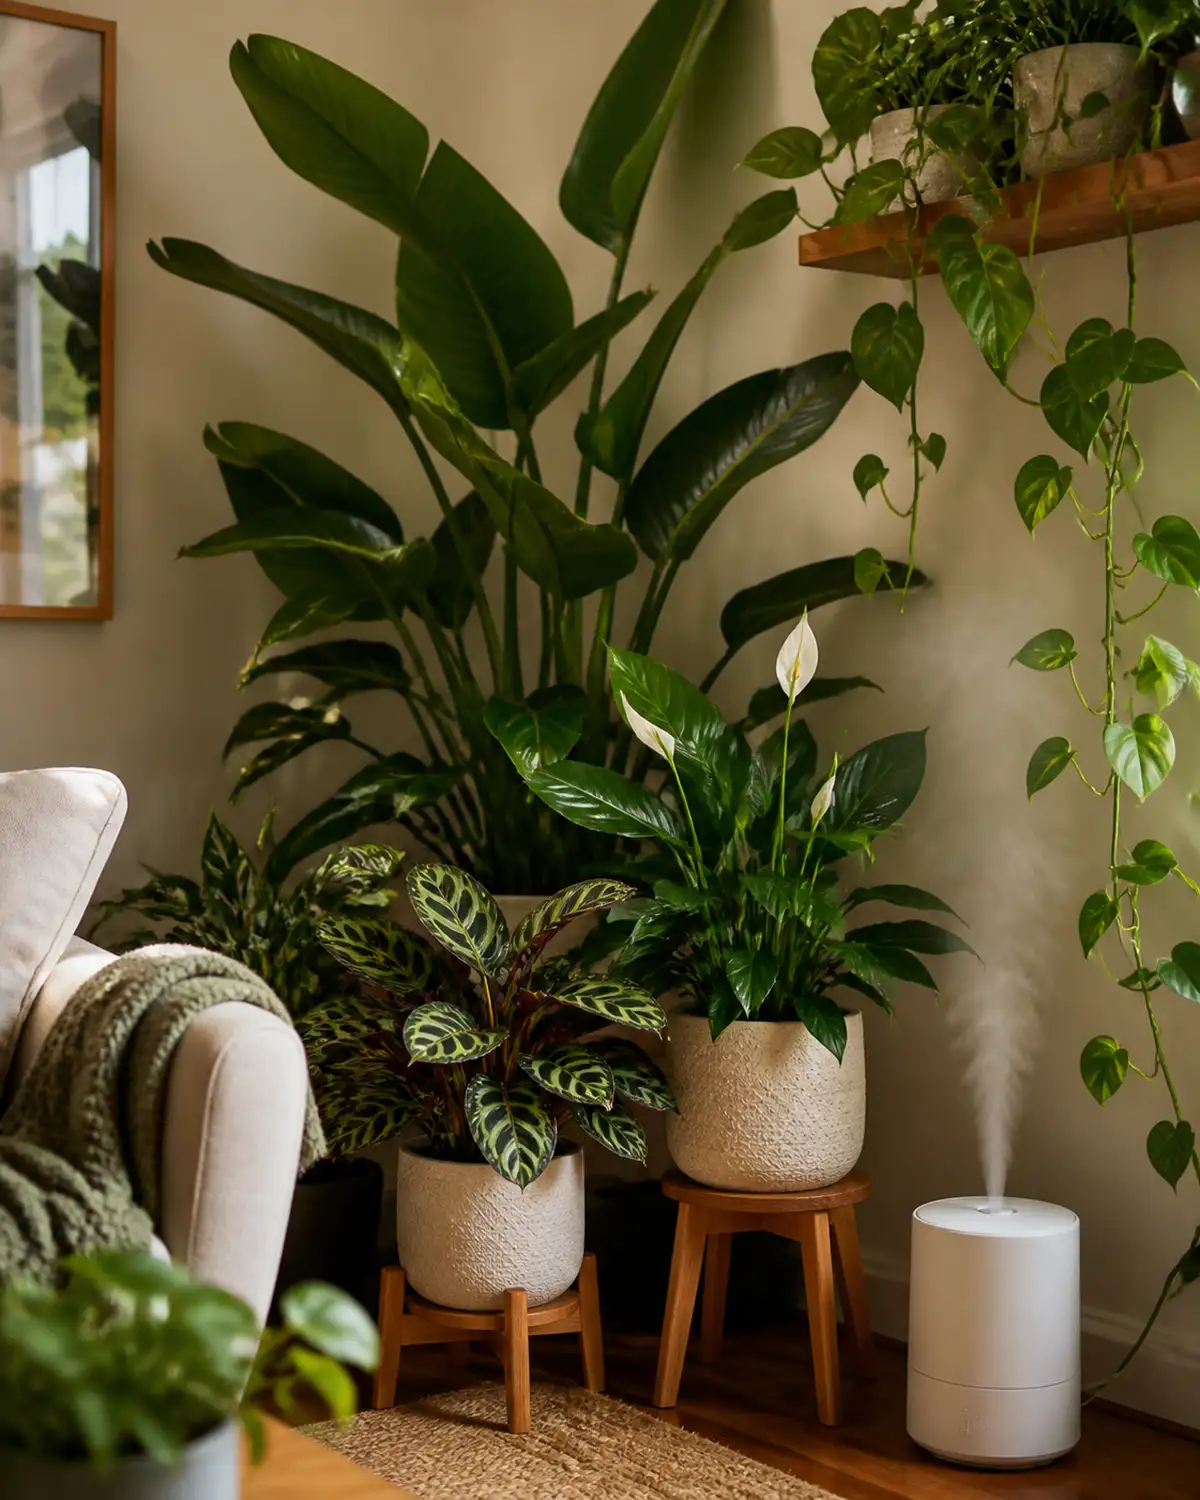
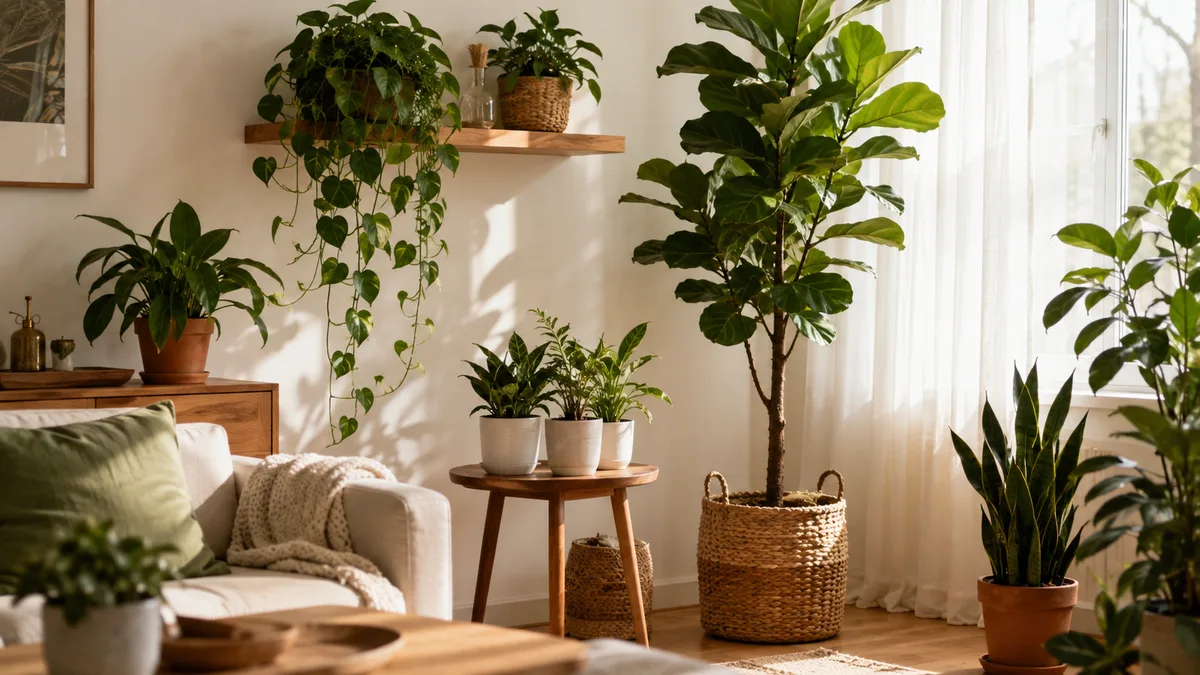
One corner of a room can run at 60 percent humidity while the rest of the room stays at 35 percent. A tropical corner exploits this by concentrating humidity-loving plants, a humidifier, and pebble trays into a tight cluster where they create their own microclimate.
The site matters. Choose the corner nearest a bathroom or kitchen where residual steam provides a humidity head start. Bright indirect light is essential — no tropical plant thrives in darkness, regardless of humidity.
Build the arrangement in three vertical layers:
- Upper canopy: one tall statement plant (bird of paradise, fiddle leaf fig, monstera) as the ceiling-level backdrop
- Mid-level mass: medium plants on stands (calathea, peace lily, Chinese evergreen) at eye height
- Trailing cascade: pothos or philodendron draped from a shelf above the arrangement
A single humidifier running on a timer transforms that corner into a 60-plus percent humidity zone while the rest of your living room stays comfortable for electronics and furniture. The plants amplify the effect through collective transpiration — five or more plants breathing in close proximity raise local humidity 10 to 15 percent above room ambient.
A large round mirror positioned behind the corner doubles the perceived depth and greenery without adding a single additional plant. The visual density reads as twice what it actually is.
The vertical living wall on a budget
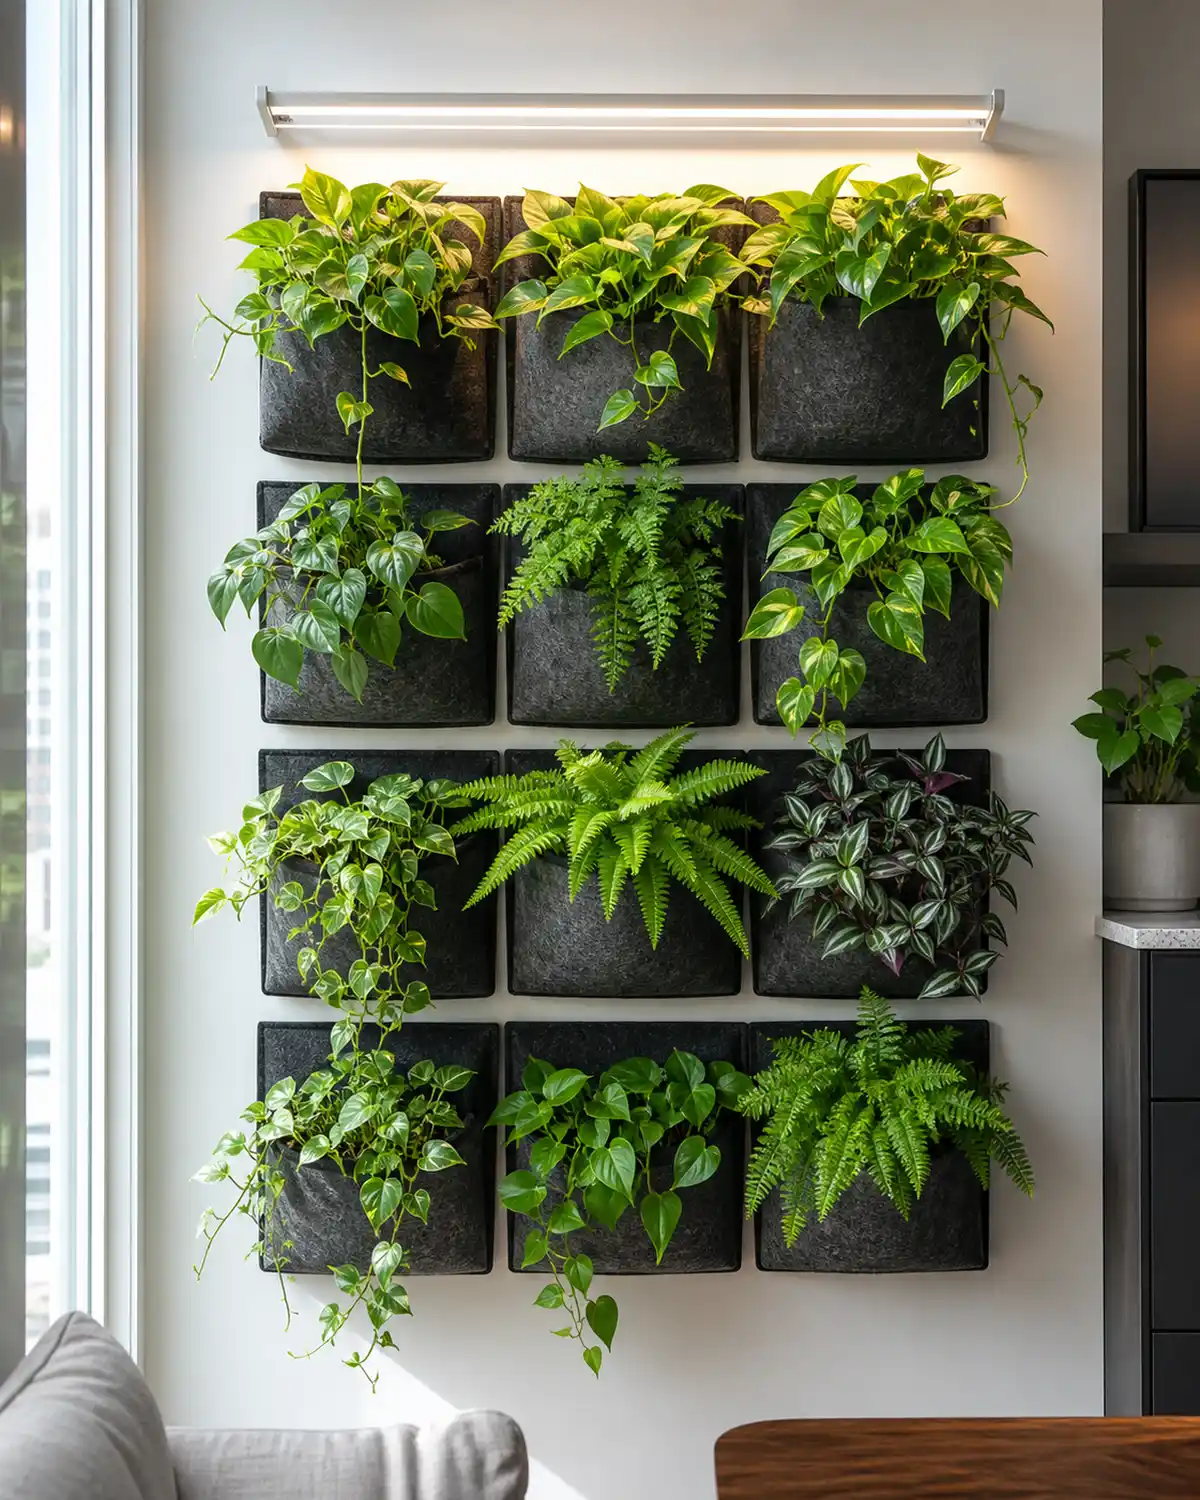
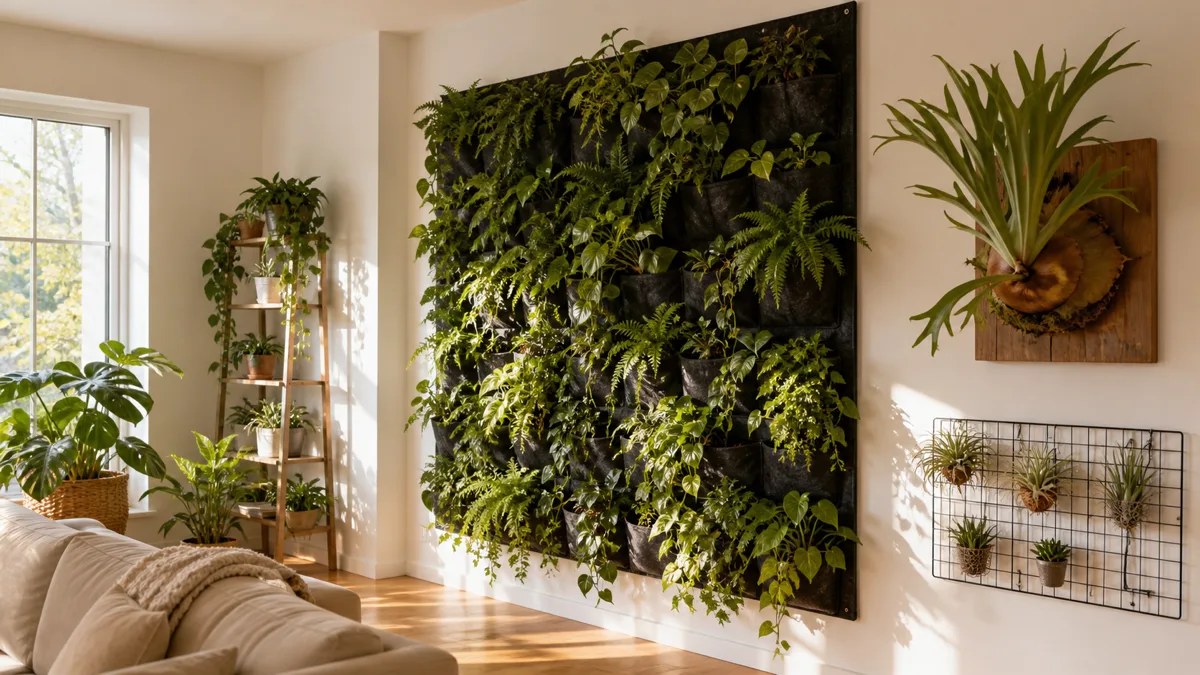
Professional living wall installations cost thousands. A DIY version using felt pocket planters costs under 150 dollars and achieves 80 percent of the visual impact.
The simplest system is a grid of wall-mounted felt or recycled plastic pocket planters screwed into studs. Self-watering pocket systems where you pour water at the top and gravity distributes it downward eliminate the problem of neglected upper rows.
Best plants for vertical pocket walls:
- Top row (dries fastest): pothos, tradescantia — drought-tolerant trailing species
- Middle rows: philodendron, peperomia — moderate moisture needs
- Bottom row (stays wettest): ferns, prayer plant — moisture-loving species that benefit from gravity-fed water
Light is the limiting factor for interior walls. A living wall near a window thrives on ambient light alone. A living wall on an interior wall needs dedicated grow lights — calculate one LED bar per two-foot section, running on a 12-hour timer.
Structural reality: a fully watered living wall weighs 15 to 25 pounds per square foot. Mount into studs, not drywall anchors alone. And start with a 3-by-3 grid of nine pockets rather than committing to an entire wall — learn the watering pattern and plant-survival dynamics at small scale before expanding.
Expect to replace two to three plants per year as individual pockets inevitably underperform. This is normal maintenance, not failure.
The propagation station as living decor
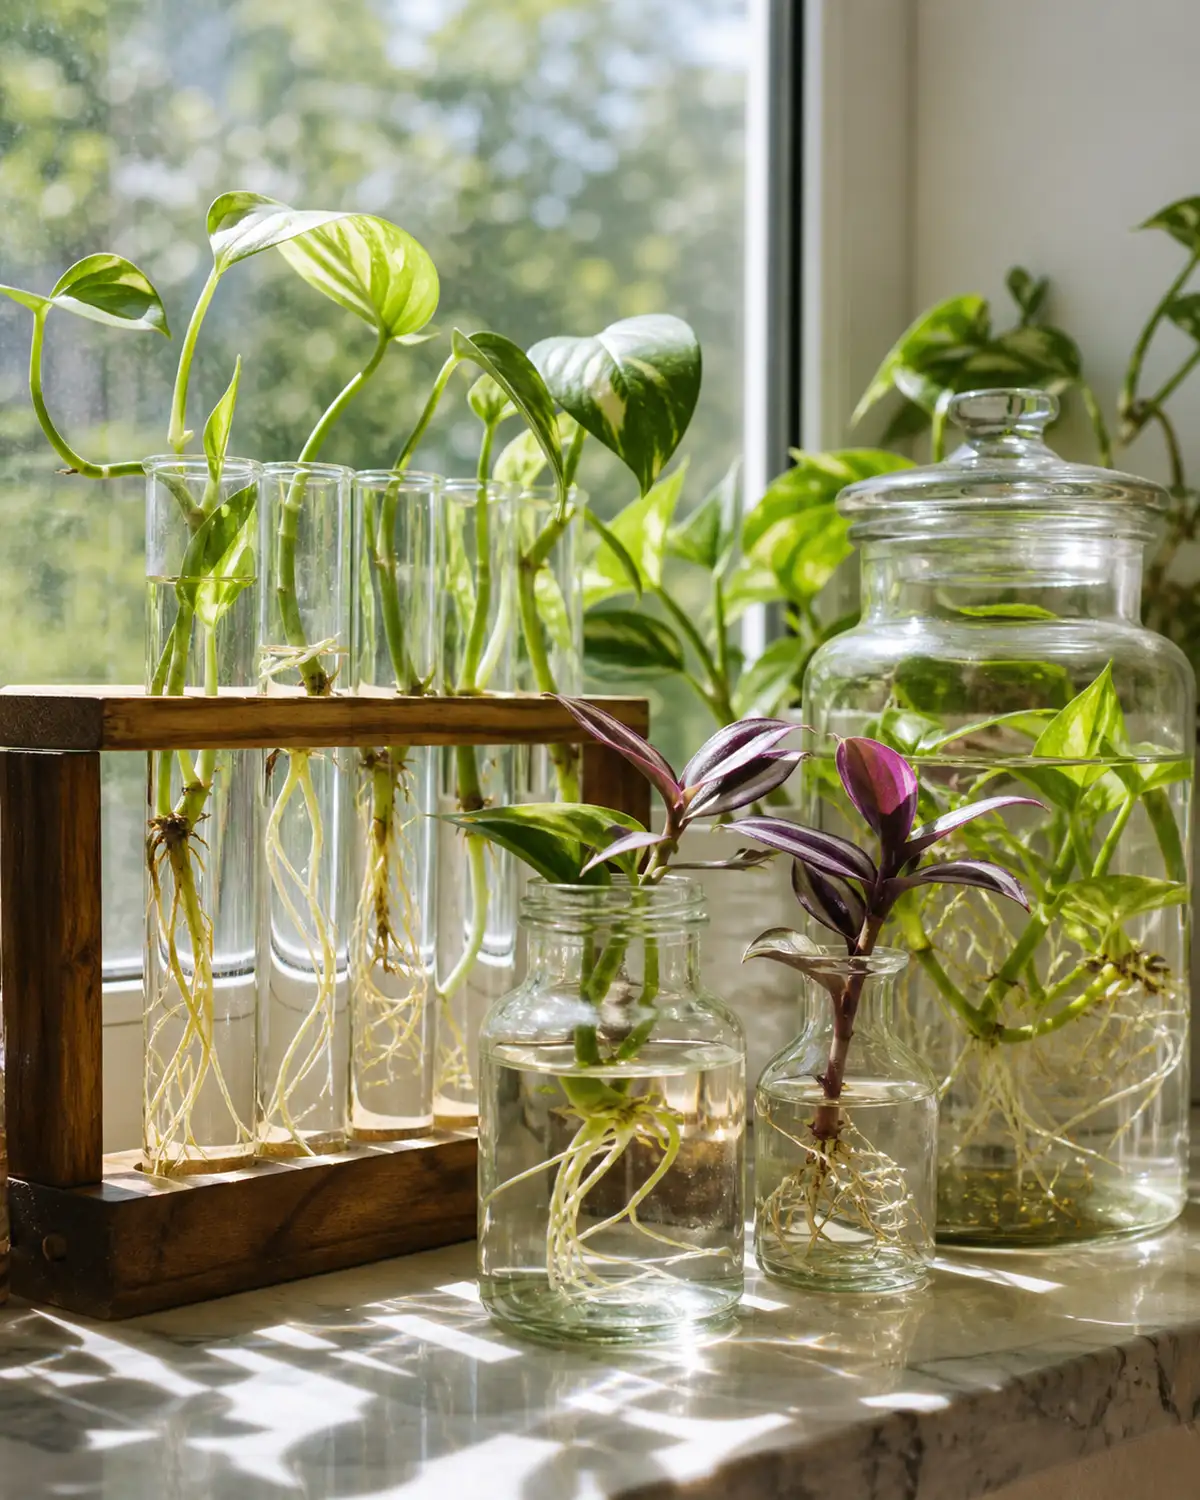
A propagation station turns the growing process itself into permanent display. Roots developing in clear water are visually striking — the glass vessels, the light refracting through water, and the slow emergence of white roots create a living installation that changes week by week.
The vessel collection makes the display: test tubes in wooden racks, vintage apothecary jars, wall-mounted propagation tubes, clear bud vases lined along a window. Consistency in glass style (all clear, or all amber) unifies the arrangement.
Plants that make excellent permanent water displays:
- Pothos cuttings — roots indefinitely in water without declining, the easiest permanent water plant
- Tradescantia — roots in 3 to 5 days, grows vigorously in water long-term
- Spider plant babies — compact and sculptural in small vessels
- Lucky bamboo — technically a dracaena, thrives permanently in water
Some cuttings graduate to soil once roots reach three to four inches. Monstera and philodendron perform better long-term in soil, so treat their water phase as temporary display before potting.
Water maintenance is minimal: change completely weekly, or add a tiny piece of activated charcoal to prevent algae and bacterial growth. Positioned on a windowsill, the propagation station doubles as light-filtering decor while generating new plants you can distribute throughout your other indoor gardens.
The self-watering planter garden for frequent travelers
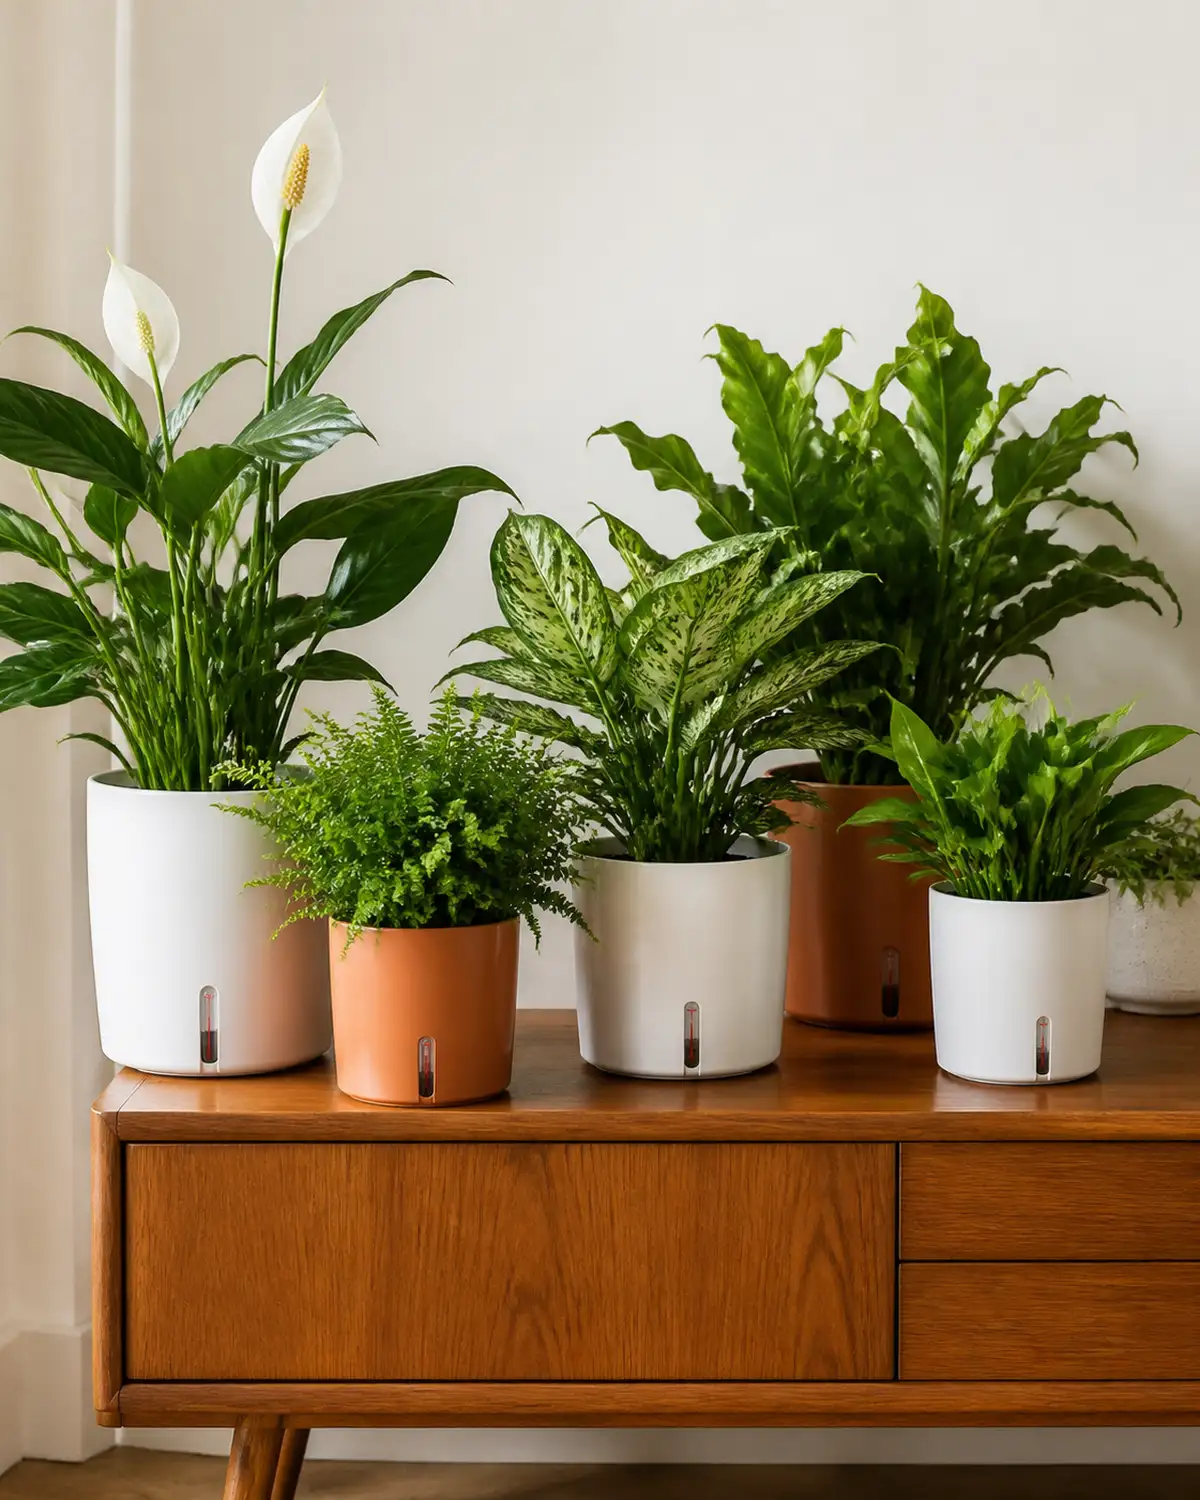
Building an indoor garden that survives two to three weeks without intervention is not about choosing unkillable plants. It is about choosing the right delivery system.
Self-watering planters use a reservoir below the soil that wicks moisture upward through capillary action. The plant draws exactly what it needs, when it needs it. The reservoir lasts one to three weeks depending on plant size and ambient temperature.
Systems ranked by reliability:
- Lechuza planters — premium, expensive, excellent reservoir design
- DIY cotton-rope wicking — thread a cotton rope through the drainage hole into a water container below the pot, costs under five dollars
- Commercial wick pots — mid-range price, good performance
Plants that thrive in self-watering systems: peace lily, ferns, calathea, Chinese evergreen — anything that prefers consistent moisture. Plants that do NOT suit self-watering setups: succulents, cacti, snake plants — they need dry periods between waterings, and constant wicking causes rot.
The grouped arrangement works best visually: five to seven self-watering planters of varying heights on a console table or dedicated plant shelf. One watering routine fills all reservoirs simultaneously, the plants draw moisture independently, and you leave for two weeks without asking anyone to water.
The mounted plant display that uses zero floor space
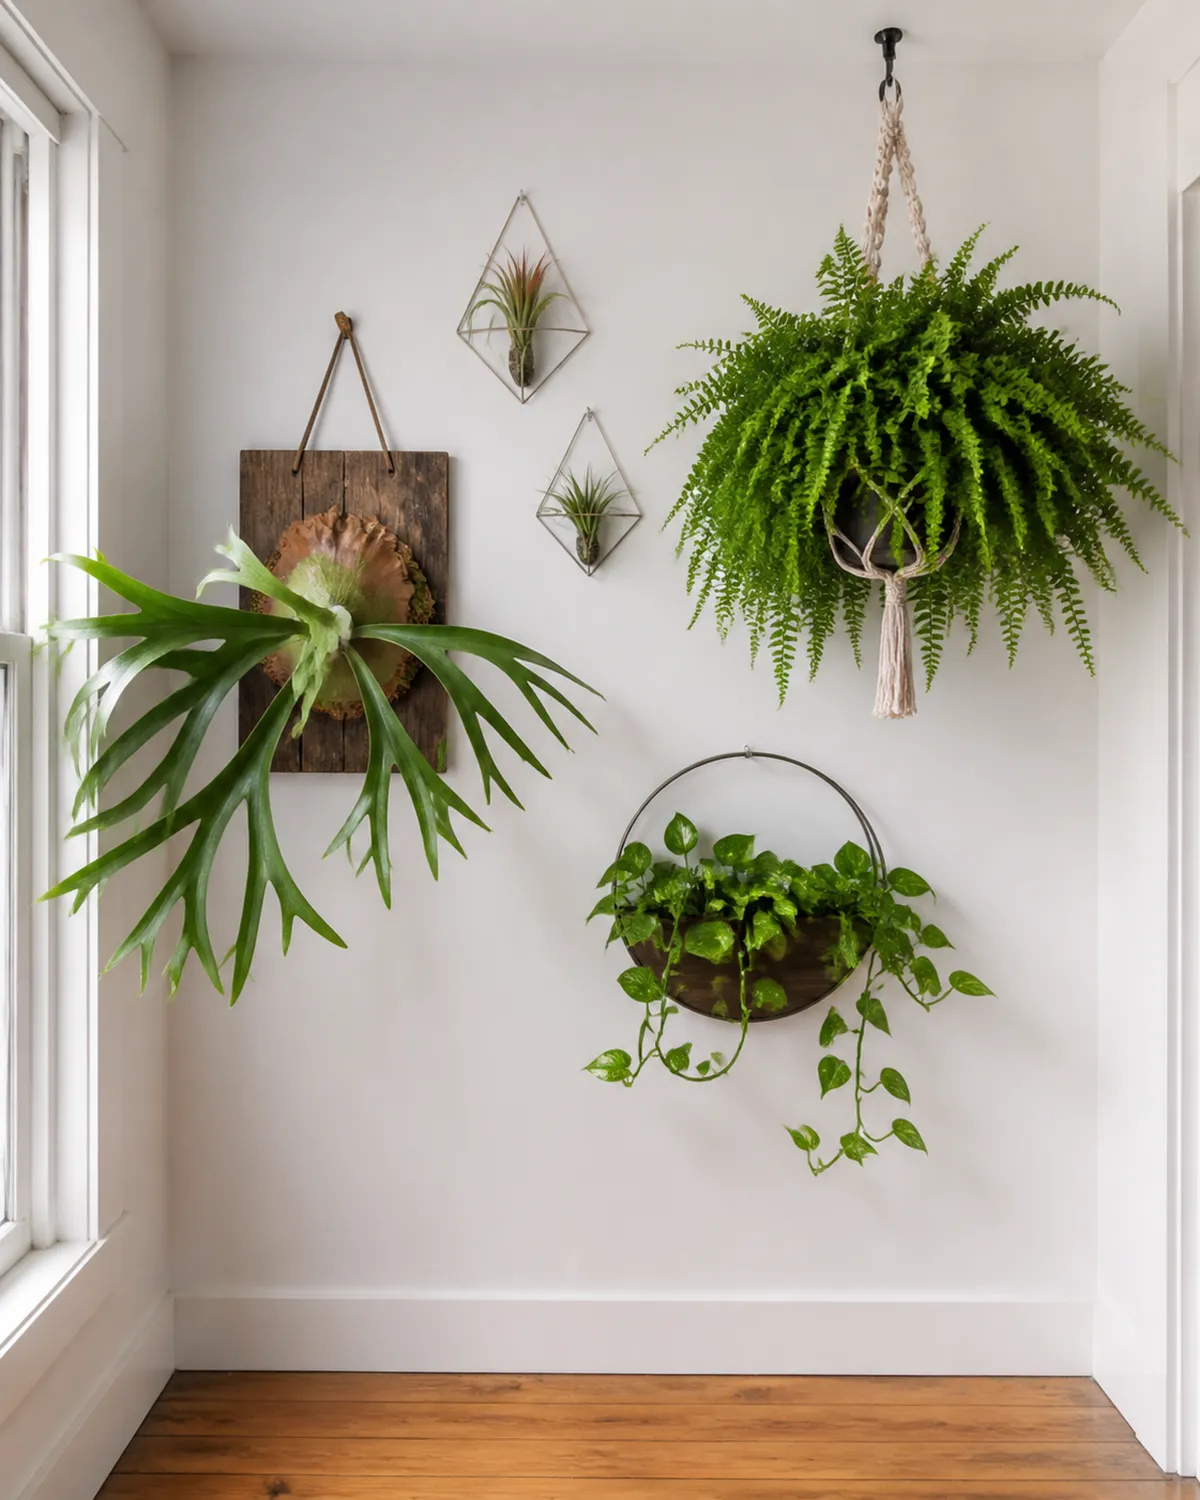
In apartments where every square foot of floor matters, the walls and ceiling become your garden surface. Mounted plants eliminate pot footprints entirely while creating a three-dimensional living display.
The mounted repertoire:
- Staghorn ferns on wooden boards — soak the entire board weekly in the sink, the moss-wrapped root ball stays moist between soakings
- Air plants (tillandsia) on driftwood or geometric wire holders — mist two to three times weekly or soak for 20 minutes weekly
- Orchids on bark slabs — replicates their natural epiphytic habitat
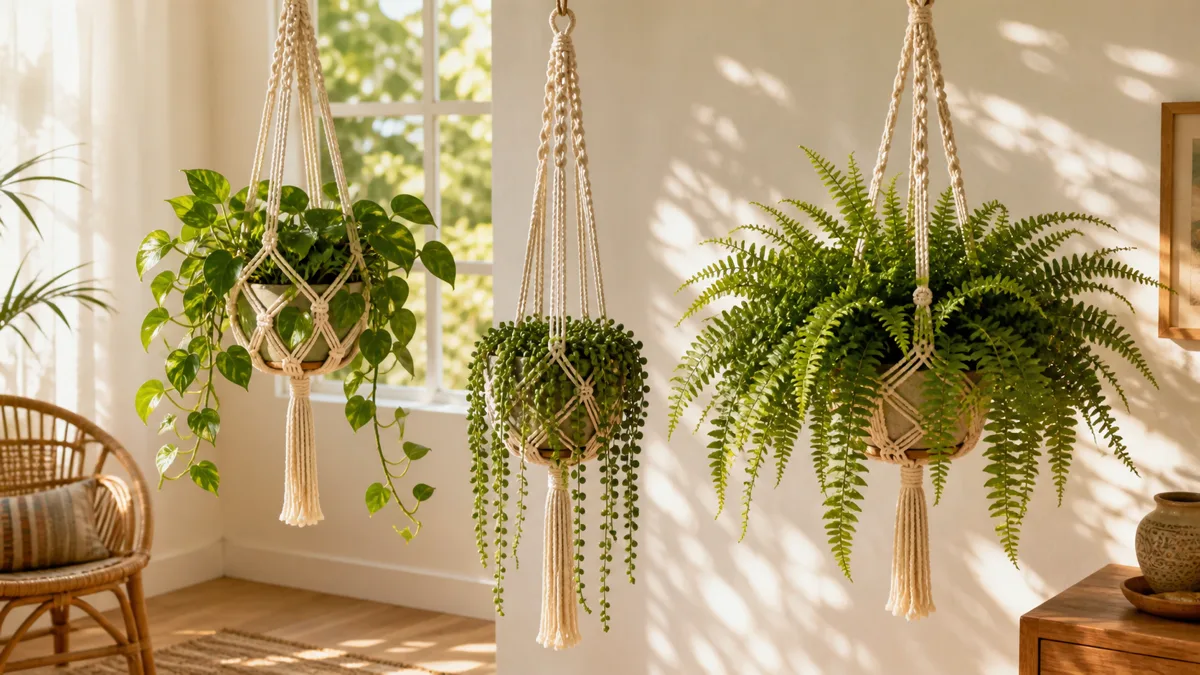
- Boston fern in macrame or modern hangers — the classic ceiling-mounted display
- Trailing plants in wall-mounted semicircular planters — pothos, string of pearls
The arrangement principle is height variation. Mount some pieces at eye level, some above head height, and let trailing species hang from the highest points. The result reads as a floating forest rather than a flat gallery wall.
Weight matters. A mature staghorn fern with wet moss weighs 10 to 15 pounds. Mount into studs with appropriate hardware — toggle bolts for drywall support lighter air plants and small vessels, but staghorns and large hanging baskets need screws anchored in framing.
The reading nook garden that frames a chair
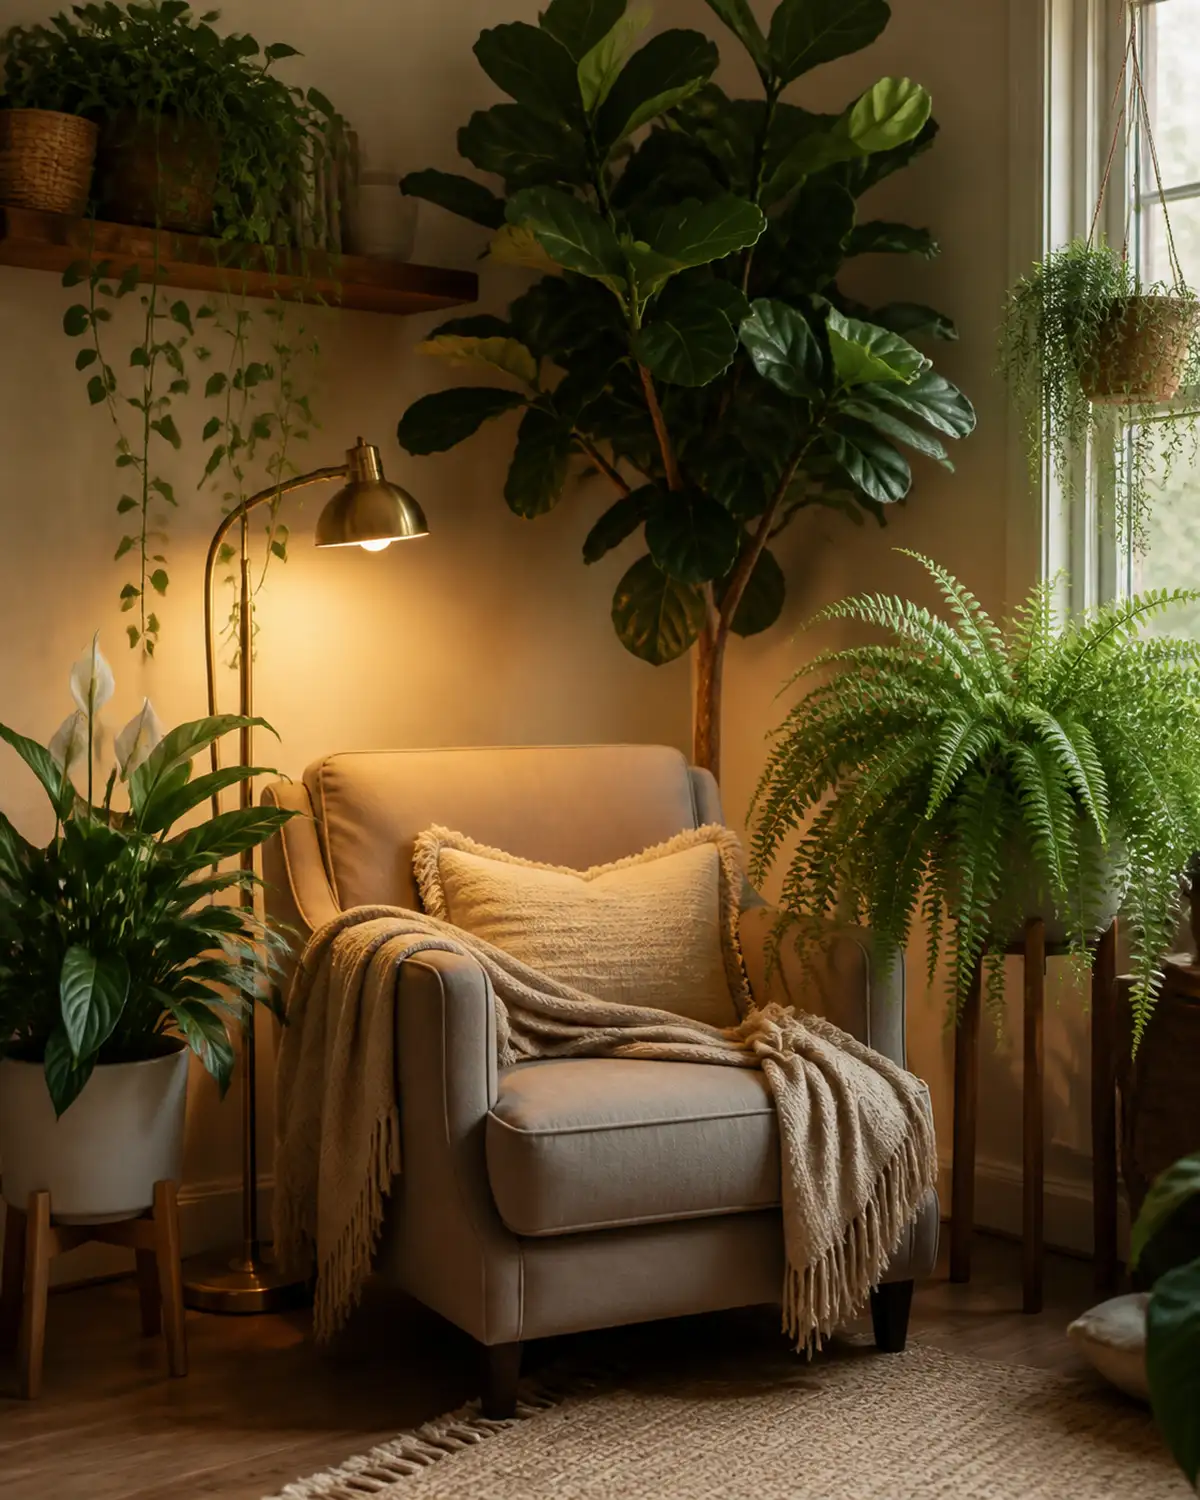
A reading nook garden uses plants to create enclosure around a single seating spot — a living alcove that feels separated from the rest of the room without walls.
The setup: position one comfortable chair, then build greenery around three sides of it.
- Behind: a tall floor plant — fiddle leaf fig, monstera, or bird of paradise — as the backdrop canopy
- Flanking sides: medium plants on stands at seated eye-level creating lateral enclosure without claustrophobia
- Above: one trailing plant on a shelf at reading-lamp height, draping fronds into peripheral vision
The lighting challenge is real: reading nooks in corners often need both a task lamp for you and a grow light for the plants. Position a grow light as the overhead element and the reading lamp at side-table level.
Adding a small tabletop fountain among the plants introduces white noise and raises local humidity simultaneously. The combination of green enclosure plus water sound creates measurable stress reduction.
Unify the arrangement by matching all pots in one material family. All terracotta, or all matte white, or all woven baskets. The consistency makes the collection read as one intentional composition rather than a random accumulation.
The bathroom spa garden that thrives on steam
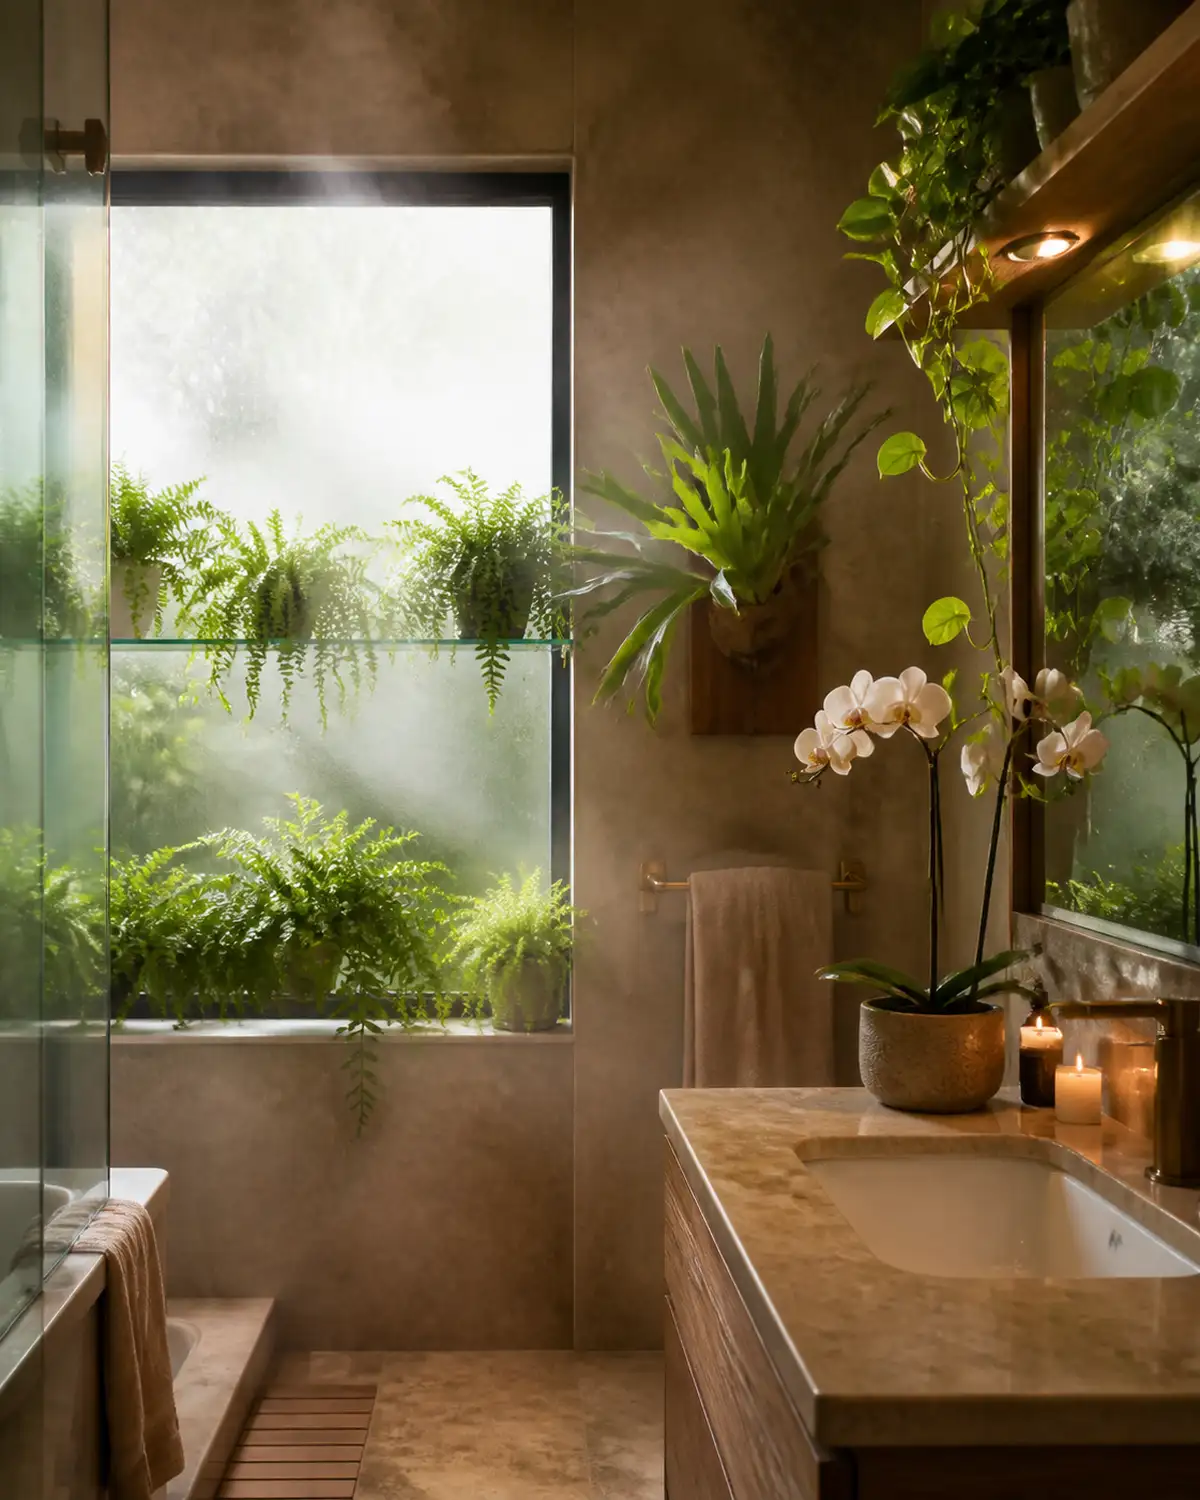
Bathrooms provide what tropical plants crave without any equipment: 60 to 80 percent humidity from daily showers, consistent warmth, and a naturally spa-like atmosphere that plants amplify.
The challenge is usually light, not moisture. Most bathrooms have small or frosted windows. Choose plants accordingly:
- Windowless or low-light bathrooms: ZZ plant, pothos, snake plant, peace lily — they survive on ambient light and the occasional hour of fluorescent exposure
- Bathrooms with a window: ferns of all types, orchids, calathea, bromeliads, tillandsia — these capitalize on both the light and the humidity
Arrangement ideas that use bathroom architecture:
- Trailing pothos from a high shelf catching steam as it rises
- Ferns on the back of the toilet tank (stable, out of the way, humid zone)
- An orchid on the vanity beside the mirror
- A mounted staghorn fern above the towel rack
- Hanging air plants from the shower caddy
Glass shelves across a bathroom window let light through while holding small plants — the shelves do not block the light source the way a solid surface would.
Ensure air circulation despite the humidity. A vent fan that runs 15 minutes after every shower protects both the bathroom and the plants from stagnant conditions that breed mold on soil surfaces and leaf undersides.
The under-cabinet kitchen garden with grow lights
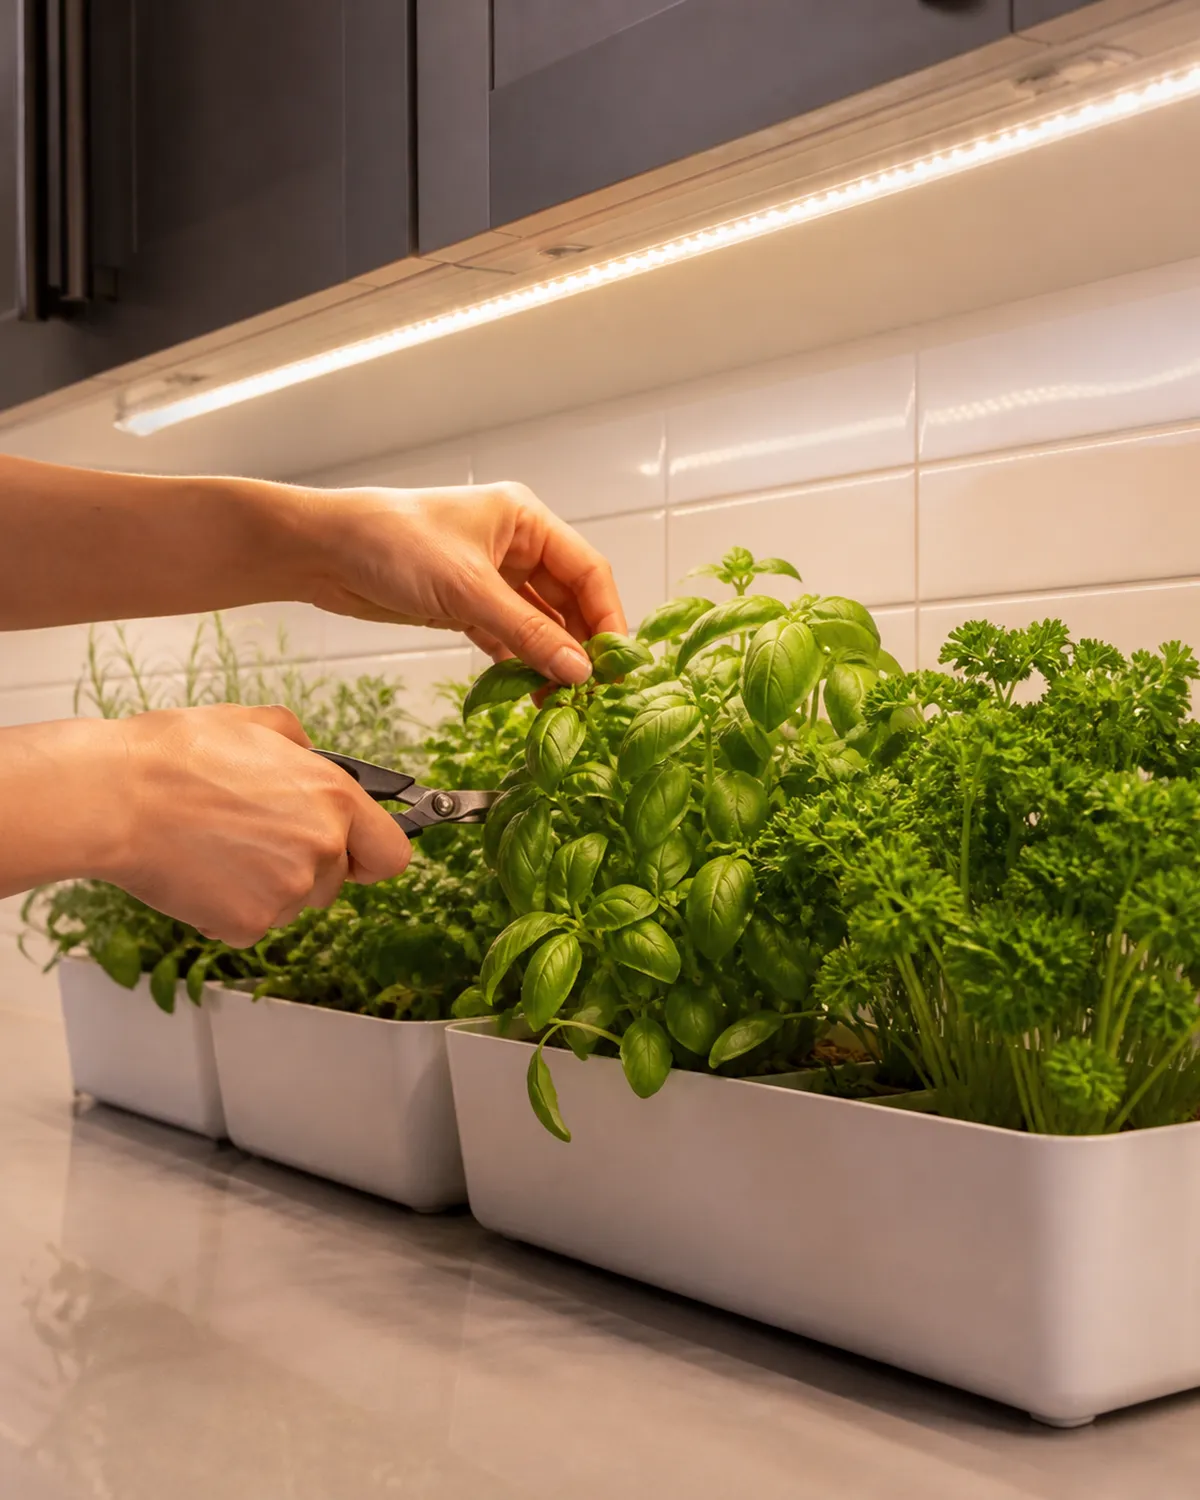
The space between upper cabinets and countertop is dead zone in most kitchens — too dim for plants, too shallow for storage. LED strip grow lights mounted to the cabinet underside reclaim it as a productive growing area.
The setup is straightforward: peel-and-stick full-spectrum LED strips in the 3500 to 5000K range, positioned six to twelve inches above plant tops, running on a timer set for 14 to 16 hours daily. Herbs need long days to produce essential oils that create flavor.
Best under-cabinet candidates:
- Compact herbs — basil, parsley, cilantro, mint (snip directly into cooking)
- Microgreens on shallow trays — harvest in 7 to 14 days, replant immediately
- Ornamental compact plants — small pilea or peperomia for visual interest between herb pots
Use uniform rectangular planters that match the counter depth precisely. Drip trays protect the countertop surface. The result is both functional (fresh kitchen herbs arm's reach from the stove) and decorative (a living green band between cabinets and counter).
The rotation system extends production indefinitely: when one batch of herbs bolts or thins, replace with pre-started seedlings from your propagation station. Continuous cycling rather than one-and-done planting keeps the under-cabinet garden permanently productive.
Worth Knowing
Four indoor garden mistakes that kill the vision
- 1Scattering single plants everywhereOne lush corner makes ten times the visual impact of ten lonely pots on ten different surfaces. Clustering creates the garden effect — isolation creates a decor afterthought.
- 2Choosing plants by appearance aloneThat gorgeous calathea dies in your dark corner regardless of how perfect it looks in the nursery. Match species to your actual light level, then find beauty within that range.
- 3Overwatering because the surface looks dryThe top layer dries fast while roots sit in soggy soil below. Check an inch down before every watering — more indoor gardens die from drowning than drought.
- 4Mixing incompatible species in one planterSucculents and ferns have opposite water needs. Grouping them forces you to overwater one or underwater the other — a guaranteed casualty within weeks.
KULTIVY.COM
The succulent desert garden on a sunny ledge
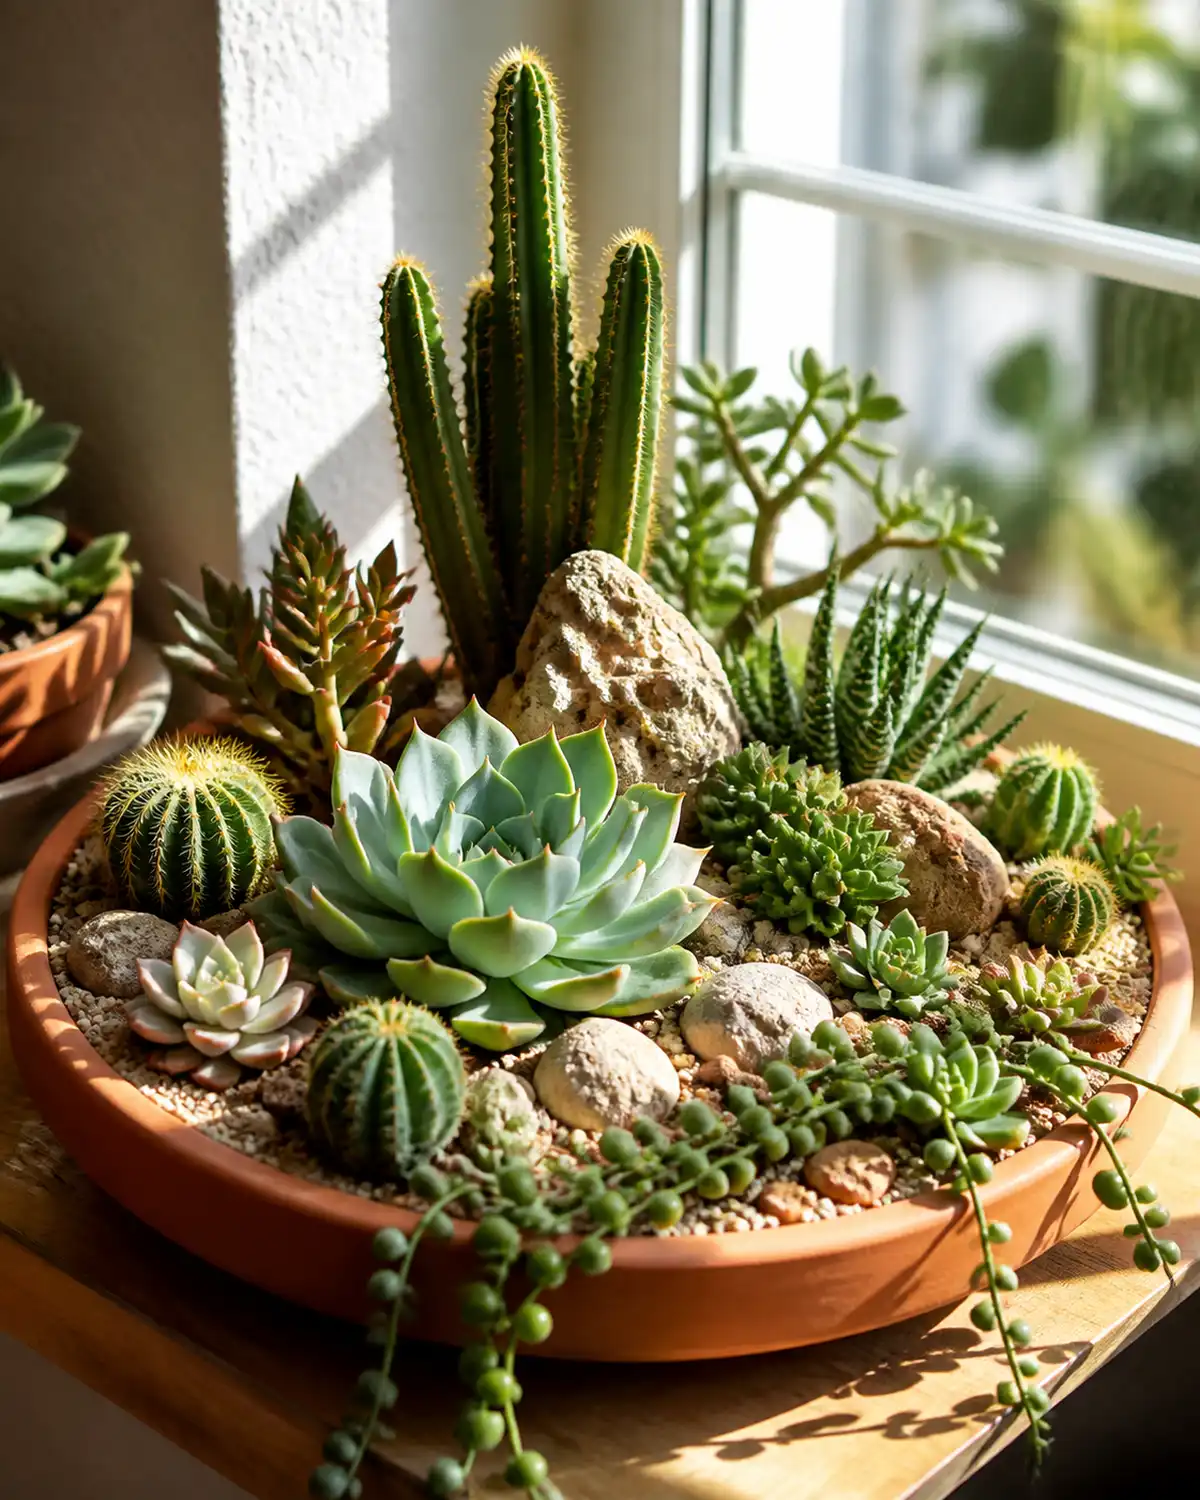
The one indoor garden that thrives in the brightest, driest spot you have — the conditions that kill most houseplants are exactly what succulents and cacti demand.
Site selection: a south-facing window with maximum direct sun hours. Six or more hours of unfiltered direct light daily is ideal. Succulents in insufficient light stretch and elongate (etiolation), losing their compact rosette forms permanently.
Design the arrangement like a miniature desert landscape rather than a row of pots:
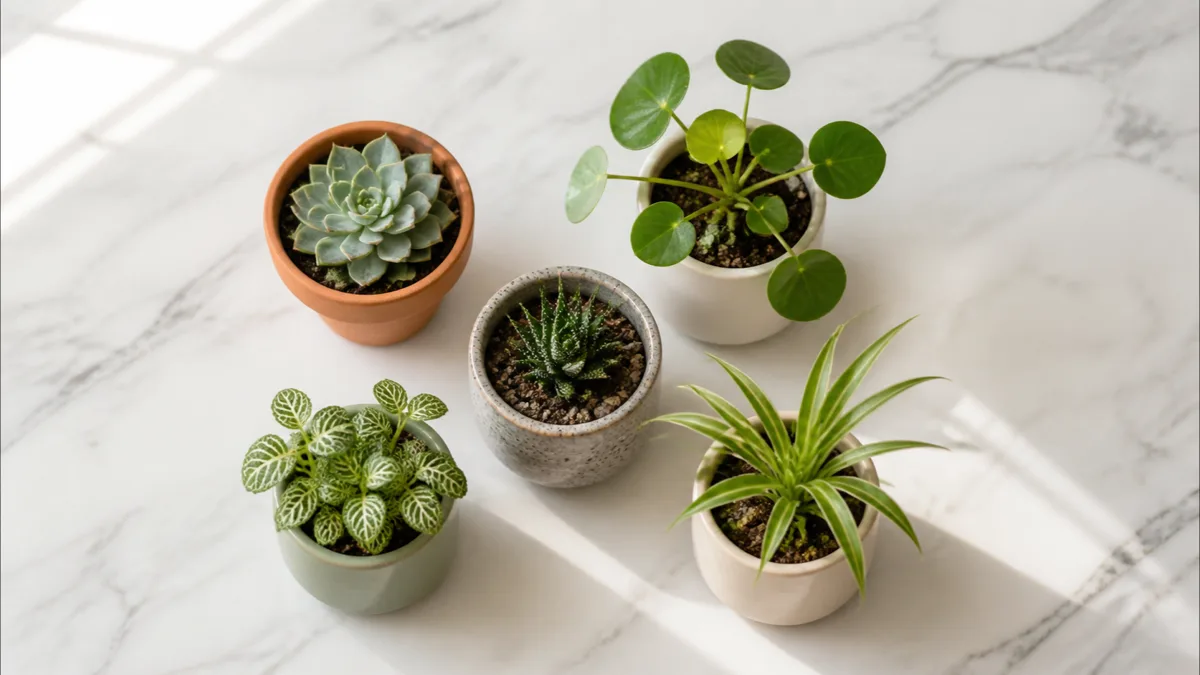
- Height variation: one tall upright cactus for vertical interest, medium rosette echeveria for mass, trailing string of pearls at the container edge for movement
- Top dressing: decorative sand, fine gravel, or crushed stone covers the soil surface for the desert aesthetic and keeps foliage off wet soil (prevents base rot)
- Hardscape elements: stones, driftwood, and sand arranged among the plants create a scene — a diorama rather than just a collection
The care inversion applies here: this is the ONE indoor garden where neglect is care. Water every two to three weeks in summer, monthly in winter. The soil must dry completely between waterings — the exact opposite of every other garden on this list.
A jade plant provides woody structural height that grows over years into a miniature tree form. Fallen leaves from echeveria and sedum sprout new plants where they land on exposed soil — the desert garden slowly expands itself without any intervention.
The moss wall that needs almost no care
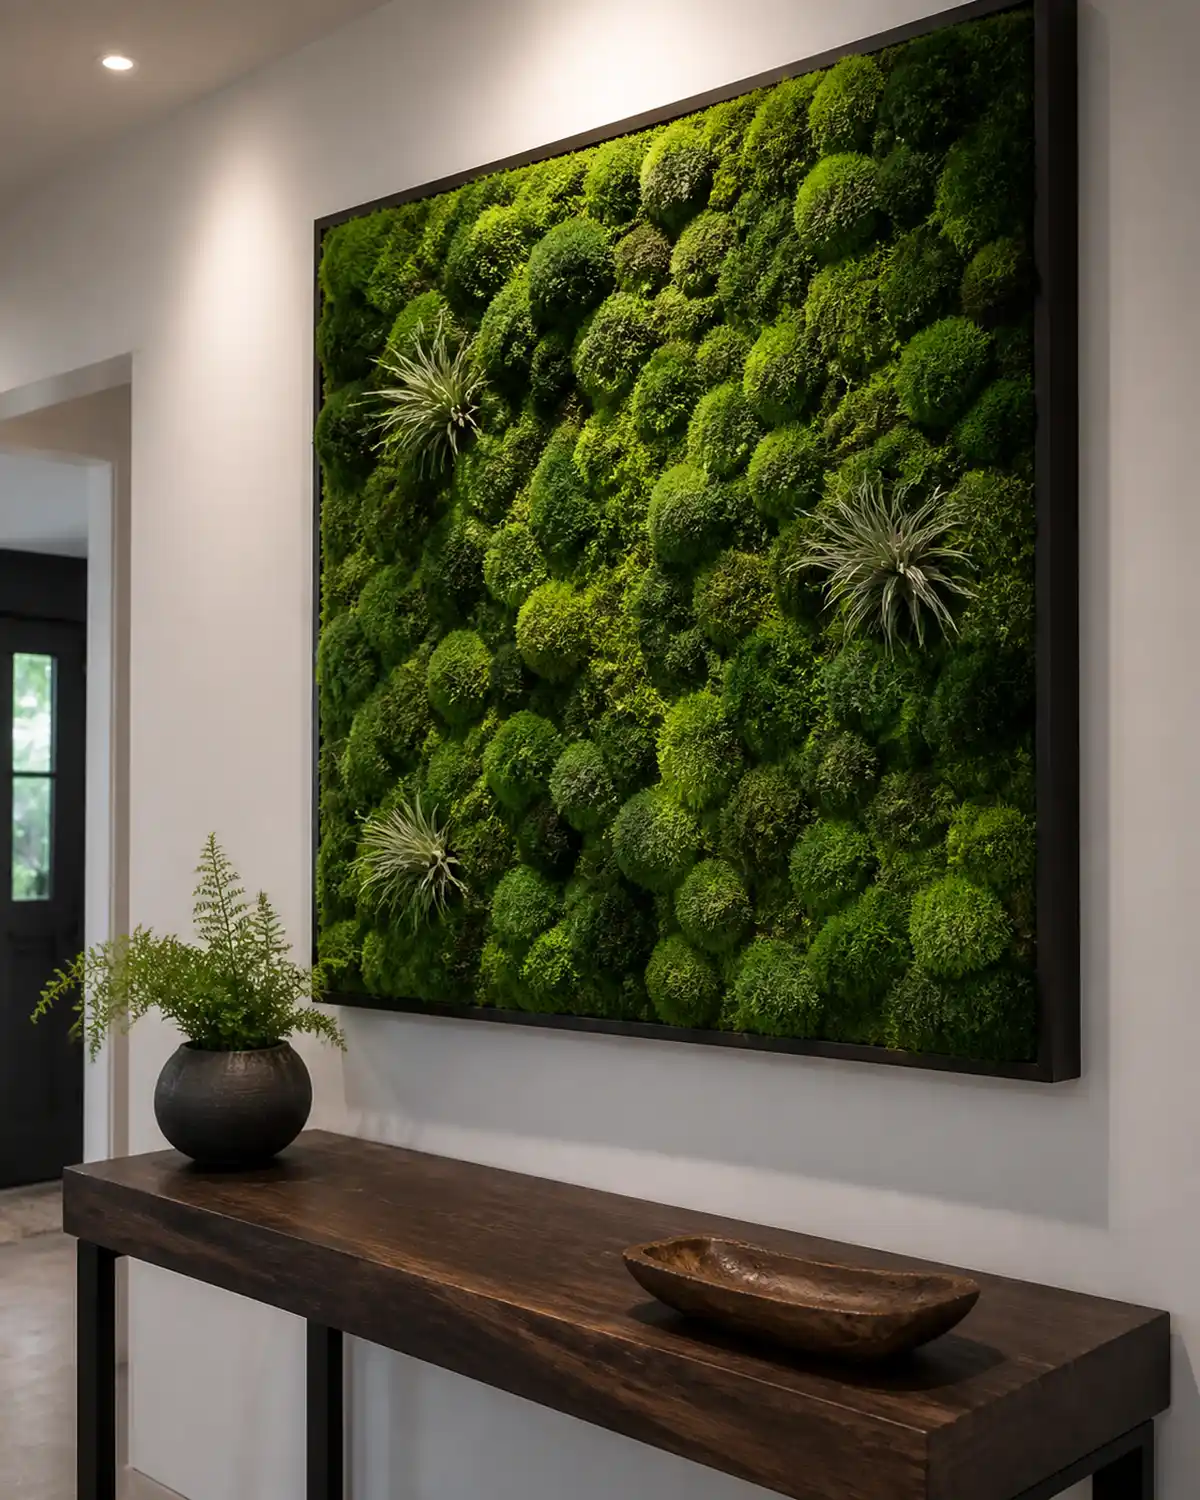
A moss wall delivers maximum green visual impact with minimum ongoing maintenance — potentially zero maintenance, depending on which type you choose.
Two categories exist:
- Preserved moss — harvested, then treated with glycerin to retain color and texture indefinitely. Not alive. Requires no water, no light, no feeding. Lasts 5 to 8 years before fading. Genuinely zero maintenance forever after installation.
- Living moss — actually alive, grows slowly, needs daily misting or a drip system, requires indirect light only (direct sun scorches moss). Beautiful and genuinely alive, but requires consistent attention.
For the lowest possible effort, preserved moss is unmatched. Mount sheets of preserved reindeer moss or flat sheet moss onto a backing board using adhesive, frame it, and hang it like artwork. It functions as green wall art with no biological needs whatsoever.
The hybrid approach combines both: preserved moss as the background border with a living moss center section near a small misting system. The frame provides visual structure while the living core adds the subtle "alive" quality that preserved moss lacks.
Moss walls work in spaces other plants cannot reach:
- Entryways with no windows (preserved moss needs no light)
- Office walls (bonus: moss absorbs sound, reducing echo by 5 to 10 decibels)
- Above a terrarium display as a complementary textural backdrop
Design options range from full rectangular panels to circular frames, organic shapes, letters, or monograms cut from moss. Tucking small air plants into a preserved moss frame adds living accents without adding maintenance complexity.
The staircase cascade garden
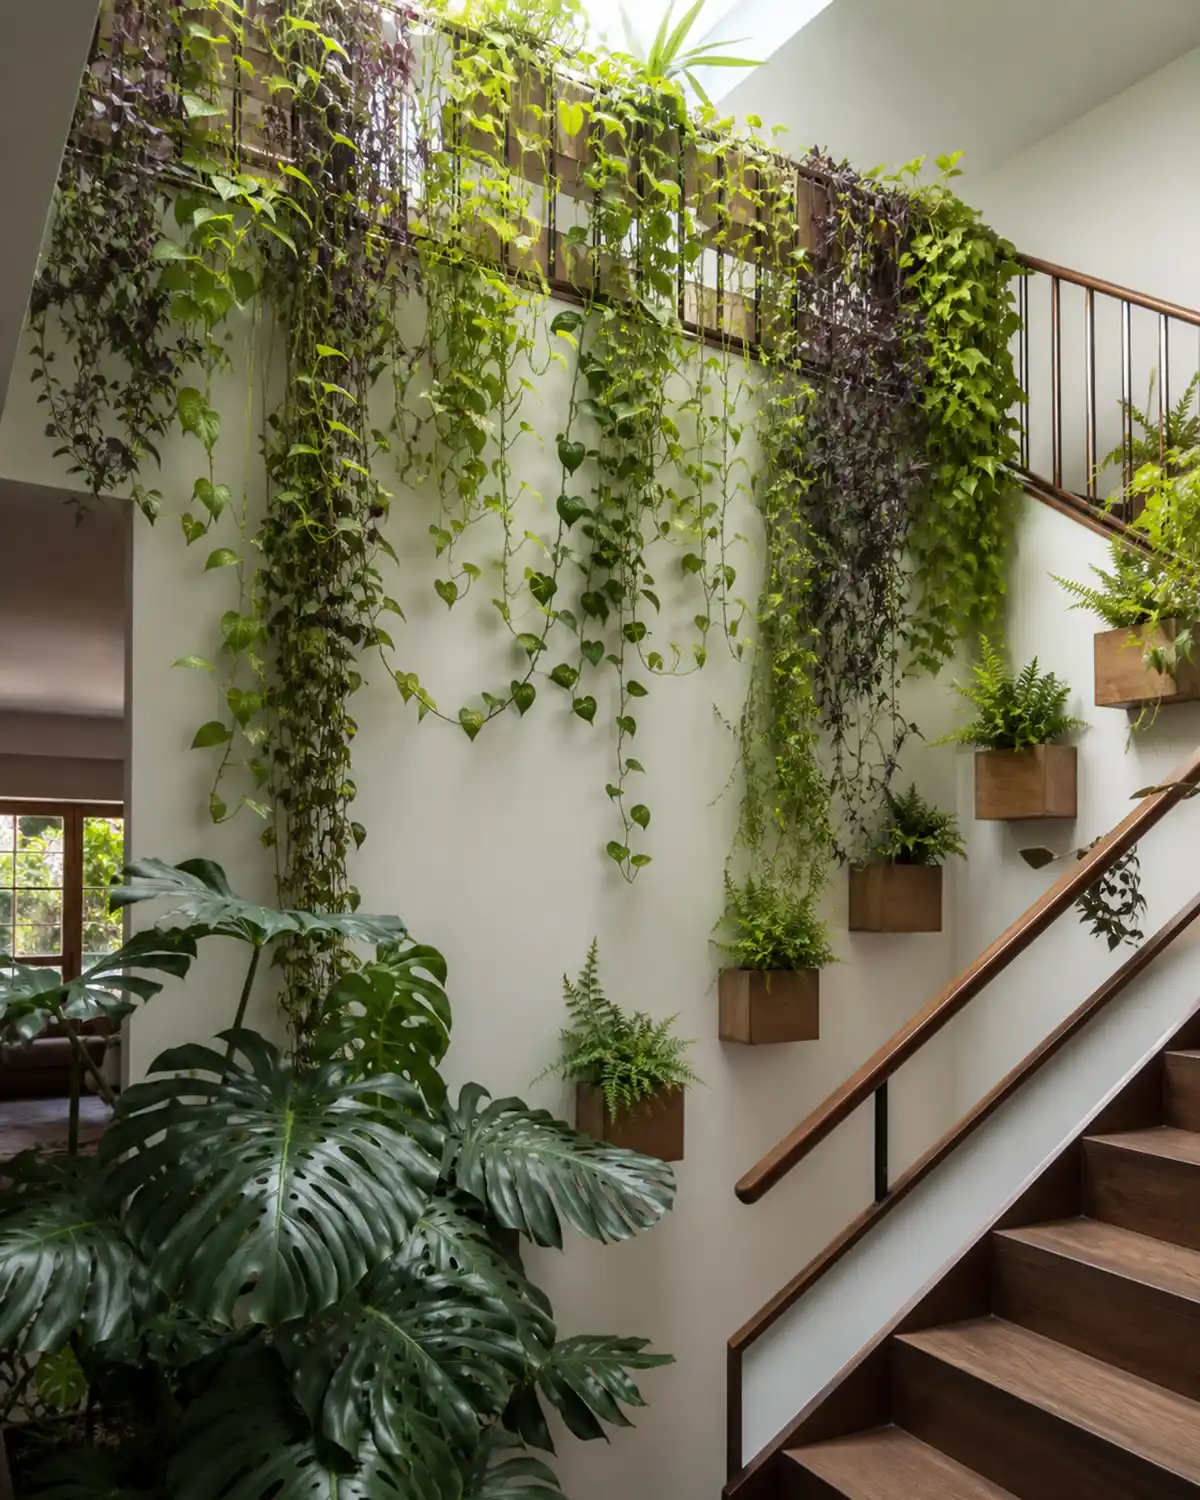
Staircases provide multi-level staging for free. The vertical height change that already exists in the architecture becomes your plant display system without building or buying a single shelf.
The composition works in three zones:
- Upper landing: trailing plants on the railing or a shelf — pothos, string of pearls, tradescantia cascading downward alongside the staircase
- Mid-height (wall alongside stairs): small ferns, pilea, peperomia in wall-mounted planters that follow the stair angle, creating a diagonal line of green
- Base of staircase: one large statement plant — monstera, fiddle leaf fig, bird of paradise — anchoring the bottom and greeting anyone who enters the space
Light assessment matters here. Staircases often have a skylight or tall window at the top, meaning light decreases as you descend. Arrange light-hungry plants high and shade-tolerant species low, mirroring the natural light gradient.
Safety rule: never place anything on stair treads that could create a trip hazard. Plants live on landings, mounted to walls, or trailing from railings — not sitting on stairs themselves.
The "living banister" effect works on staircases with a half-wall: a row of trailing plants along the top of that wall creates a green railing that defines the edge while transforming the stairwell from a utilitarian passage into a feature.
The balcony-to-indoor transition garden
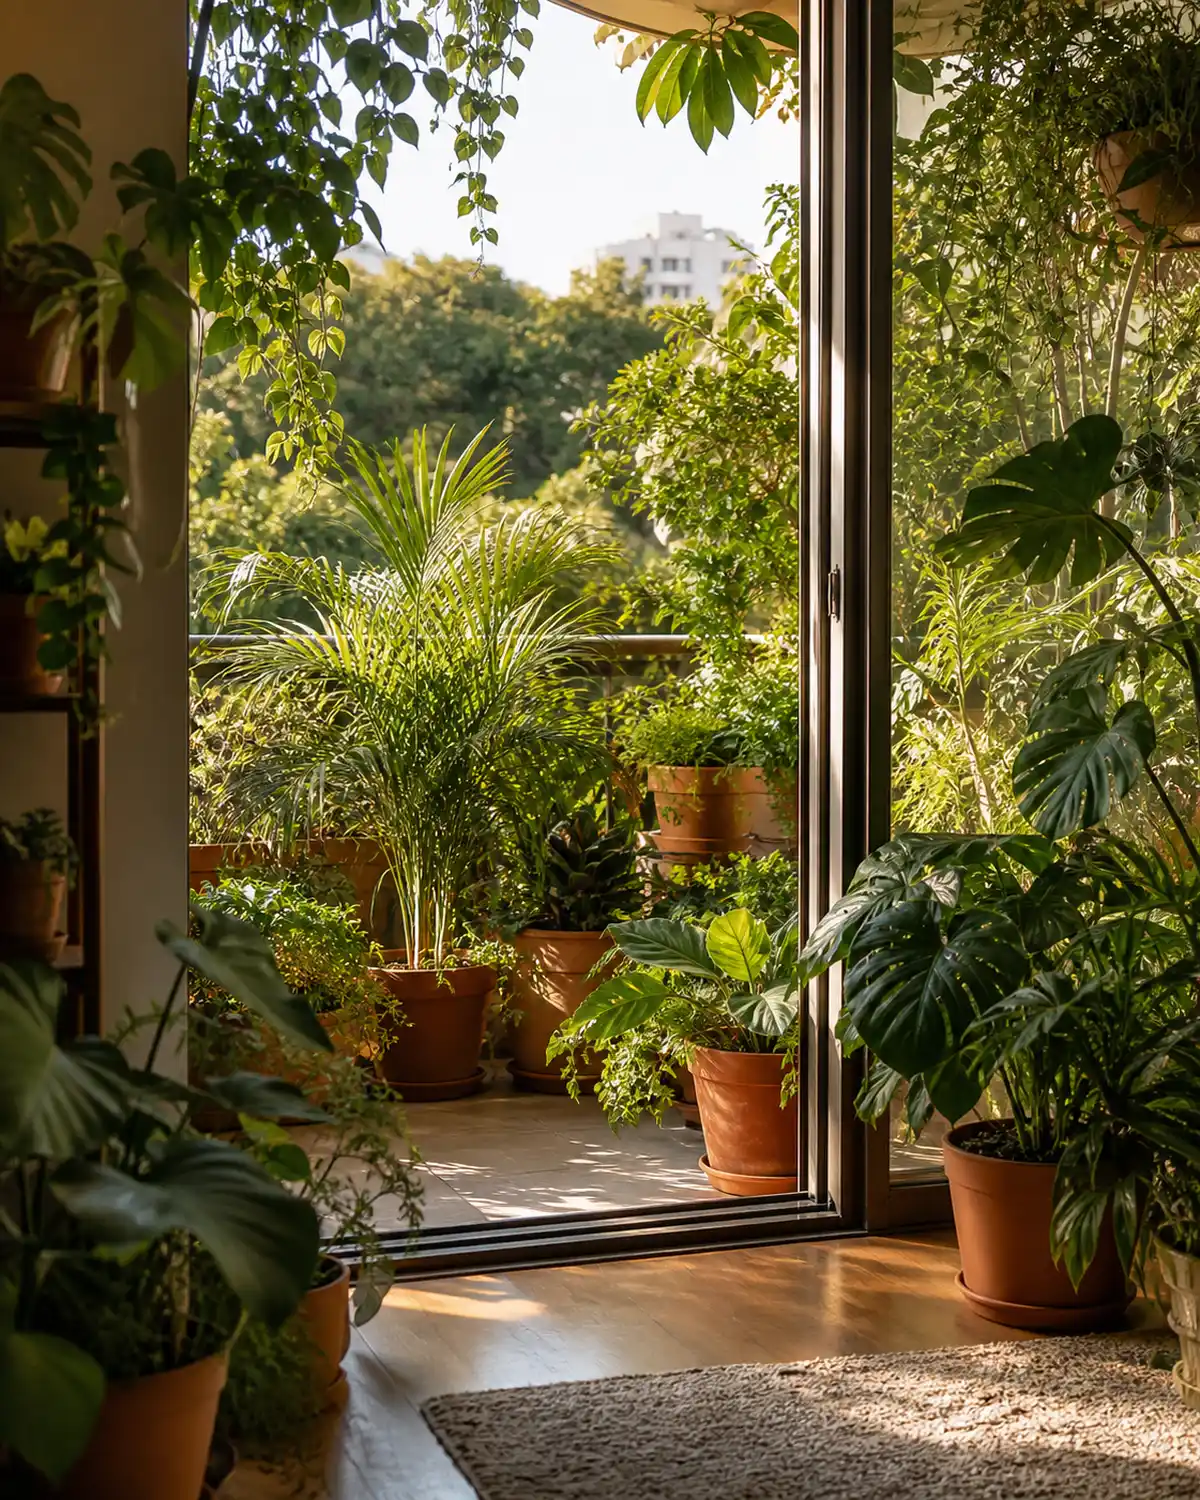
A transition garden blurs the boundary between outdoor balcony and indoor space, creating a continuous green gradient that makes both areas feel larger and more connected.
The concept is a hardiness gradient in three zones:
- Outer ring (balcony, fully exposed): English ivy, succulents, ornamental grasses, hardy ferns — these tolerate wind, temperature swings, rain, and direct weather
- Threshold zone (at the sliding door): plants that handle outdoor air flow when doors are open but are protected from direct weather — Chinese evergreen, dracaena, spider plant
- Indoor continuation: tropical plants positioned near the balcony door for the increased light — monstera, calathea, bird of paradise
Visual unity across the boundary comes from using the same pot material and style inside and outside. Matching terracotta or matching concrete planters in varying sizes create continuity that makes the eye travel smoothly from balcony to interior without registering a break.
During warm months, sliding the balcony door wide open for hours merges the two zones completely. Outdoor humidity and air circulation benefit indoor tropicals while the visual reads as one continuous garden spanning inside and out.
When temperatures drop in fall, pull threshold plants fully indoors. The balcony garden shrinks to hardy survivors only, the indoor tropical section continues year-round, and the transition reassembles each spring.
The single-shelf ecosystem in under two feet
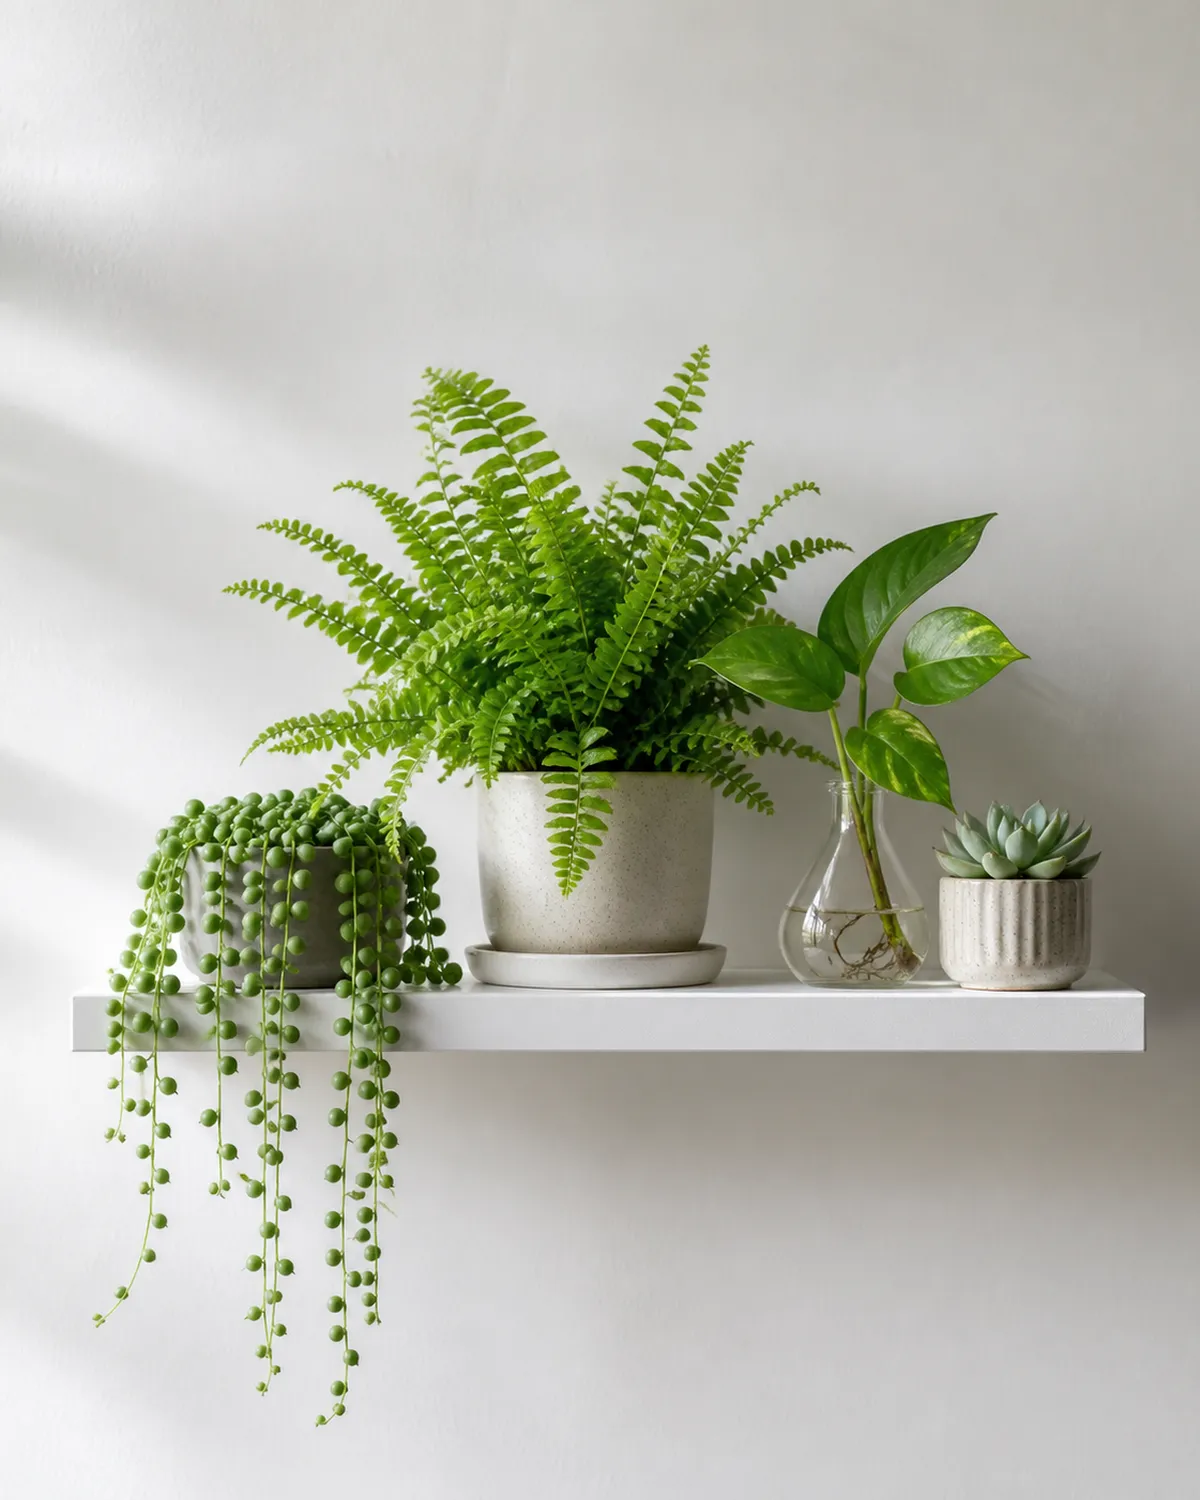
One standard floating shelf — 24 to 36 inches wide — becomes a complete indoor garden when the arrangement follows a formula that creates maximum diversity in minimum space.
The four-element formula:
- Trailing plant at the edge — string of pearls, pothos cutting, or trailing peperomia breaking the hard shelf line
- Upright plant at center-back — small Boston fern, pilea, or peperomia obtusifolia providing height
- Tiny accent at the opposite end — one small succulent rosette or air plant adding sculptural interest at close range
- Propagation vessel — a bud vase with a single cutting showing roots in water, adding the "living process" element
This works visually because each element serves a different compositional role. The trailing breaks the horizontal, the upright provides height contrast, the accent rewards close looking, and the propagation vessel adds temporal interest that changes weekly.
Light assessment for shelf gardens: shelves below windows work naturally. Shelves on side walls need a small clip-on grow light angled toward the plants — one LED spotlight is enough for a single 30-inch shelf.
Small pots dry faster than large ones. Check twice weekly rather than the weekly cadence suitable for floor plants. Use a watering can with a long narrow spout to avoid drips behind the shelf and water damage to the wall beneath.
The low-light hallway garden that nobody expects
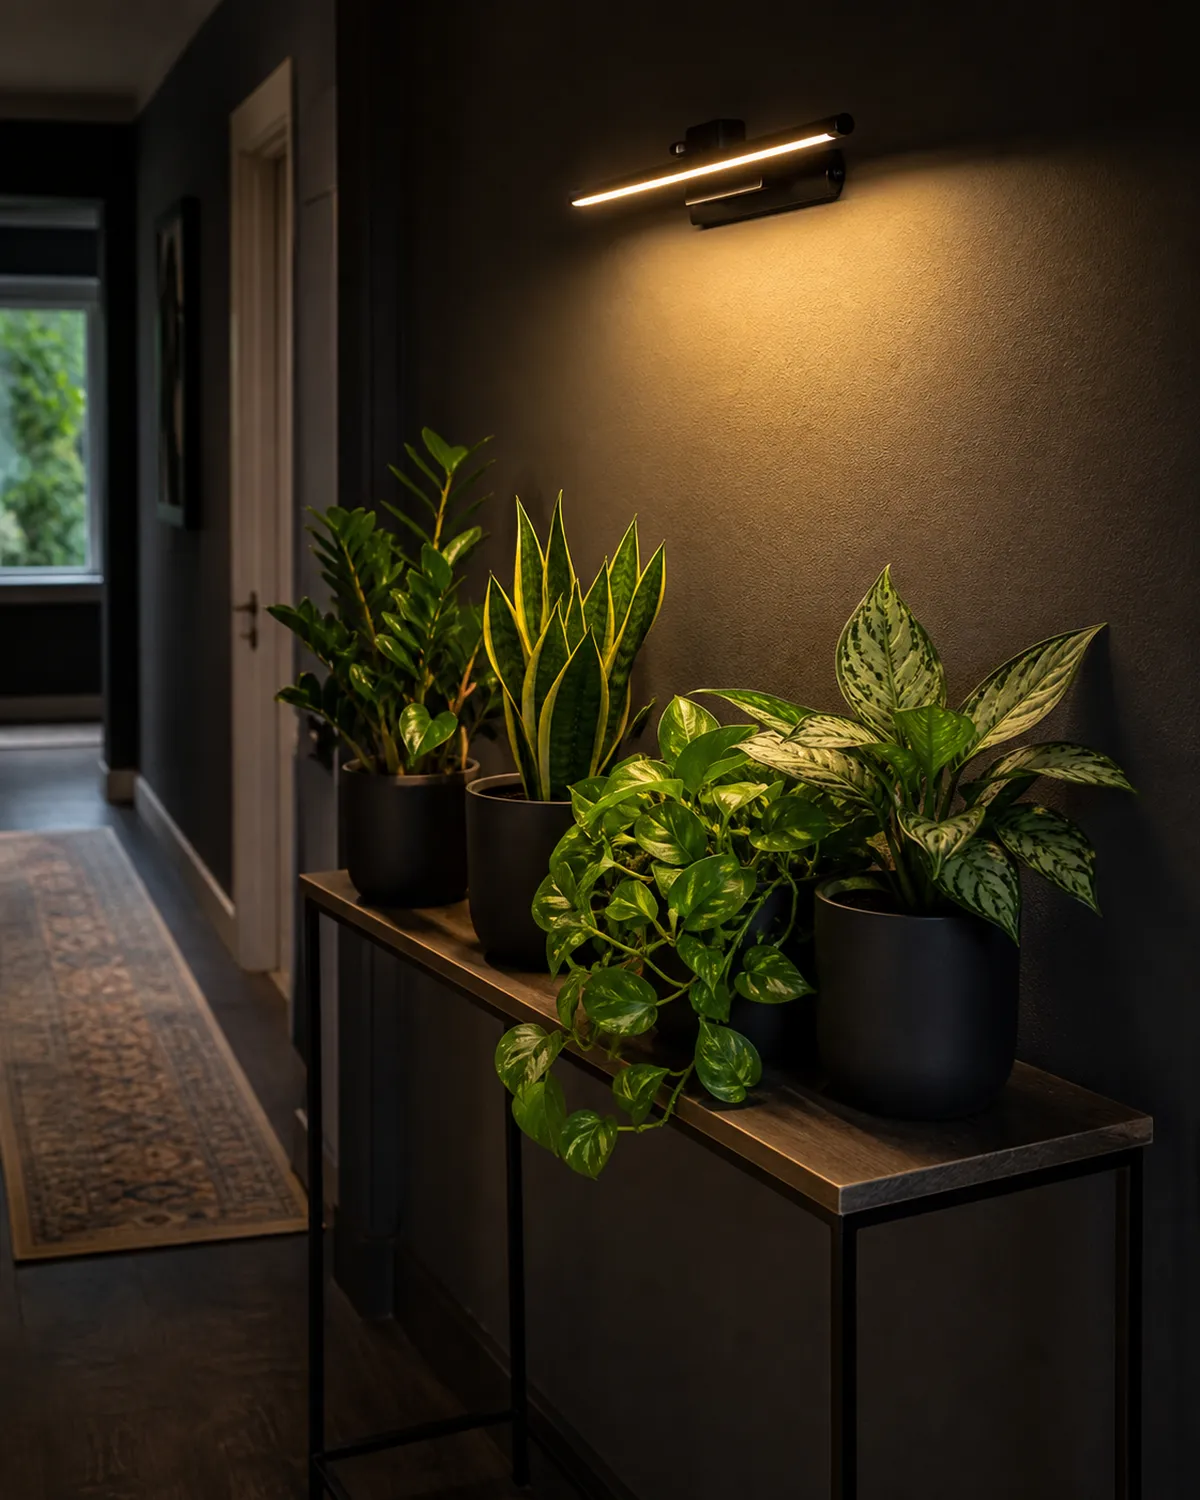
Hallways receive the least natural light of any room in most homes — often zero direct light and minimal indirect. This limits plant options severely but does not eliminate them.
The hardy survivor squad for genuine low light:
- ZZ plant — thrives in 50 to 100 foot-candles, the lowest light tolerance of any common houseplant
- Snake plant — tolerates near-darkness, grows slowly but survives indefinitely
- Cast iron plant (Aspidistra) — bred specifically for Victorian hallway use, virtually indestructible
- Pothos — stretches toward whatever light exists, tolerates extremely low levels
- Chinese evergreen (dark-leaf varieties) — dark green varieties specifically evolved for forest floors
Placement strategy: a narrow console table against one wall with three to five plants in a row, or a series of wall-mounted planters at staggered heights for zero floor footprint.
The design intervention that transforms a hallway garden from "surviving" to "thriving" is a picture light or sconce-style fixture mounted above the plants. It serves triple duty:
- Decorative ambient lighting for the hallway itself
- Adequate photons for low-light plants to actually grow, not just persist
- A spotlight effect that makes the arrangement look intentional rather than random
Watering discipline in low-light hallways: plants here grow slowly and use minimal water. Overwatering is the primary killer. Check soil moisture every 10 to 14 days rather than weekly — these plants in these conditions simply do not consume water quickly.
The surprise factor should not be underestimated. Visitors walking through a lush green hallway that logically should not contain thriving plants experience genuine delight. The unexpected context elevates even common species into something memorable.
Starting your first indoor garden this weekend
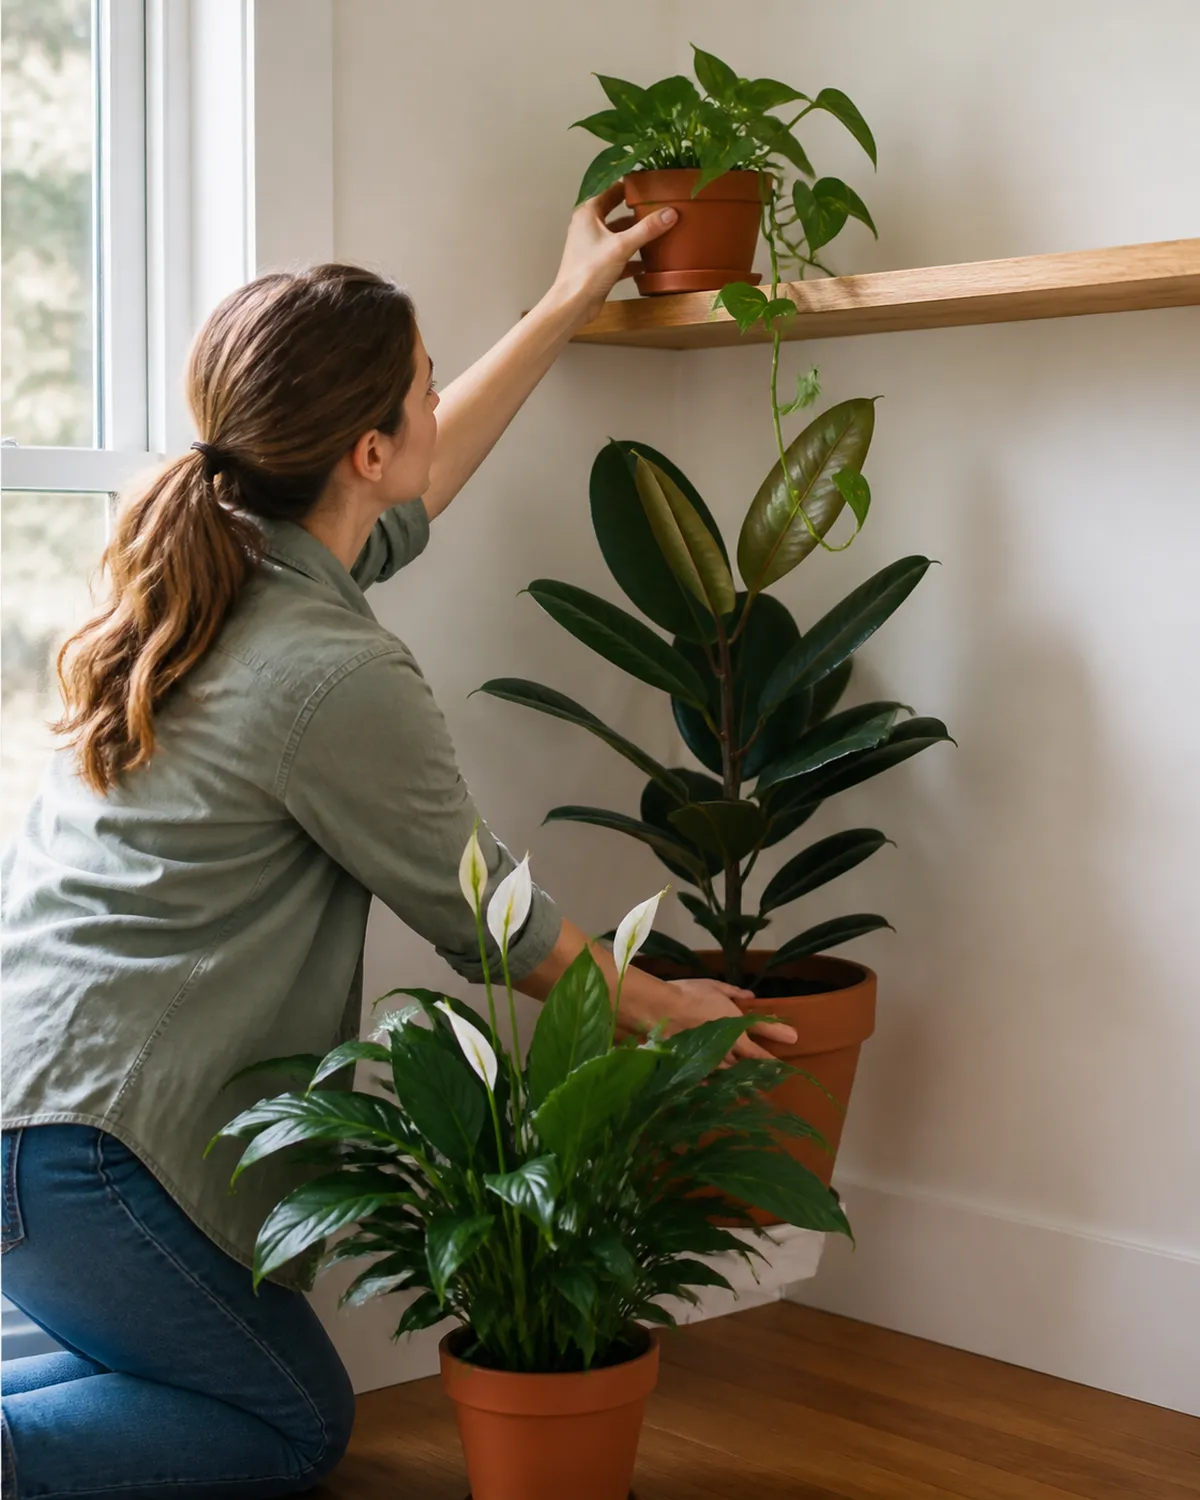
Planning paralysis kills more indoor gardens than any pest or watering mistake. The antidote is the "one corner, one hour, one trip" framework: decide the spot today, buy plants this weekend, arrange within an hour.
The light-first site selection method: stand in your space and identify where natural light actually falls — not where you wish it fell. That lit spot is your garden location regardless of current room layout.
The three-plant starter formula creates a complete garden in one trip to the nursery:
- One tall plant (provides structure and height) — rubber plant, dracaena, or monstera
- One medium bushy plant (provides mass) — peace lily, Chinese evergreen, or calathea
- One trailing plant (provides movement and softens edges) — pothos, philodendron, or string of pearls
Budget reality: a compelling three-plant starter garden costs 40 to 80 dollars total. Three nursery plants in six-inch pots, three coordinating pots, and a bag of potting mix if repotting.
The pot-matching shortcut: buy all pots in the same material, in three different sizes. Same material plus varied scale equals instant visual cohesion without design skill.
| Week | Action | Cost |
|---|---|---|
| 1 | Three plants + pots in one corner | $40–80 |
| 4 | Propagation station from existing cuttings | $0–15 |
| 8 | Mount one plant on the wall | $15–30 |
| 24 | Full-apartment ecosystem, organically expanded | — |
First-week care essentials:
- Water only when soil feels dry an inch down
- Position plants in their light zone and leave them for two weeks while they acclimate
- Resist the urge to reposition — the number one beginner mistake is constant moving that never lets plants settle

Mara writes detailed plant care guides and indoor styling ideas, testing every recommendation in her own growing collection. Each indoor garden setup in this guide reflects real spatial constraints — apartment living, limited light, travel schedules — because the best plant arrangement is the one that actually works in your home.