Root rot kills more houseplants than any pest, any disease, and most forms of neglect combined. The damage starts underground where you cannot see it, and by the time the leaves show symptoms the roots have been deteriorating for weeks.
This guide covers the fungal mechanism behind root rot, how to confirm it without guessing, the step-by-step rescue protocol, which plants are most vulnerable, and a prevention stack that costs nothing.
From the fungal mechanism to a prevention stack that costs nothing. Jump to what you need.
The Fungal Mechanism Behind Root Rot
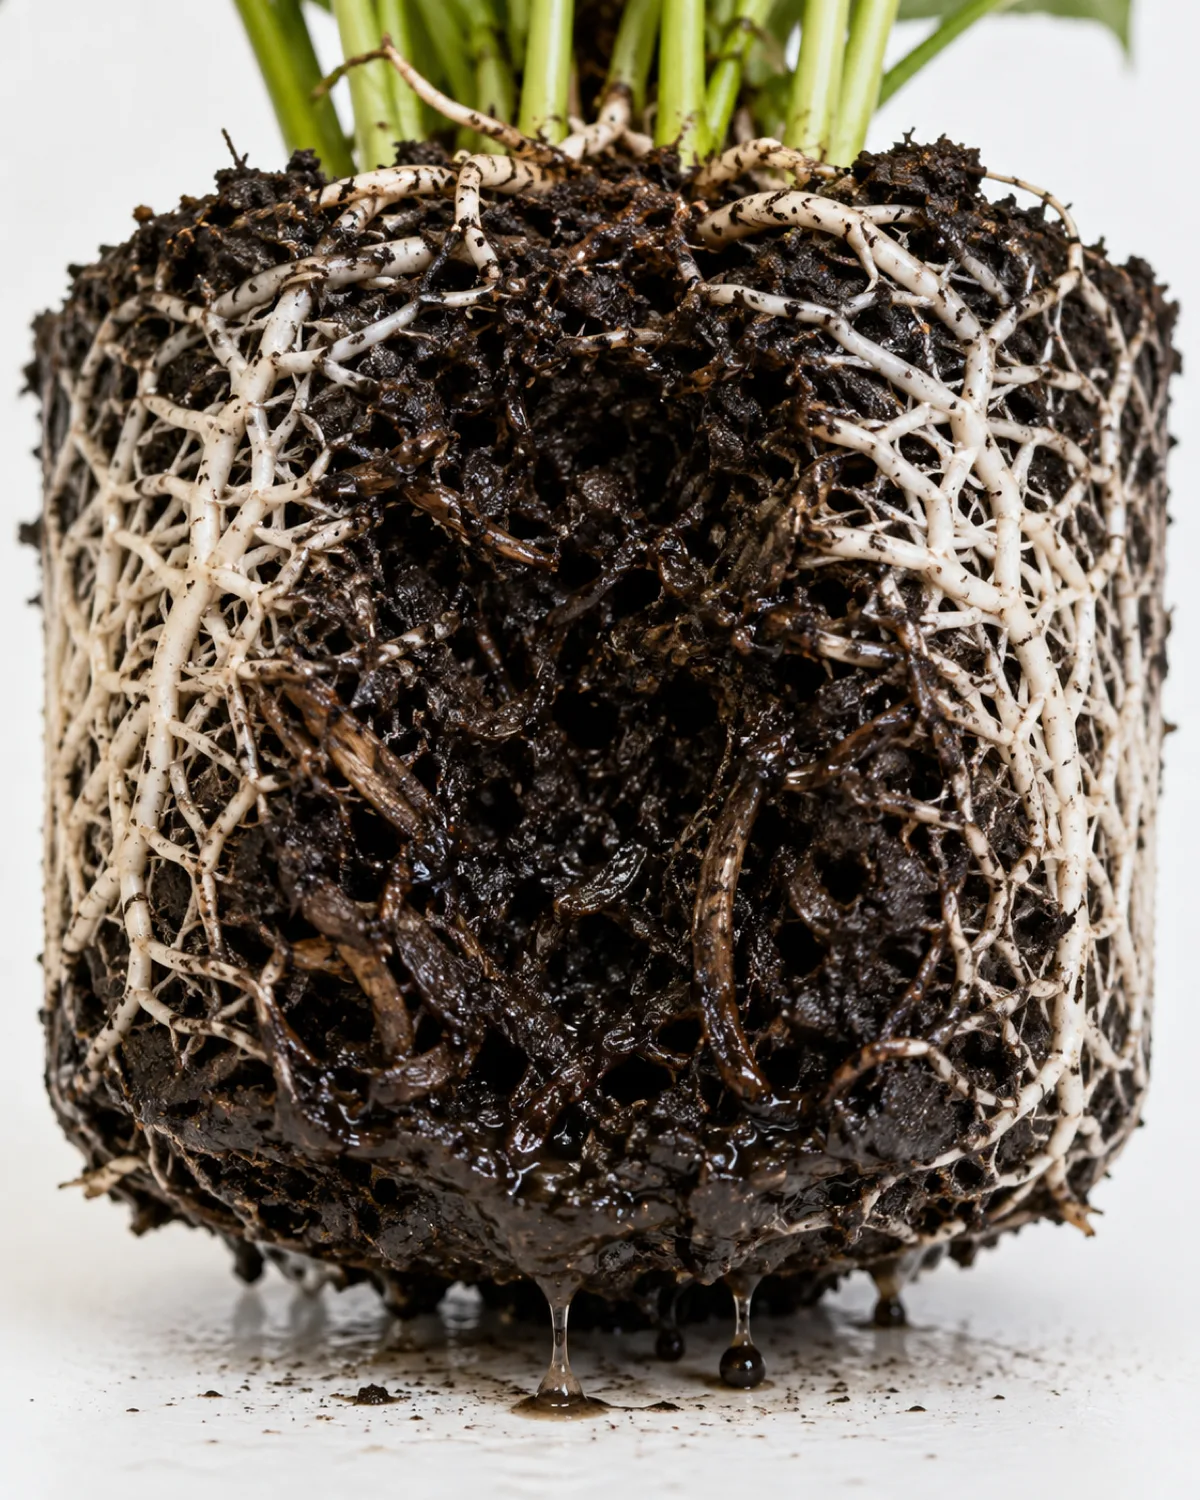
Root rot is not one disease. It is a cascade that starts with waterlogged soil and ends with dead roots, and three fungal genera do most of the killing.
Pythium is the fastest. It is technically an oomycete, not a true fungus, and it thrives in wet soil at room temperature. Pythium attacks the fine feeder roots first — the ones responsible for absorbing water and nutrients. By the time the thicker structural roots show damage, the feeder network is already gone.
Phytophthora works more slowly but is more aggressive once established. It can attack stems, crowns, and root tissue simultaneously. It spreads through contaminated soil and water, which is why reusing the potting mix from a rotted plant is a direct path to reinfection.
- Fusarium is the third major player, more common in warm conditions and particularly damaging to plants already stressed by other factors
- All three pathogens are opportunistic — they exist in most soils but only attack when roots are weakened by oxygen deprivation
- The oxygen deprivation comes from waterlogged conditions, not from the fungi themselves — the water creates the vulnerability, the fungi exploit it
Healthy roots in well-draining soil fend off these pathogens without any intervention. The defense is aerobic respiration — roots need oxygen to maintain their cell walls and resist infection. Take away the oxygen, and the cell walls soften within days.
Leaf and Stem Clues That Signal Rotting Roots Below
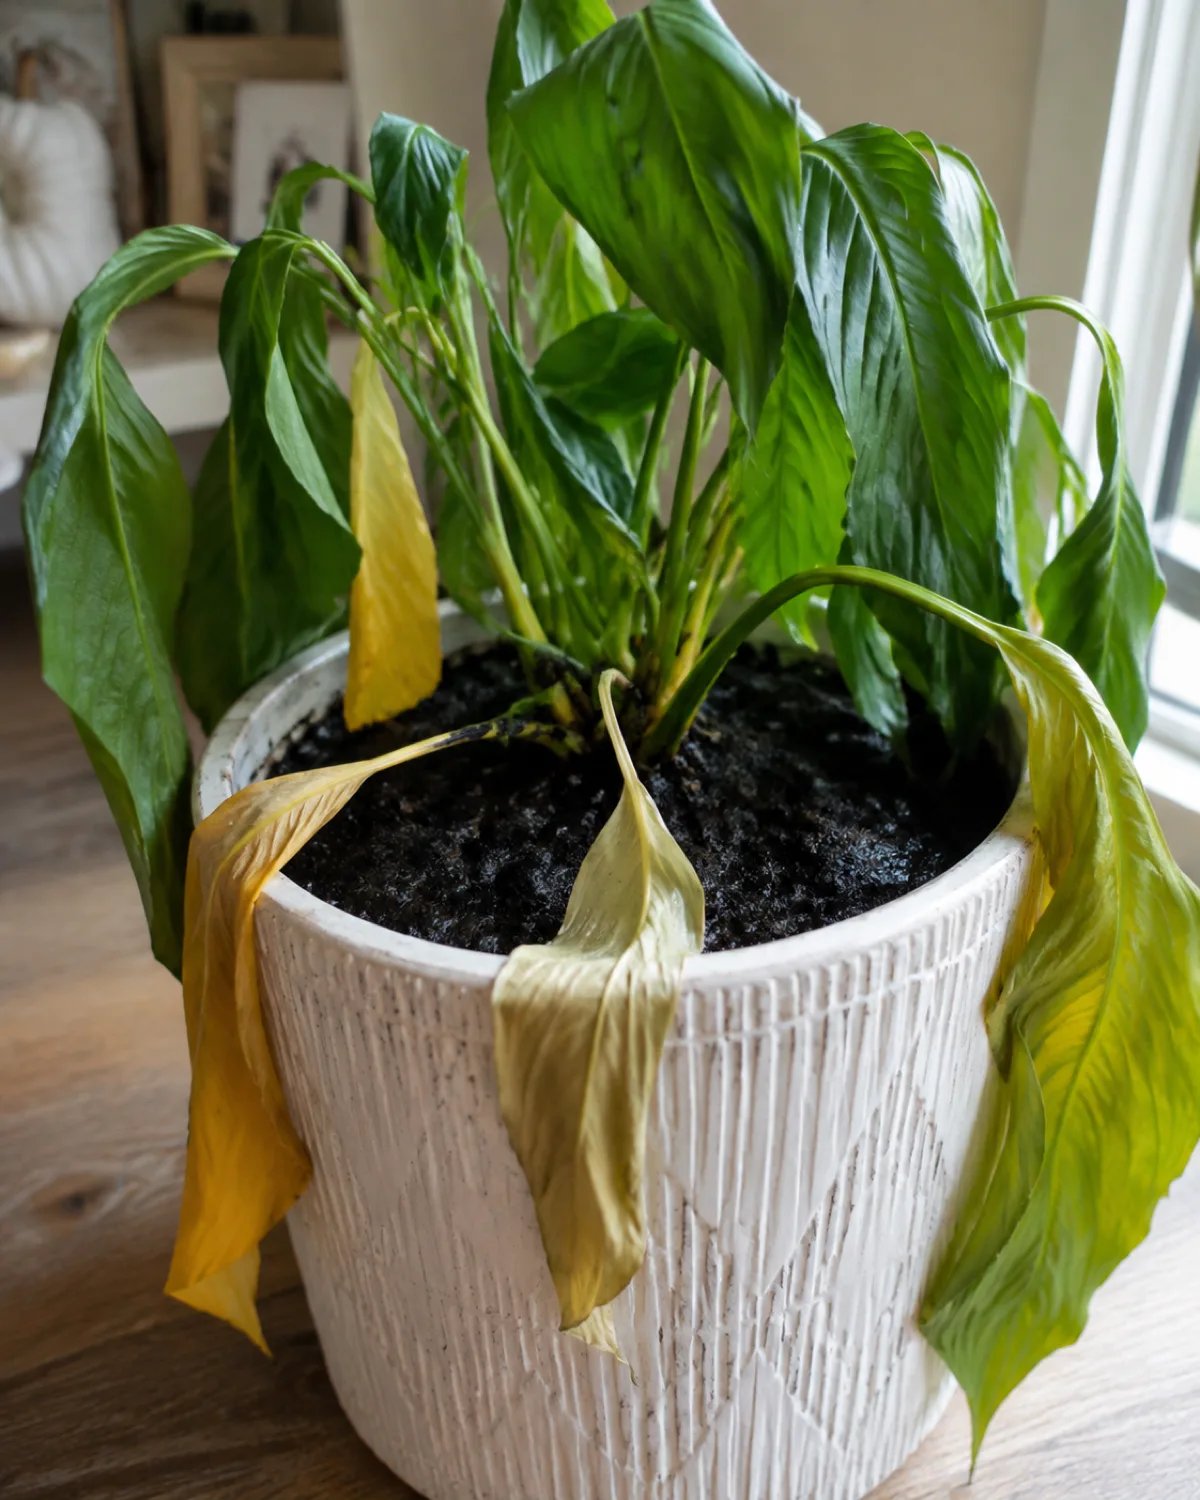
The cruelest part of root rot is the delay. Roots can be dying for two to three weeks before the leaves show anything wrong, because the plant draws on stored reserves before the damage surfaces.
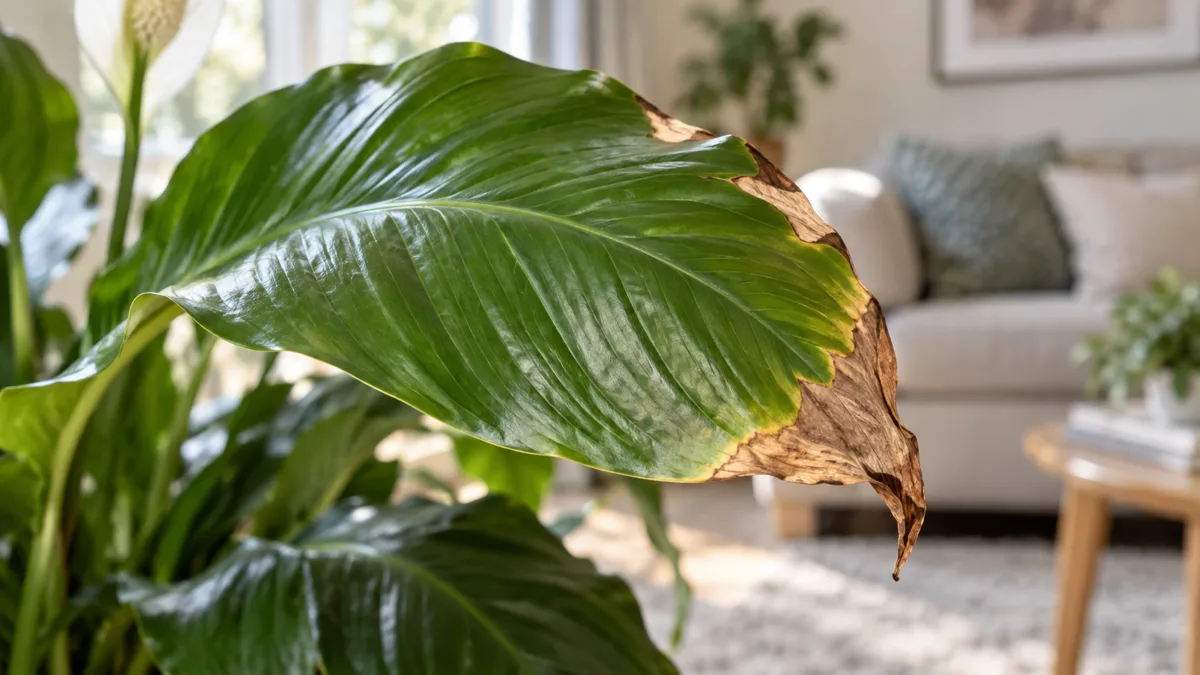
Yellowing lower leaves are the earliest visible sign. The plant sacrifices its oldest leaves first because damaged roots cannot supply enough water and nutrients to sustain the full canopy. This looks identical to natural aging in some species, so a single yellow leaf is not a diagnosis — it is a prompt to check further.
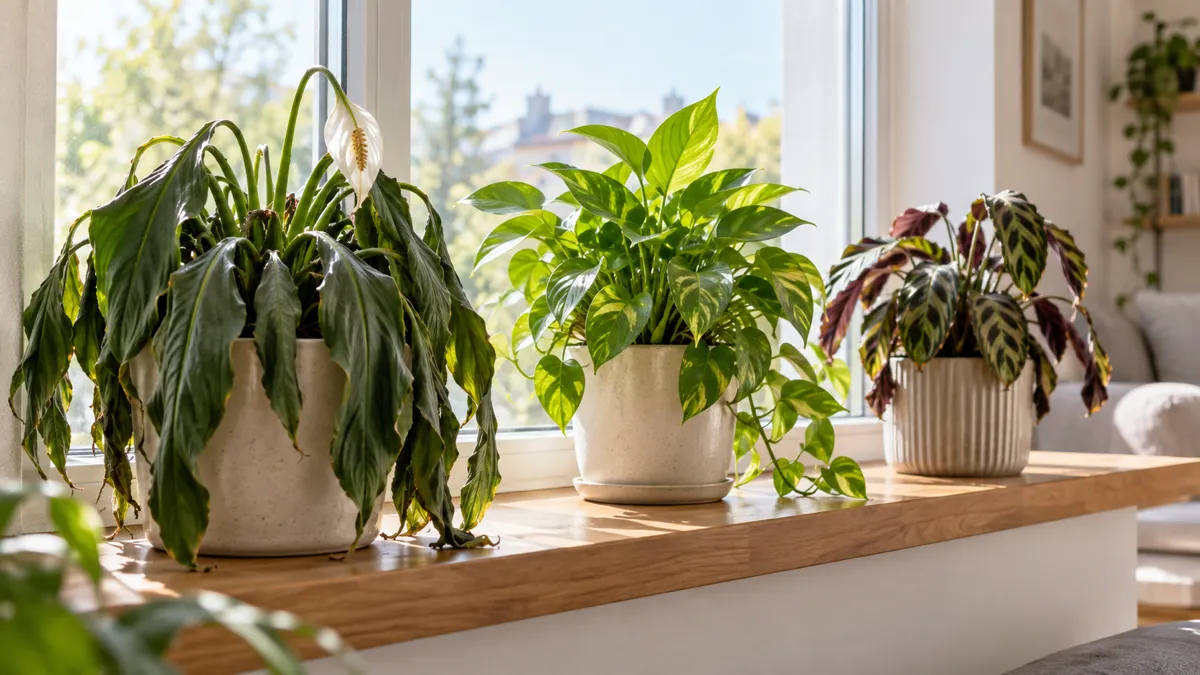
Wilting despite wet soil is the strongest surface-level indicator. A plant that droops even though the soil is moist has roots that cannot absorb water anymore. The roots are physically present but functionally dead — waterlogged tissue cannot transport anything.
- Mushy stem base — the stem right at the soil line feels soft and darker than the tissue above it
- Sour or rotten smell from the drainage hole or soil surface — healthy soil smells earthy, not fermented
- Sudden leaf drop — leaves fall without yellowing first, especially in species like fiddle-leaf fig and ficus
- Stunted or absent new growth — the plant stops producing new leaves because the root system cannot support expansion
The trap is treating these symptoms with more water. Every symptom above looks like a thirsty plant to someone who has not dealt with root rot before. If your plant looks dehydrated but the soil is wet, stop watering and check the roots.
The Unpot-and-Rinse Test for Confirming Root Damage
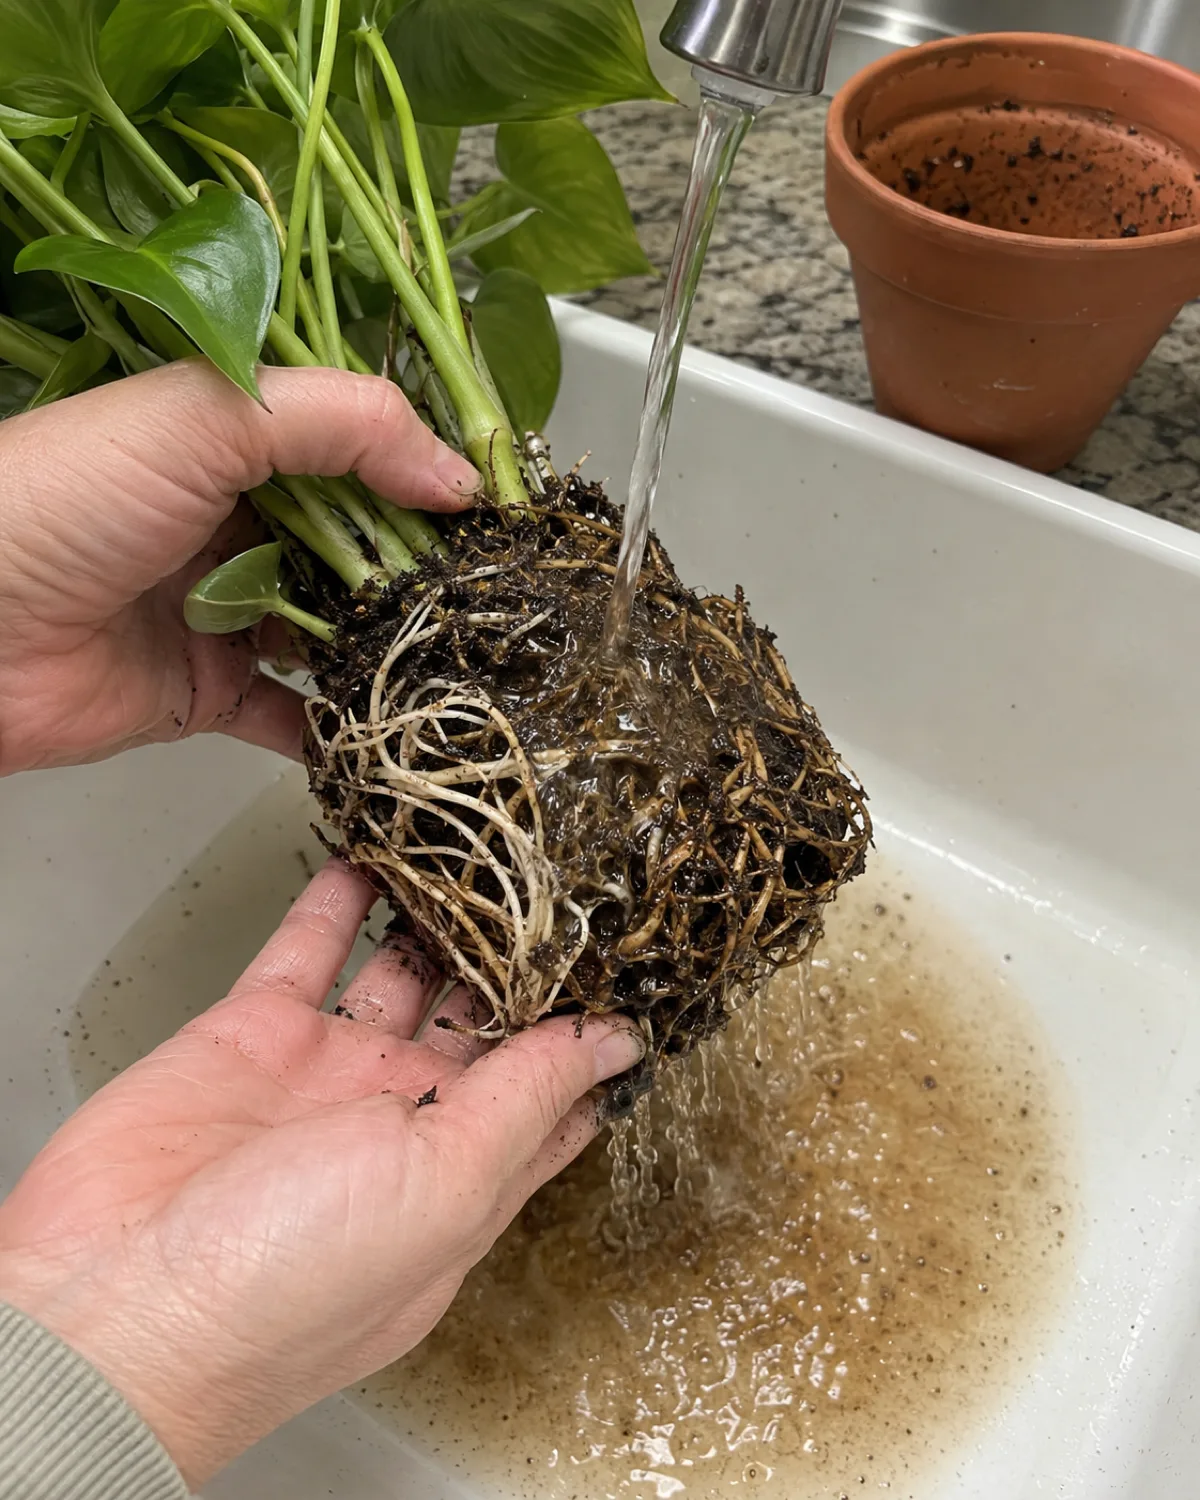
Guessing does not work with root rot. The only way to confirm it is to look at the roots directly.
Slide the plant out of its pot. If it resists, run a butter knife around the inside edge of the pot to loosen the root ball. Tap the bottom of the pot firmly — the root ball should slide out as a single mass.
Rinse the roots under lukewarm running water. Gently work the soil away with your fingers until the roots are visible. Cold water shocks tropical roots, so keep it lukewarm.
Now evaluate on three axes:
- Color — healthy roots are white, cream, or light tan depending on the species; rotted roots are brown, dark brown, or black
- Texture — healthy roots feel firm and snap cleanly when bent; rotted roots are mushy, slimy, and the outer sheath slides off the inner core when you pull gently
- Smell — healthy roots and soil smell earthy or have almost no scent; rotted roots smell sour, like stagnant water or fermenting organic matter
The Step-by-Step Root Rot Rescue Protocol
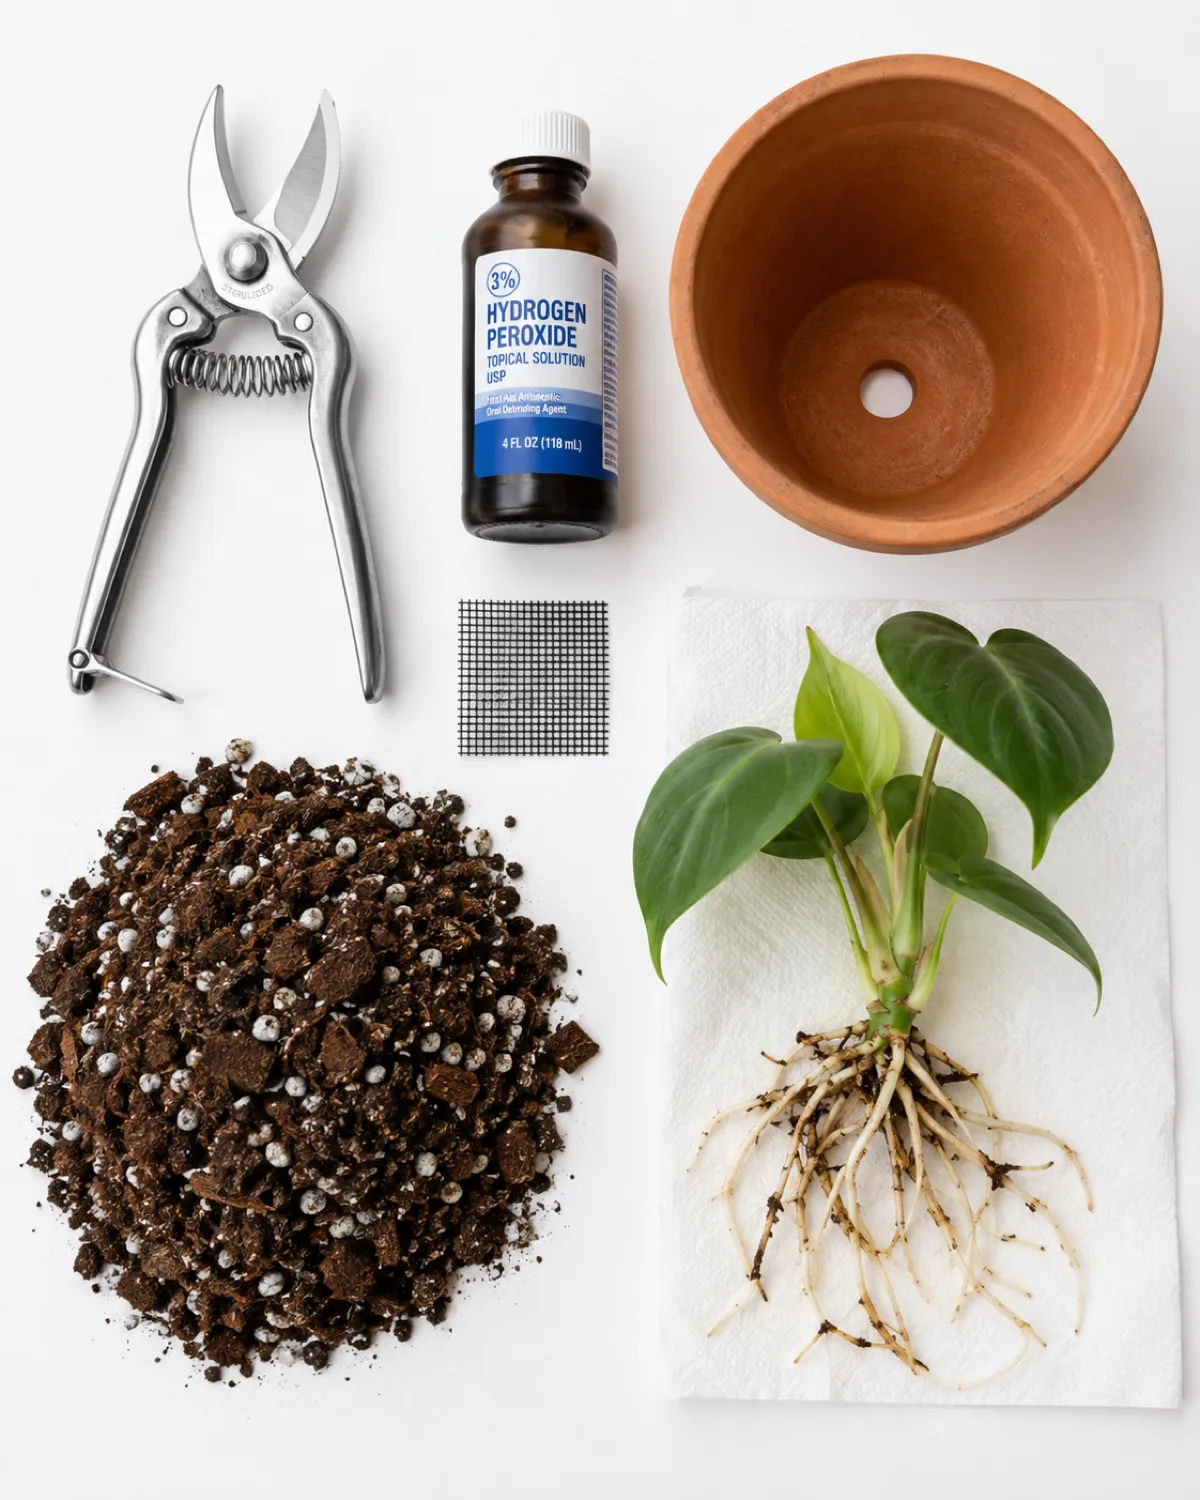
Once you have confirmed root rot and assessed the severity, the rescue follows the same sequence regardless of species.
Trim every dead root. Use sharp shears sterilized with rubbing alcohol or a flame. Cut back to where the tissue is firm and white. Do not leave any brown mushy material — it harbors active pathogens that will reinfect healthy tissue. Sterilize the shears again between plants if you are treating more than one.
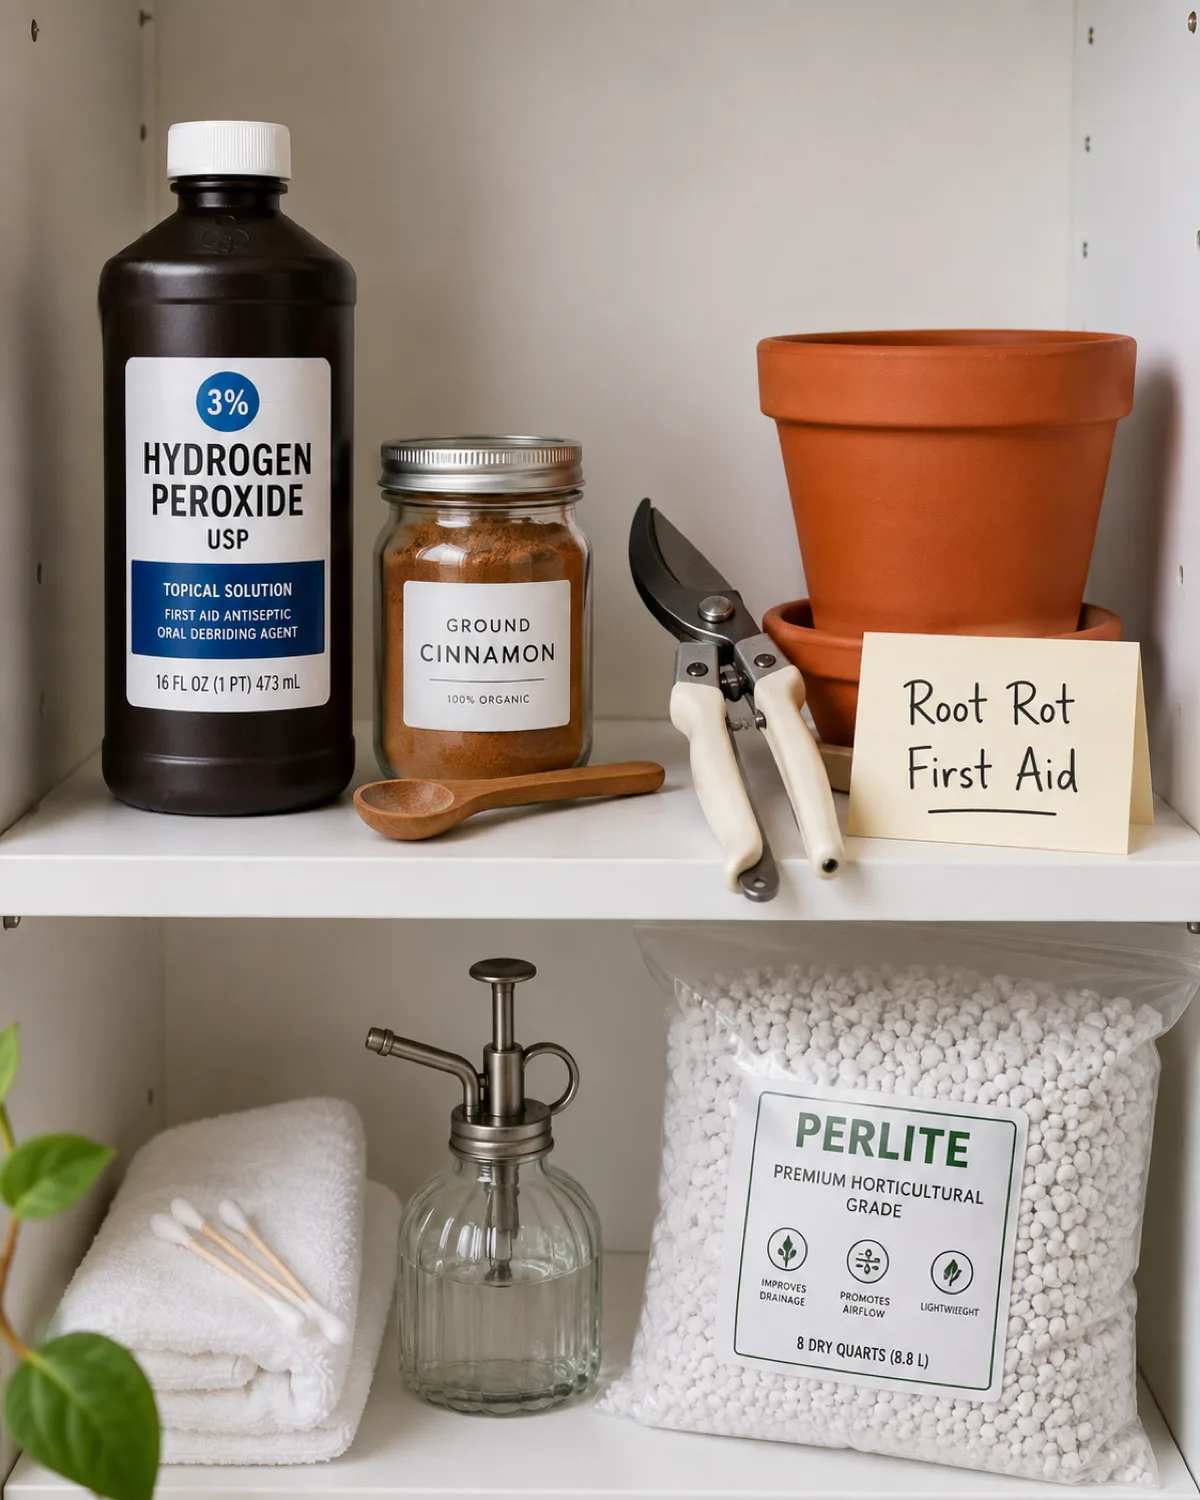
Optional hydrogen peroxide soak. Mix one part 3% hydrogen peroxide with two parts water. Submerge the remaining roots for five to ten minutes. The peroxide kills fungal spores on contact and oxygenates the root surfaces. This step is not mandatory for mild cases but significantly improves outcomes for moderate to severe rot.
- Let roots air-dry for one to two hours on a clean paper towel before repotting — wet roots going into new soil carry surface moisture that can restart the cycle
- Repot into fresh sterile mix in a clean pot with drainage holes — never reuse the old soil or the old pot without scrubbing it with dilute bleach first
- Water lightly after repotting — just enough to settle the soil around the roots, not a full soak
- Hold fertilizer for four to six weeks — damaged roots cannot process nutrients and fertilizer salts can burn compromised tissue
Place the rescued plant in bright indirect light. Avoid direct sun, which stresses a plant that no longer has the root capacity to manage transpiration losses. The recovery timeline is typically three to eight weeks for mild cases and two to four months for moderate ones.
Repotting Mix After a Rot Rescue: Extra Drainage, Zero Reuse
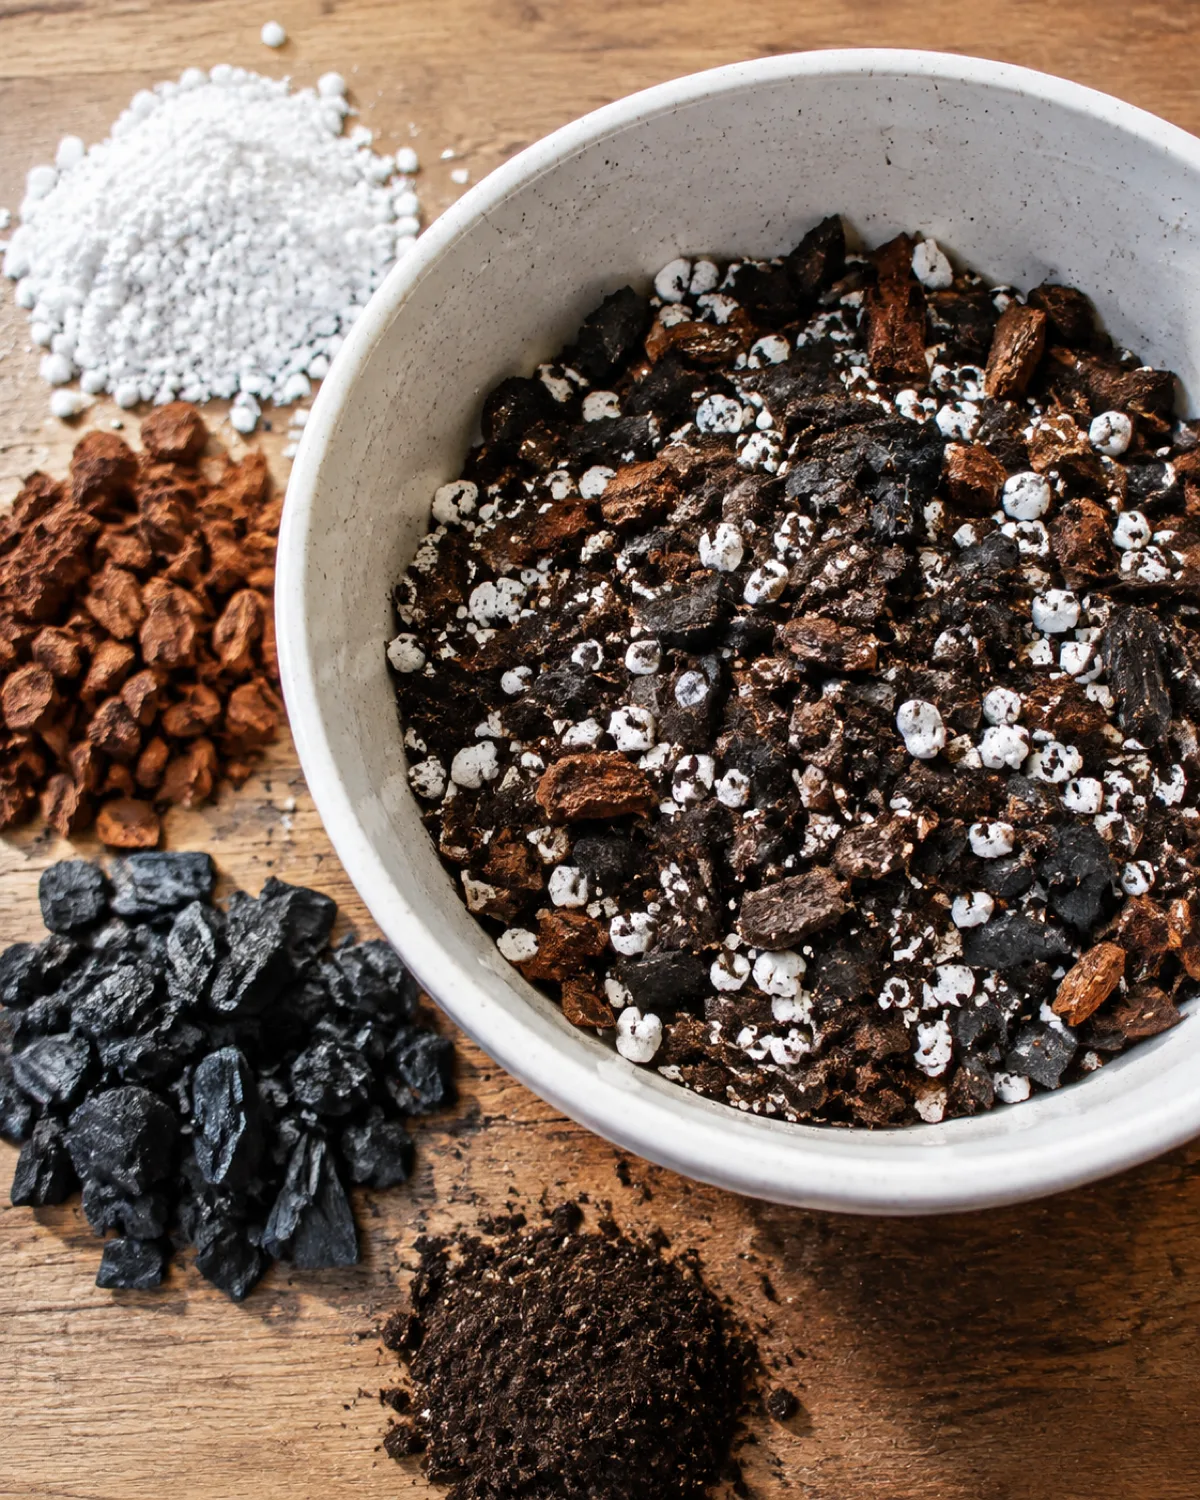
The soil a plant was growing in when it developed root rot failed that plant. Repotting the rescued roots into the same type of mix is repeating the conditions that caused the problem.
A rescue mix needs to drain faster than what you would normally use, because the remaining roots are compromised and less tolerant of any lingering moisture.
Base recipe for a rot-rescue mix:
- 30% standard potting soil (provides structure and some water retention)
- 30% perlite (creates air pockets and speeds drainage)
- 20% orchid bark (keeps the mix open and resists compaction)
- 20% horticultural charcoal (absorbs toxins and inhibits fungal regrowth)
This is deliberately chunkier than a normal houseplant mix. The rescued roots need maximum oxygen access while they regenerate, and the charcoal actively works against the pathogens that caused the rot in the first place.
- Never reuse the old soil — it contains active fungal spores that will reinfect the clean roots immediately
- Clean or replace the pot — scrub the inside of clay pots with a dilute bleach solution (one part bleach to nine parts water) and rinse thoroughly; plastic pots are cheap enough to replace
- Terracotta is the best material for a recovering plant because it wicks moisture through its walls, drying the mix faster than plastic or glazed ceramic
One common mistake: adding a gravel layer to the bottom of the pot for "extra drainage." This actually creates a perched water table — a zone of saturated soil above the gravel — that makes root rot more likely, not less. Skip the gravel and rely on the mix and the drainage hole.
Knowing When Propagation Is the Only Option Left
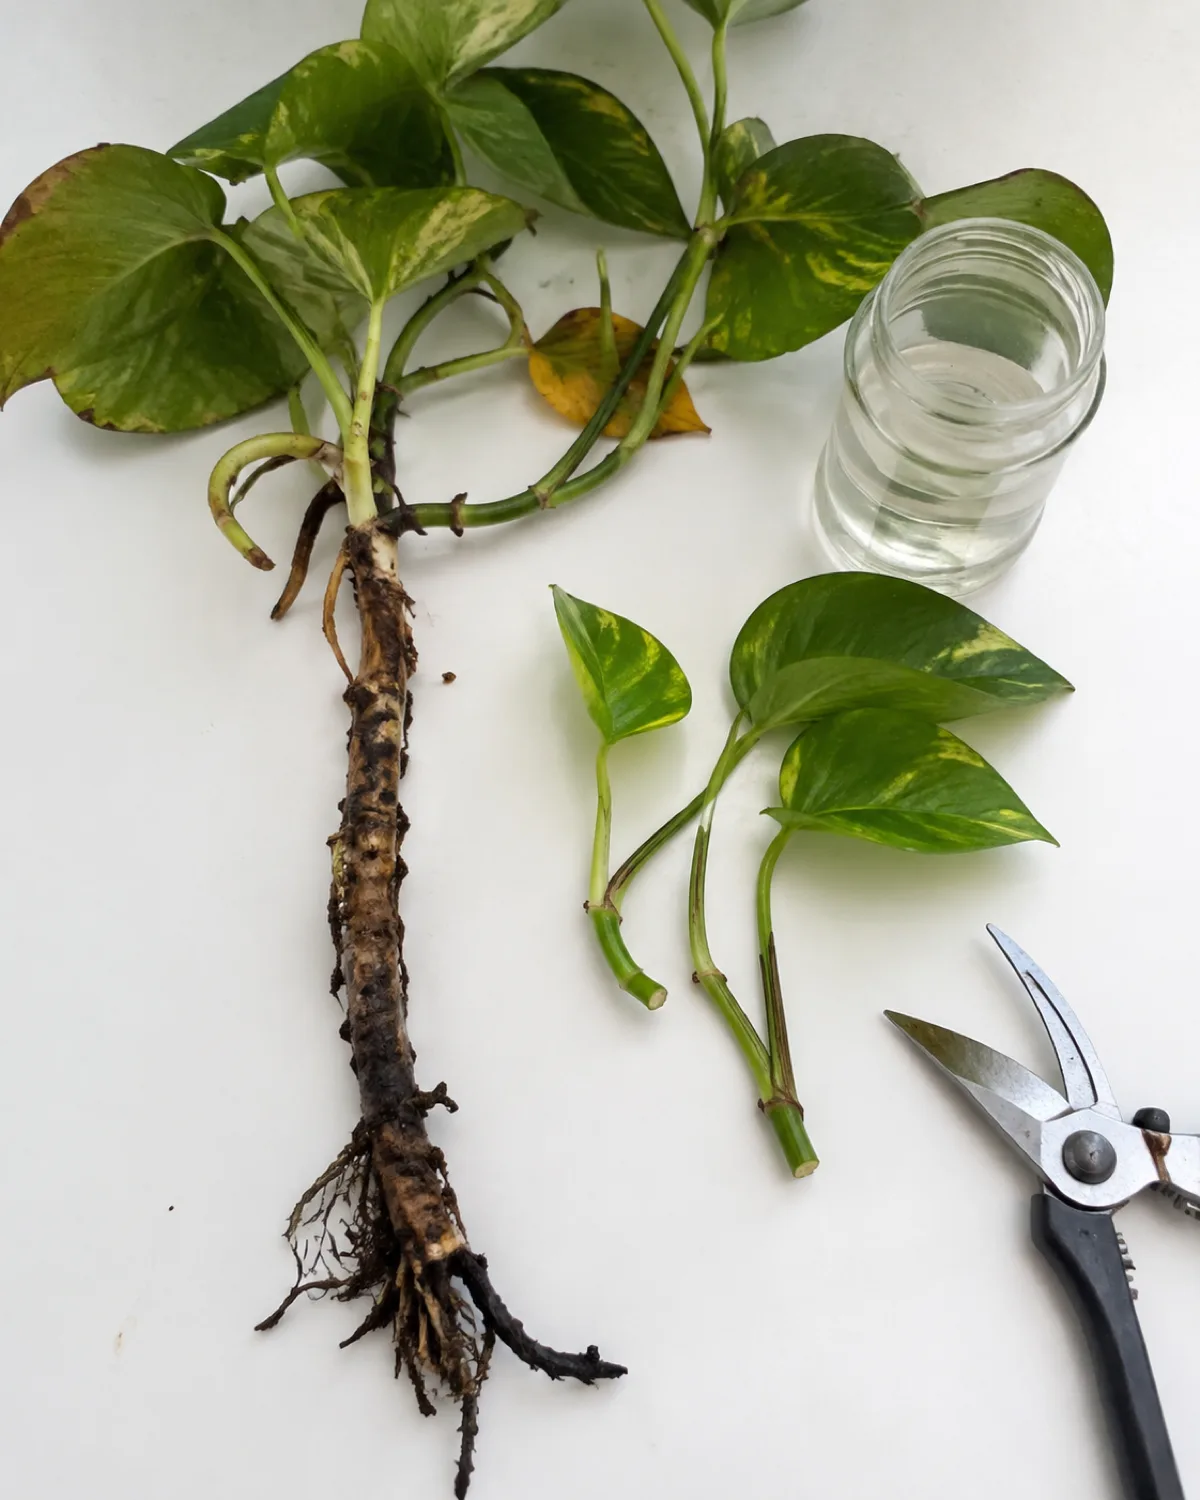
Not every plant can be saved, and the most expensive mistake is spending weeks nursing a plant whose root system is already past the point of recovery.
The honest cutoff: if more than 75 percent of the roots are gone and the stem base is mushy or soft, the plant does not have enough infrastructure left to rebuild. Pouring more resources into it — new soil, new pot, recovery light setup — is sunk cost thinking applied to a plant.
The better move is emergency propagation.
- Identify firm healthy growth — any stem section that is not mushy, any leaf with a firm petiole, any node that still looks green and hard
- Cut clean sections with at least one node each, using sterilized shears
- Root the cuttings in water or damp perlite — water is easier to monitor for rot recurrence because you can see the roots developing in real time
- Change the water every two to three days to prevent bacterial buildup
Work fast. The rot spreads through the vascular system, so the longer you wait the less viable tissue remains. Cut above any discolored or soft zones. Even one healthy node can become a new plant if rooted properly. Species like pothos, philodendron, and tradescantia root from cuttings within one to three weeks and are the most forgiving candidates for emergency propagation.
Some species do not propagate easily from cuttings. Calathea, fern, and alocasia grow from rhizomes or division, not stem cuttings. If the rhizome or corm is firm, you can sometimes rescue it by trimming all dead material and planting the clean corm in barely damp perlite. If the corm itself is soft and mushy, the plant is gone.
Plants With Root Systems That Rot Fastest
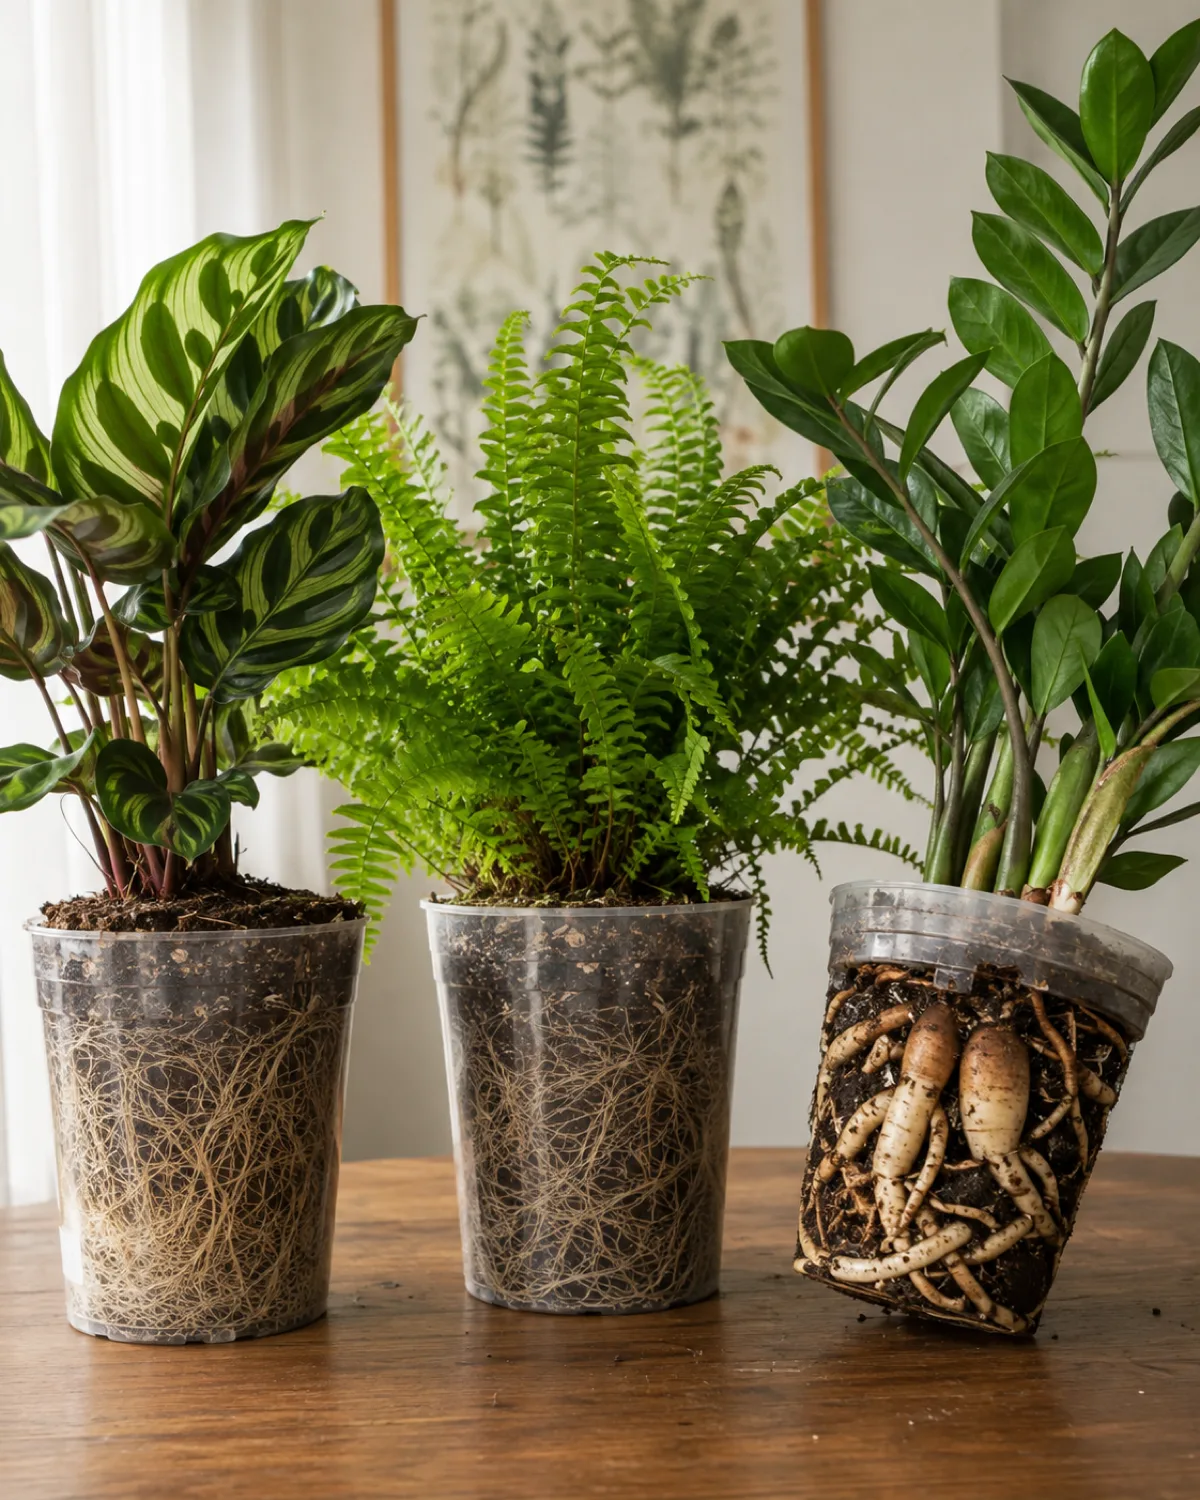
Root structure dictates how fast rot kills a plant. Fine-rooted species have almost no buffer; thick-rooted species can tolerate wet conditions for days before the damage becomes irreversible.
High vulnerability — fine root systems:
- Calathea — hairline roots with no water storage; needs consistent moisture but zero standing water
- Boston fern — dense fine root network that compacts soil over time, reducing drainage
- Begonia — shallow fine roots that sit in the wettest top layer of soil
- Prayer plant — same fine-root profile as calathea, same sensitivity
Moderate vulnerability — standard root systems:
Most common houseplants fall here. Pothos, philodendron, monstera, and peace lily all develop root rot if left in wet soil, but their thicker roots give you a wider window to catch and treat the problem.
Low vulnerability — storage organs:
- ZZ plant stores water in thick rhizomes and can survive weeks of drought — root rot requires prolonged, severe overwatering
- Snake plant has thick succulent roots that resist short-term wet conditions
- Succulents and cacti are paradoxically both the most rot-resistant (because they are watered so rarely) and the most rot-sensitive (because their tissue is adapted to dry conditions and has almost no defense once truly waterlogged)
How Saturated Soil Starves Roots of Oxygen
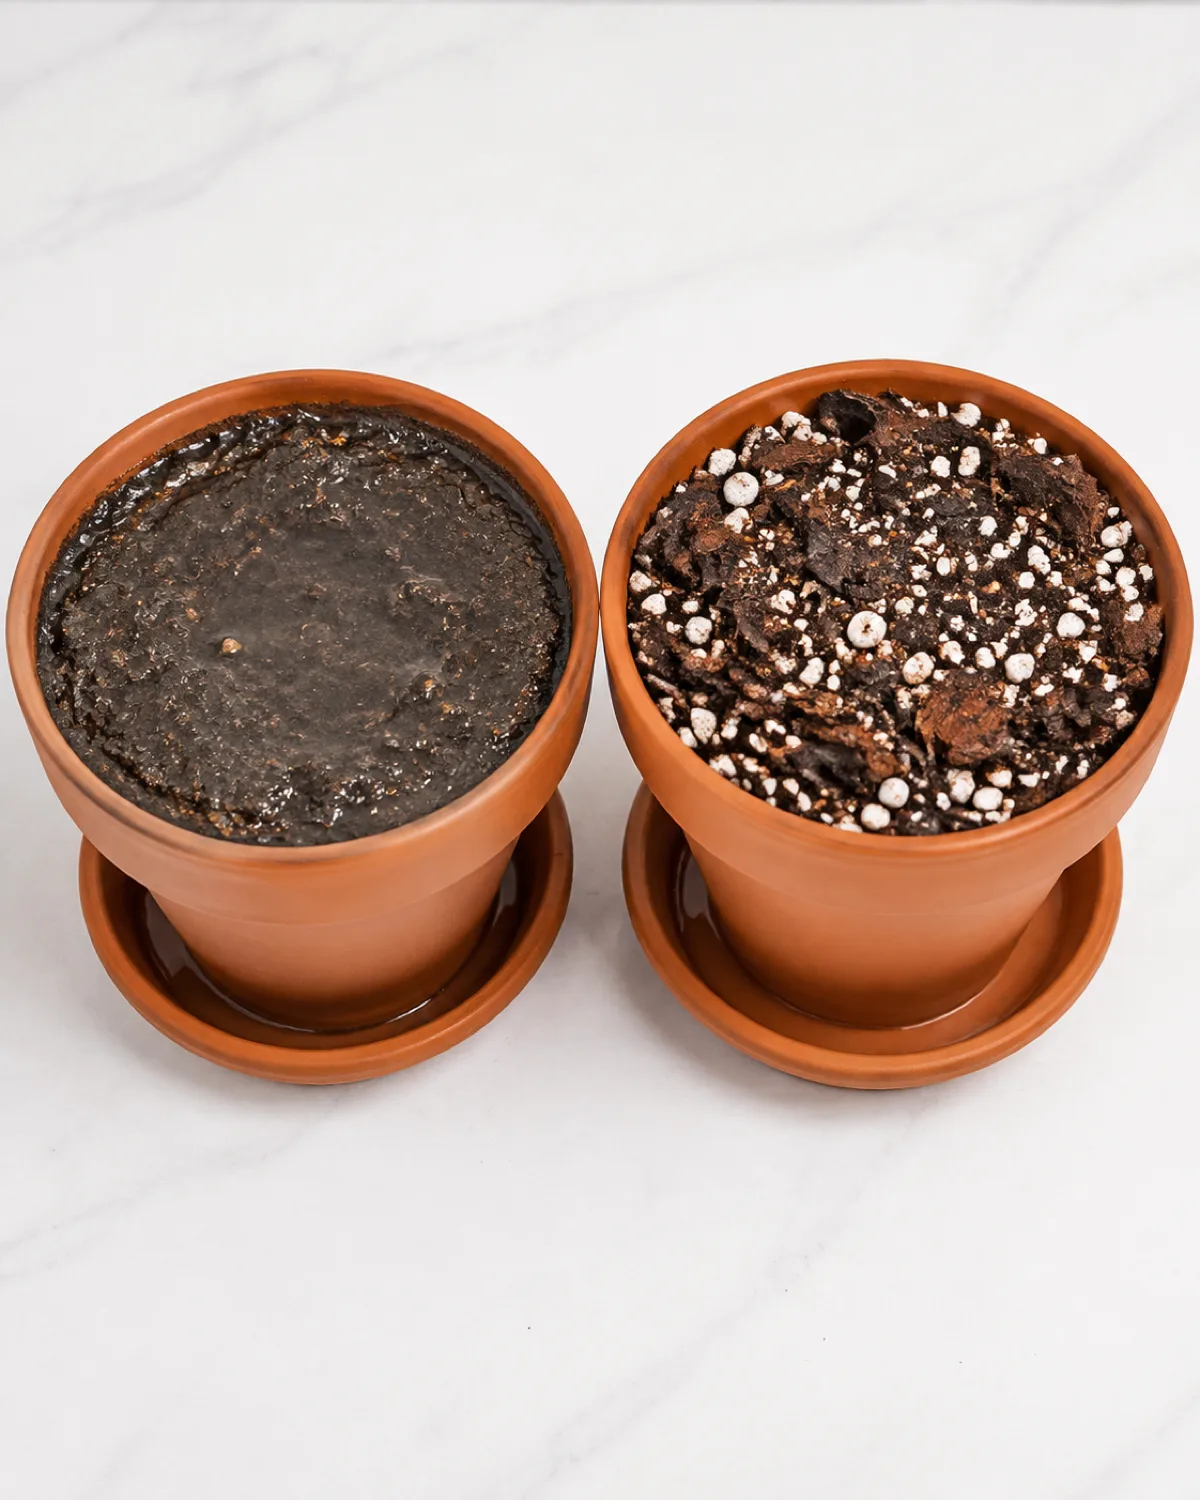
The root cause of root rot is not water. It is the absence of oxygen that standing water creates.
Healthy soil is about 25 percent air by volume. Those air pockets deliver oxygen to the roots, which need it for aerobic respiration — the metabolic process that powers water absorption, nutrient uptake, and cell wall maintenance. When water fills those air pockets and stays there, the roots switch to anaerobic respiration within 24 to 48 hours.
Anaerobic respiration produces ethanol and acetaldehyde as byproducts. Both are toxic to plant cells. The root tissue weakens, the cell walls soften, and the opportunistic fungi that were always present in the soil — Pythium, Phytophthora, Fusarium — now have an entry point they could not exploit before.
The real culprit is not how much you pour but how long the soil stays wet:
- A thorough soak that drains completely in minutes is fine — the air pockets refill as the water exits
- A lighter watering that leaves the lower third of the pot perpetually damp is far more dangerous
- Soil that compacts over time loses its air pockets even if you water correctly
Common setups that keep soil wet too long:
- Saucers left full of standing water for hours or days
- Decorative cachepots (outer pots) that trap water with no way to drain
- Soil that has broken down after two or more years without repotting
- Pots without drainage holes, regardless of a gravel layer at the bottom
The fix for saturated soil is never watering less — it is improving the rate at which water exits the system. Drainage is a property of the pot, the soil, and the setup working together.
Pot Material, Size, and Drainage as Root Rot Variables
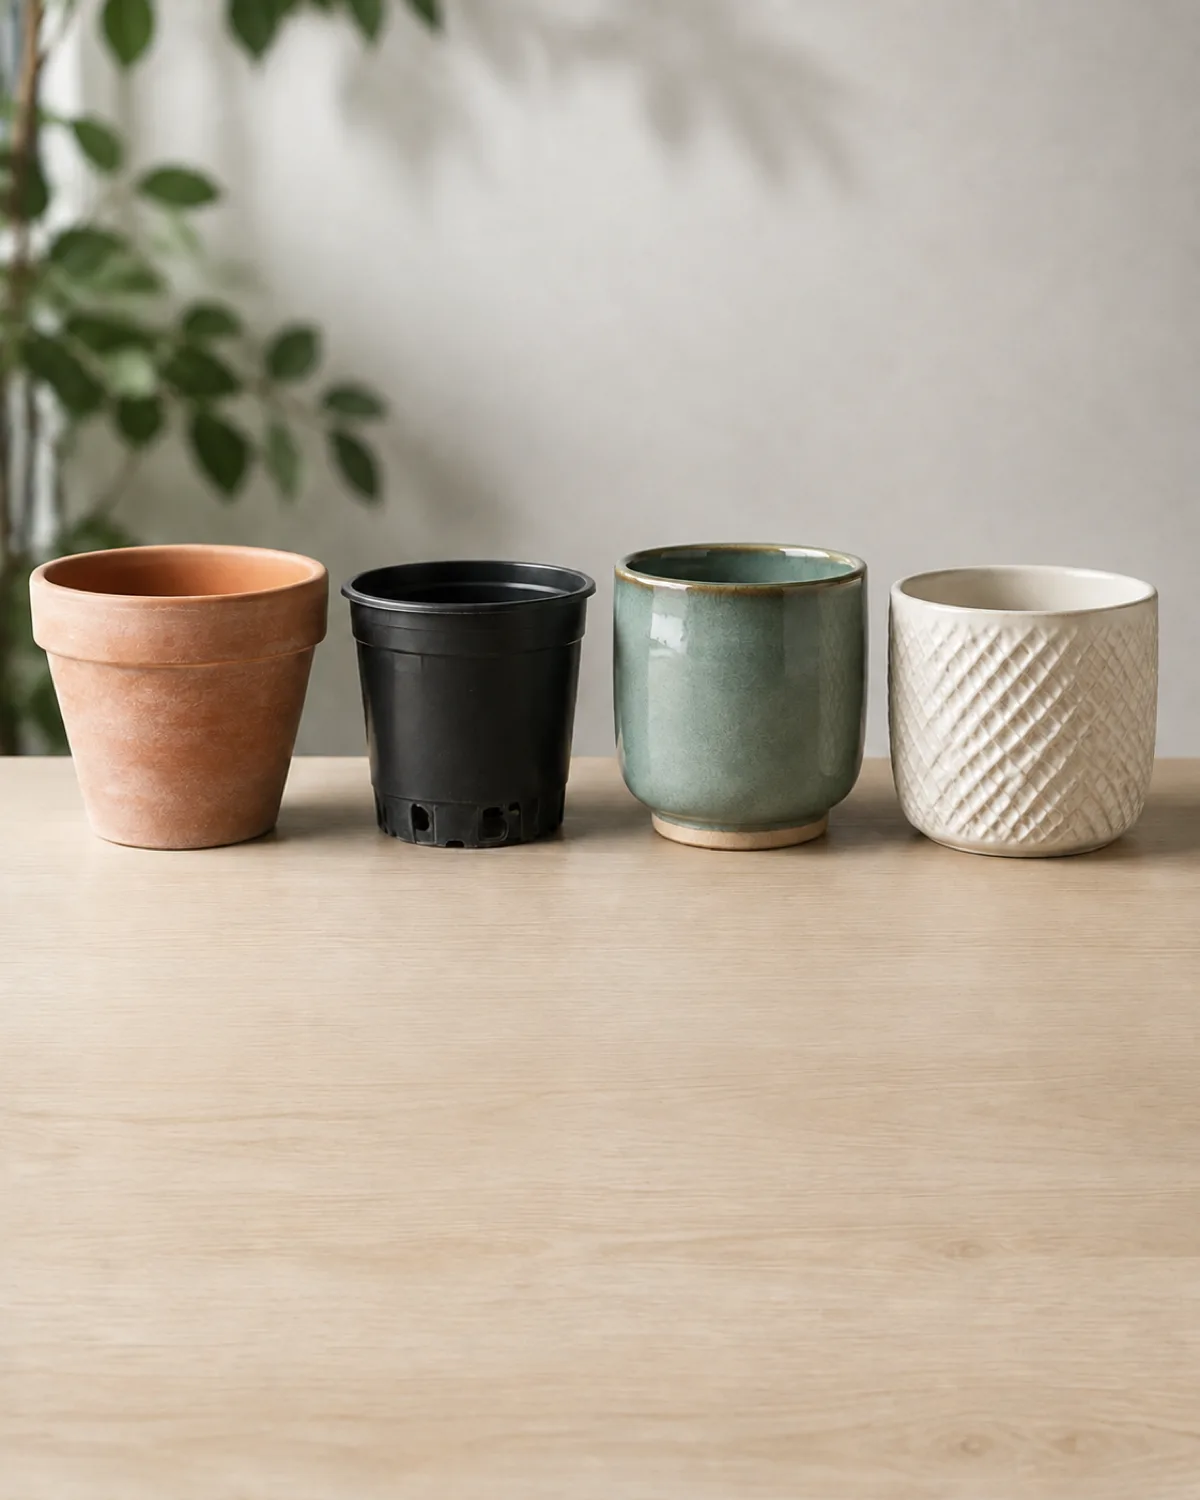
The pot is not just a container. It is part of the drainage system, and the wrong pot can undermine even the best soil mix.
Terracotta is the safest material for rot-prone plants. Unglazed clay is porous — it wicks moisture through its walls and allows air exchange through the sides of the pot, not just the drainage hole. A terracotta pot dries two to three days faster than the same size plastic pot in the same conditions.
Plastic retains moisture longer because the walls are nonporous. This is fine for plants that like consistent moisture — ferns, calathea — but it narrows the margin for error if you tend to overwater.
- Glazed ceramic behaves like plastic for moisture retention because the glaze seals the pores
- Self-watering pots work well when maintained properly but become root rot factories if the reservoir grows algae or the wick clogs
- Cachepots (decorative outer pots without drainage holes) are the single riskiest setup — water pools at the bottom with no exit
Pot size matters as much as material. A pot that is too large for the root ball holds a large volume of soil the roots cannot access yet. That unused wet soil stays wet indefinitely because nothing is drawing moisture from it. The standard rule — go up one pot size at a time, about two inches wider in diameter — exists specifically to prevent this.
The drainage hole is non-negotiable. No amount of gravel, charcoal, or broken pottery at the bottom substitutes for a hole that lets excess water exit the pot entirely.
Why Most Root Rot Diagnoses Happen in Winter
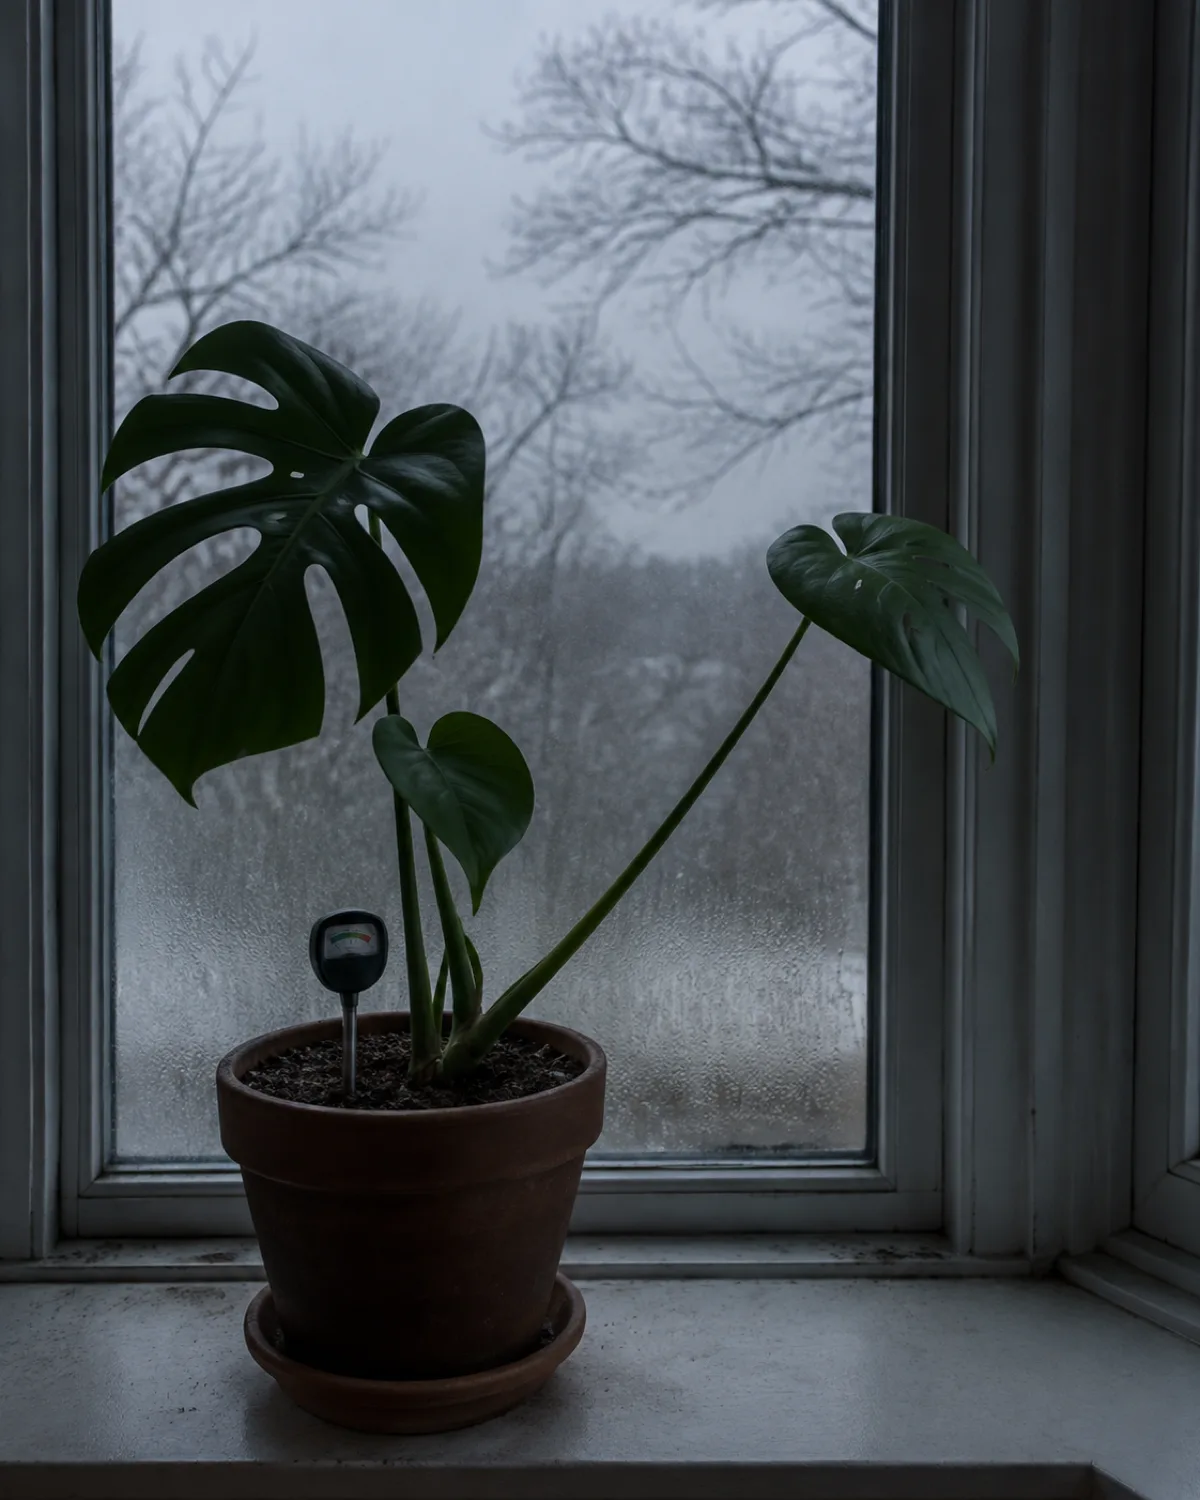
Winter creates a perfect storm for root rot, and most plant owners do not adjust their watering to match.
Three things change between summer and winter that directly affect how long soil stays wet:
- Light drops — less photosynthesis means the plant uses less water; a monstera that drinks its pot dry in four days during July may take ten days in January
- Temperature drops — cooler air near windows slows evaporation from the soil surface; the soil retains moisture in every layer
- Growth stalls — a plant that is not actively growing is not actively using water, nutrients, or soil resources; the root system idles and its defenses lower
The combination means soil stays wet roughly twice as long as in summer. If you water on the same schedule year-round, the winter soil never dries out between waterings.
November through February is the peak window for root rot diagnoses in the northern hemisphere. The plants most at risk are the ones that got a generous summer watering routine that nobody dialed back.
| Seasonal shift | Effect on soil | Your adjustment |
|---|---|---|
| Shorter days, weaker light | Plant uses 40-60% less water | Extend watering interval by 50-100% |
| Cooler indoor temps near windows | Evaporation slows at surface and depth | Check soil moisture deeper before watering |
| Growth dormancy or slowdown | Roots idle, defenses drop | No fertilizer until active growth resumes |
The practical rule: if you watered every five days in summer, shift to every seven to ten days in winter — but always check the soil before watering rather than relying on a calendar.
A Prevention Stack That Costs Nothing
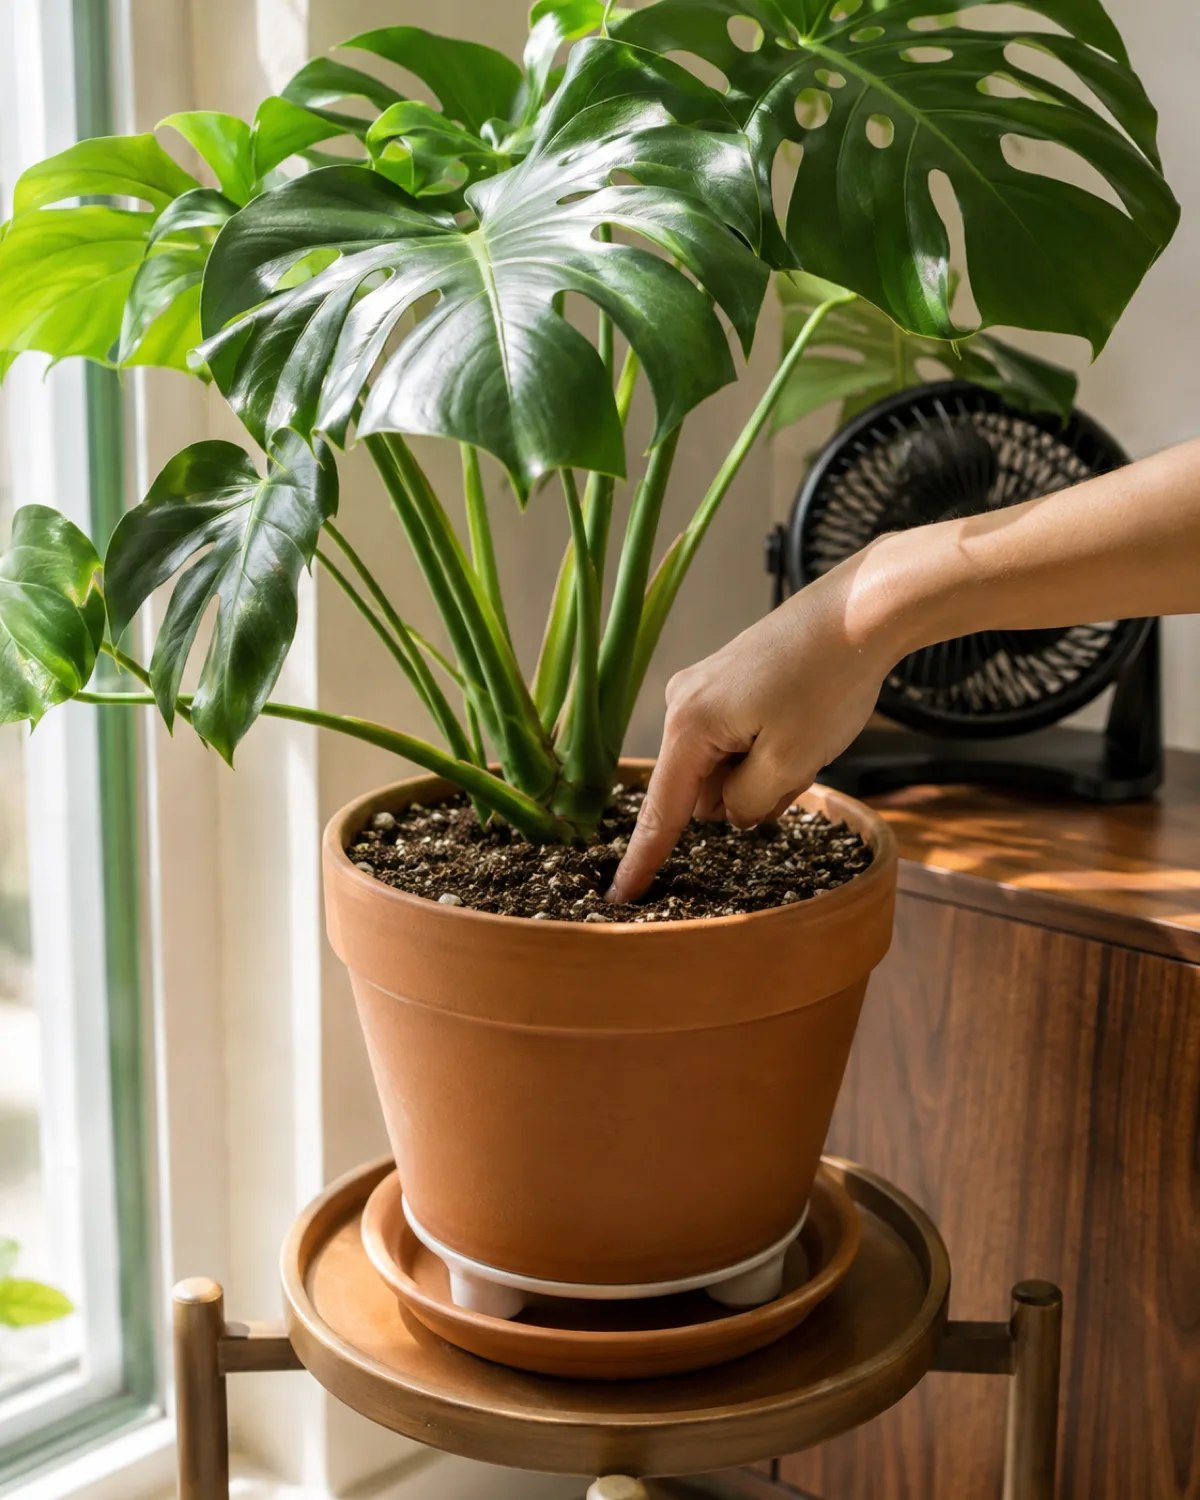
Prevention is cheaper, easier, and more reliable than treatment. Every step below costs zero dollars and takes less than thirty seconds per plant.
The finger test before every watering. Push your index finger two inches into the soil. If it feels moist at that depth, do not water. If it feels dry, water thoroughly until water runs from the drainage hole. This single habit prevents more root rot than every treatment method combined.
Fast-draining soil from day one. Do not wait for root rot to upgrade your mix. When you buy or repot a plant, amend standard potting soil with perlite and bark before the plant goes in. A 30 percent perlite addition transforms a water-holding mix into one that drains well.
- Pots with drainage holes only — no exceptions, no gravel substitutes
- Empty saucers within 30 minutes of watering — standing water in the saucer is standing water touching the roots
- Annual root check at repotting — slide the plant out once a year, inspect the roots, and refresh the soil if it has compacted
- Airflow around the pot base — plant stands, pot feet, or even a small fan nearby helps the soil dry evenly from all sides
Root Rot Prevention Checklist
- 1Finger test every time you reach for the watering canTwo inches deep, dry means water, moist means wait. Replace the calendar with your finger.
- 2Mix perlite into every potting soil before useAt least 30 percent by volume. This one amendment cuts root rot risk in half.
- 3Use only pots with drainage holesNo exceptions. Drill one if you love the pot, or use it as a cachepot and lift the inner pot to drain.
- 4Empty saucers within 30 minutes of wateringWater sitting in the saucer is water the roots are sitting in. Dump it every time.
- 5Do not jump more than one pot size when repottingAn oversized pot holds excess wet soil the root ball cannot use, creating a permanent wet zone.
- 6Reduce watering by half in winterLower light and cooler temps mean soil dries slower. November through February is the danger zone.
- 7Refresh soil every 12 to 18 monthsOld soil compacts and loses air pockets. Fresh mix restores the drainage the roots depend on.
- 8Check roots once a year at repotting timeCatching early rot during a routine repot means trimming a few roots instead of losing the plant.
- 9Keep airflow moving around the pot baseA plant stand or pot feet lifts the base off the surface. Even a gentle fan nearby helps soil dry evenly.
- 10Quarantine new plants for two weeks before groupingNew arrivals can carry [fungus gnats](/fungus-gnats/) and soil pathogens. Isolate first, integrate later.
- 11Match the pot material to your watering habitHeavy waterers should default to terracotta. Forget-to-water types can safely use plastic.
- 12Never reuse soil from a plant that had root rotActive fungal spores survive in the mix. Fresh bag, clean pot, zero carryover.
kultivy.com
For beginners who feel overwhelmed by the checklist: start with just the first three. The finger test, perlite in the soil, and drainage holes alone prevent the vast majority of root rot cases. Add the rest as habits once those three become automatic.
Root Rot Questions Answered
Can hydrogen peroxide cure root rot on its own?
It kills fungal spores on contact but cannot regenerate dead root tissue. Think of it as a disinfectant, not a medicine. Used after trimming dead roots, it improves outcomes significantly. Poured into soil without trimming, it delays the inevitable.
Does cinnamon powder protect cut root surfaces?
Cinnamon has mild antifungal properties, but its effectiveness is modest compared to hydrogen peroxide or simply letting the cuts air-dry. Dust lightly if you use it — a thick coating blocks moisture exchange at the cut surface.
- Should you water less after treating root rot? — Water thoroughly when you do water, but extend the interval; slightly drier conditions push new roots to explore the fresh mix
- Can root rot spread between plants sharing a tray? — Yes, through shared standing water and through fungus gnats that carry spores; isolate any plant showing symptoms immediately
- How long does recovery take? — Mild cases bounce back in three to six weeks, moderate in two to four months, severe in six months or more
- Can you prevent root rot with a fungicide? — Copper-based fungicides work as a preventive drench but proper watering and drainage prevent rot more reliably than any chemical

Mara writes evidence-based houseplant guides for Kultivy, turning botanical science into care steps anyone can follow. Every recommendation is tested against published horticultural research, grower experience, and the reality of indoor conditions. More about Kultivy.