Most first houseplants die within a month. The owner blames their thumb, swears off plants, and never tries again.
The plant was almost certainly fine. The problem was a mismatch — wrong light, too much water, or a species the room could never support. Fix that and the same person keeps a plant alive for years.
These fourteen steps cover every decision from reading the light in your space to building a small collection.
From reading the light in your room to building your first small collection. Jump to what you need.
Why Most First Plants Die Within a Month
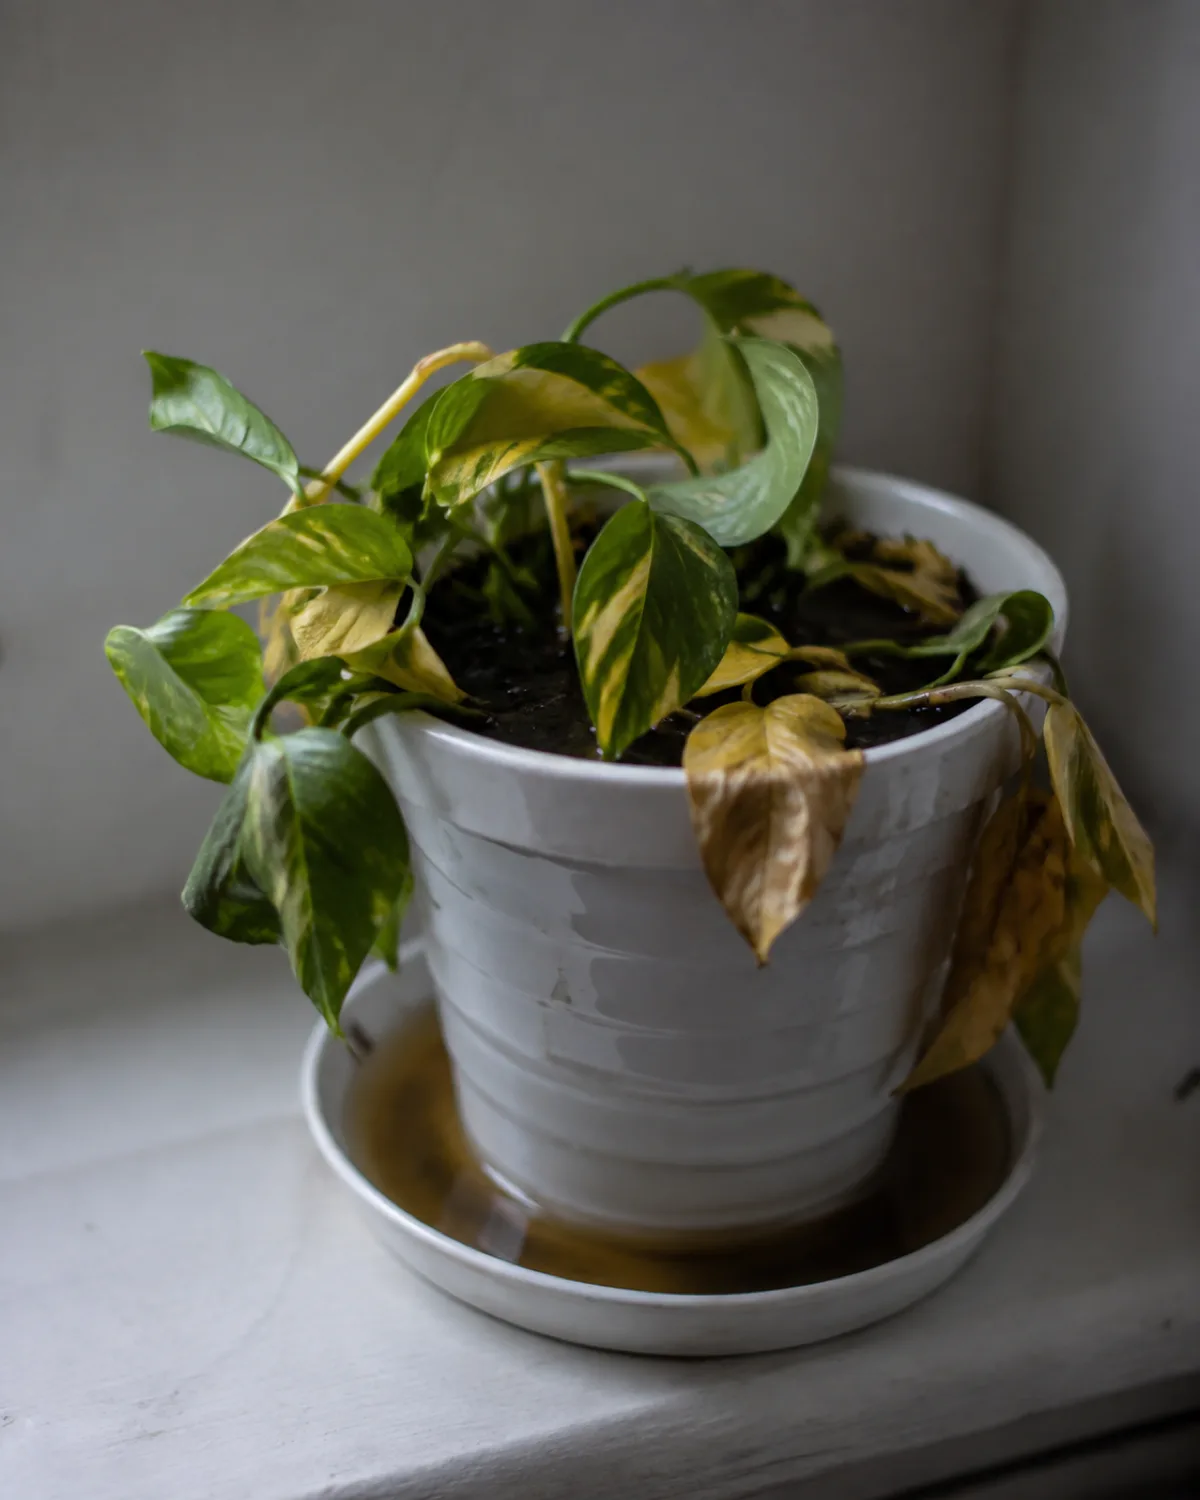
The two most common ways to kill a first plant are overwatering and putting it somewhere too dark. Both happen for the same reason — the owner follows a rule they read online without checking whether that rule fits their actual room.
"Water once a week" does not account for pot size, soil type, humidity, or season. A small pothos in a terracotta pot near a sunny window dries out in three days. The same plant in a plastic pot in a dim hallway stays wet for two weeks. One watering schedule cannot serve both.
The light mismatch works the same way. "Bright indirect light" is the most repeated phrase in houseplant care and the least useful. It describes a range so wide that it covers a south-facing window filtered through a sheer curtain and a spot six feet from a north-facing window — two completely different environments.
- Overwatering signs: yellowing lower leaves, mushy stems, soil that smells sour, fungus gnats hovering around the pot
- Low-light signs: leggy stretched growth, pale or small new leaves, the plant leaning hard toward the nearest window
The fix is not to memorize more rules. It is to learn the two skills that make every rule unnecessary: reading light and reading soil moisture. The next two sections cover both.
How to Read the Light in Your Space Before Buying Anything
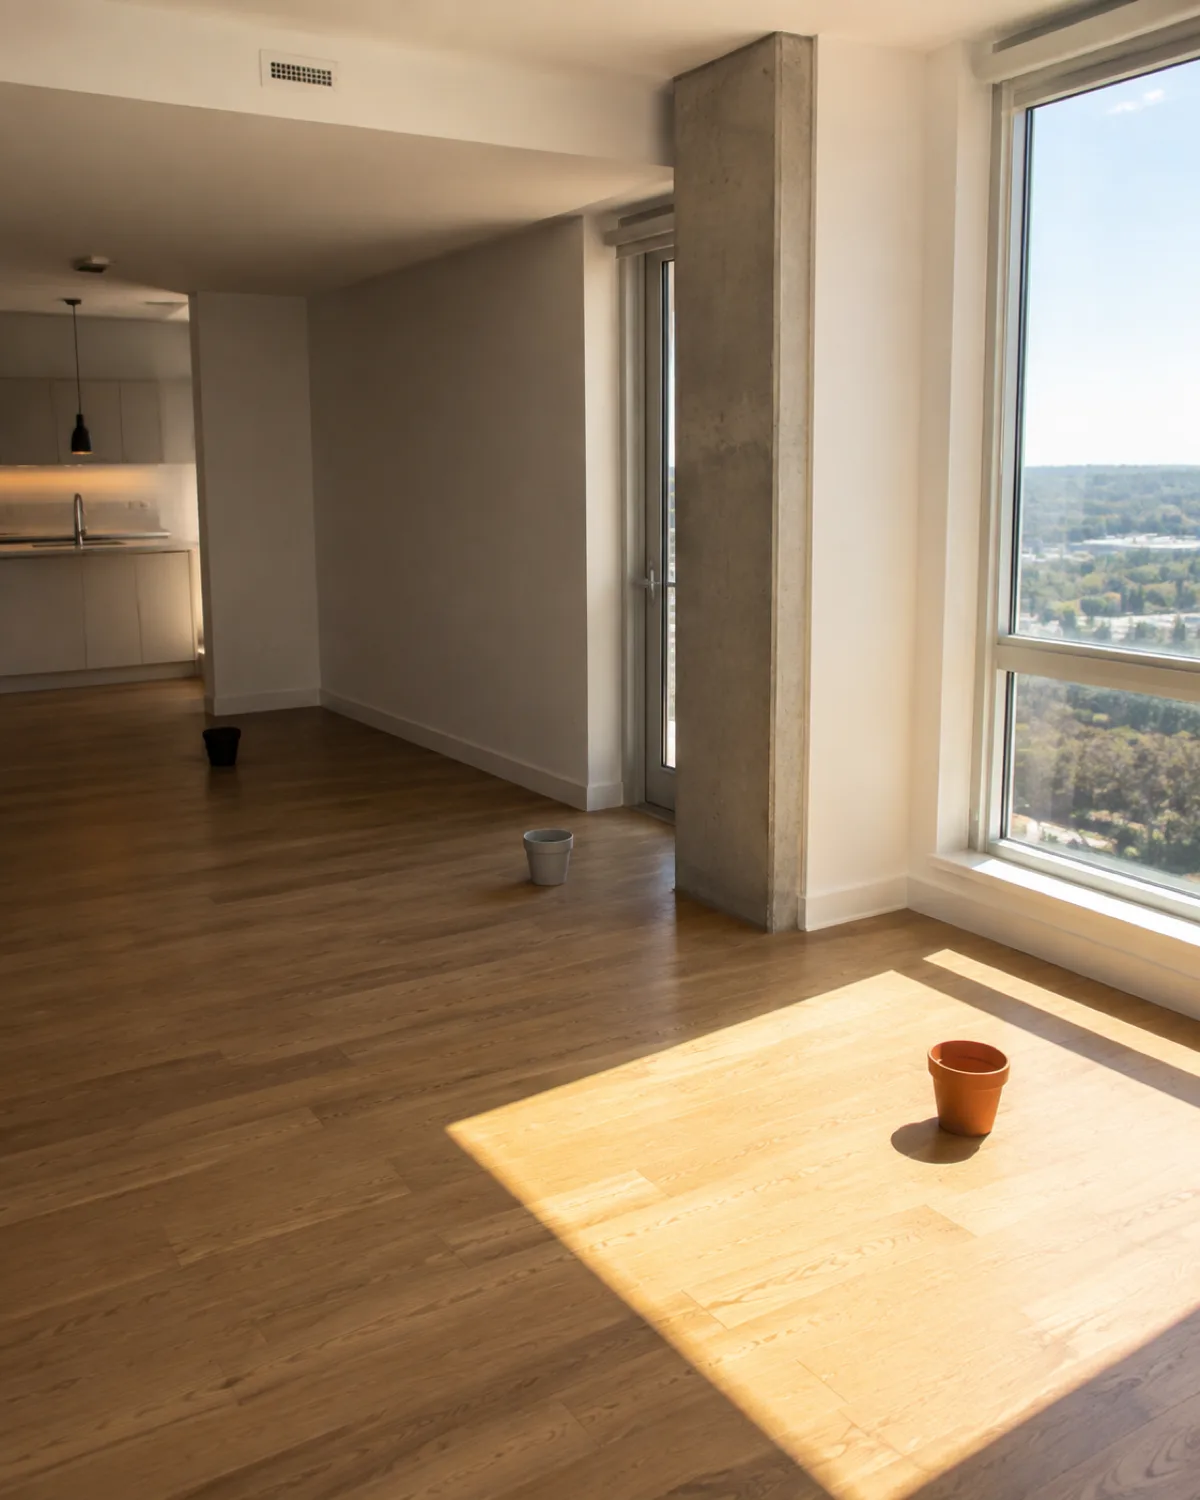
Every window faces a direction, and that direction determines the maximum light your room can offer. This is the single most important piece of information for choosing plants for beginners, because no amount of care compensates for a plant that needs six hours of sun sitting in a room that gets one.
- South-facing windows deliver the strongest, longest light. The area within two feet of the glass gets direct sun for several hours. Most plants thrive here with a sheer curtain diffusing the harshest midday rays.
- East-facing windows get gentle morning sun for three to four hours. Excellent for the majority of tropical houseplants that prefer bright indirect light.
- West-facing windows get hot afternoon sun. Strong enough for sun-lovers, but the heat can scorch thin-leaved tropicals placed right against the glass.
- North-facing windows provide consistent but low light. Only true shade-tolerant species will do well here without supplemental grow lights.
For a deeper breakdown of foot-candle ranges and what each level supports, see the full guide to houseplant light requirements.
Five Starter Plants That Forgive Almost Everything
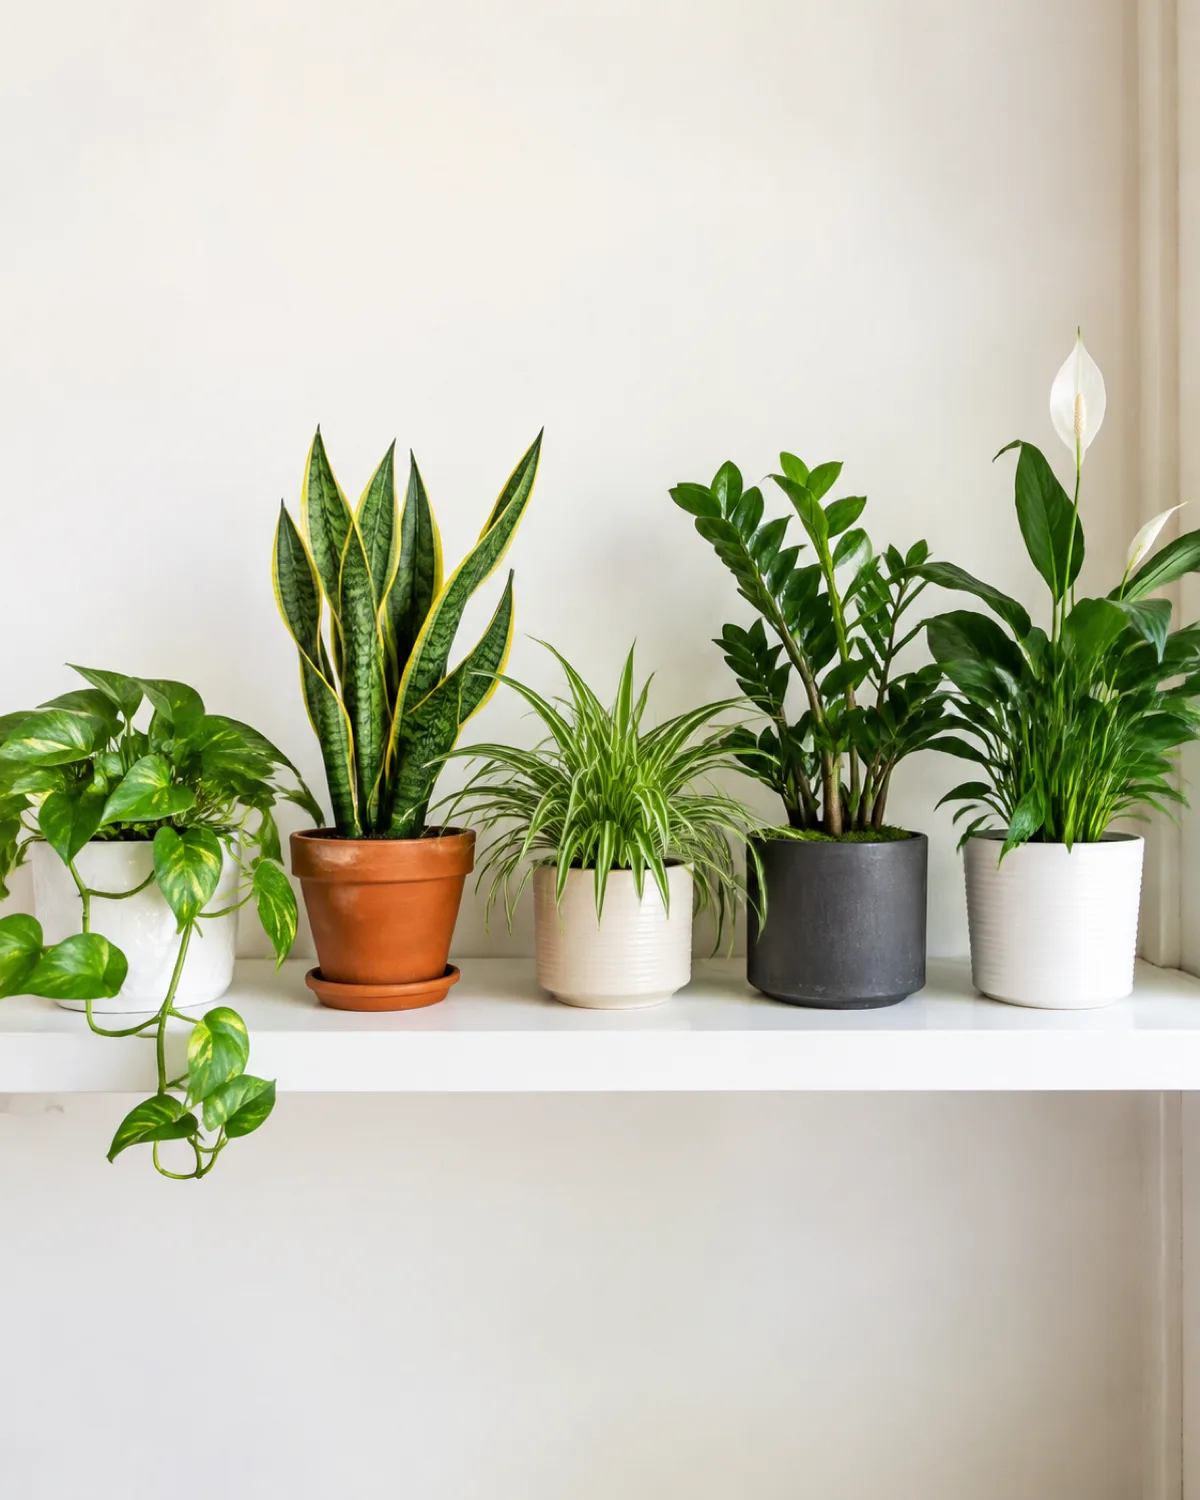
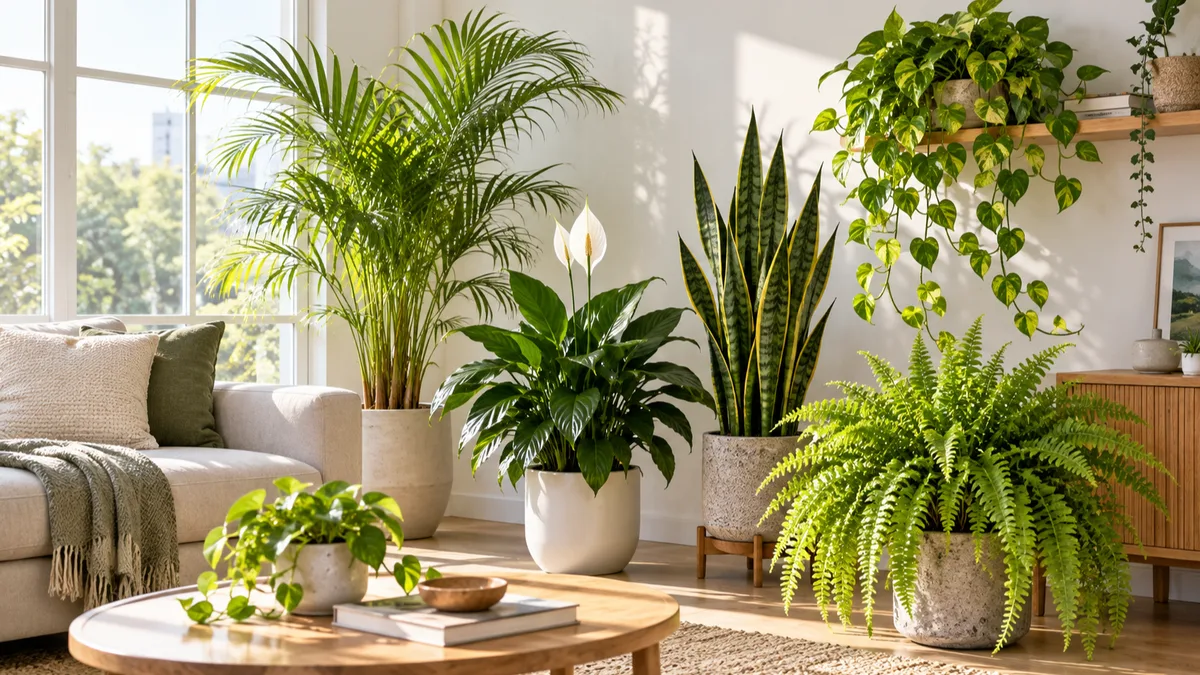
These five species show up on every "plants for beginners" list because they genuinely tolerate the mistakes new owners make. Each one has a single thing to get right — nail that one habit and the plant will carry itself.
- Pothos — tolerates low light, irregular watering, and questionable soil. The one thing to get right: let the top inch of soil dry before watering. Yellowing leaves almost always mean too much water, not too little.
- Snake plant — survives weeks of neglect and thrives in both bright and low light. The one thing: do not overwater. Water every two to three weeks in summer, monthly in winter. The thick leaves store moisture, and soggy soil rots the roots faster than any other problem.
- Spider plant — adapts to most light conditions and signals its needs clearly by curling or browning leaf tips. The one thing: keep it away from direct hot sun, which scorches the arching leaves.
- ZZ plant — underground rhizomes store water for weeks. Handles low light better than almost any other houseplant. The one thing: water only when the soil is completely dry to the bottom of the pot. This plant dies from love, not neglect.
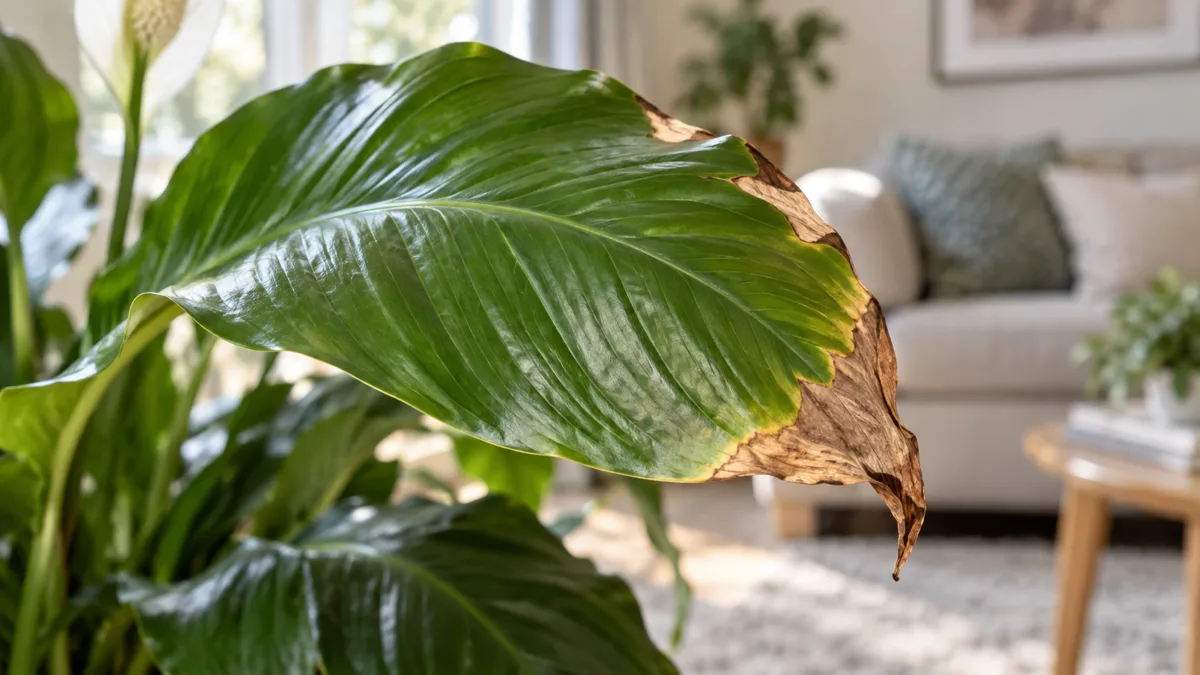
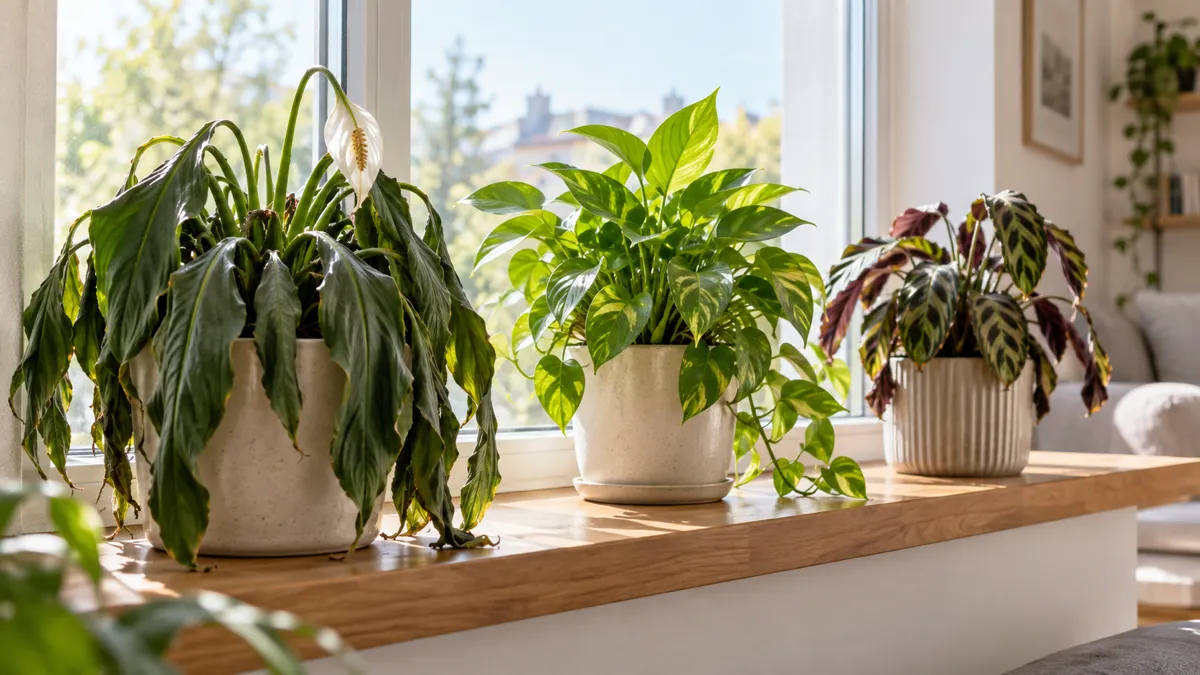
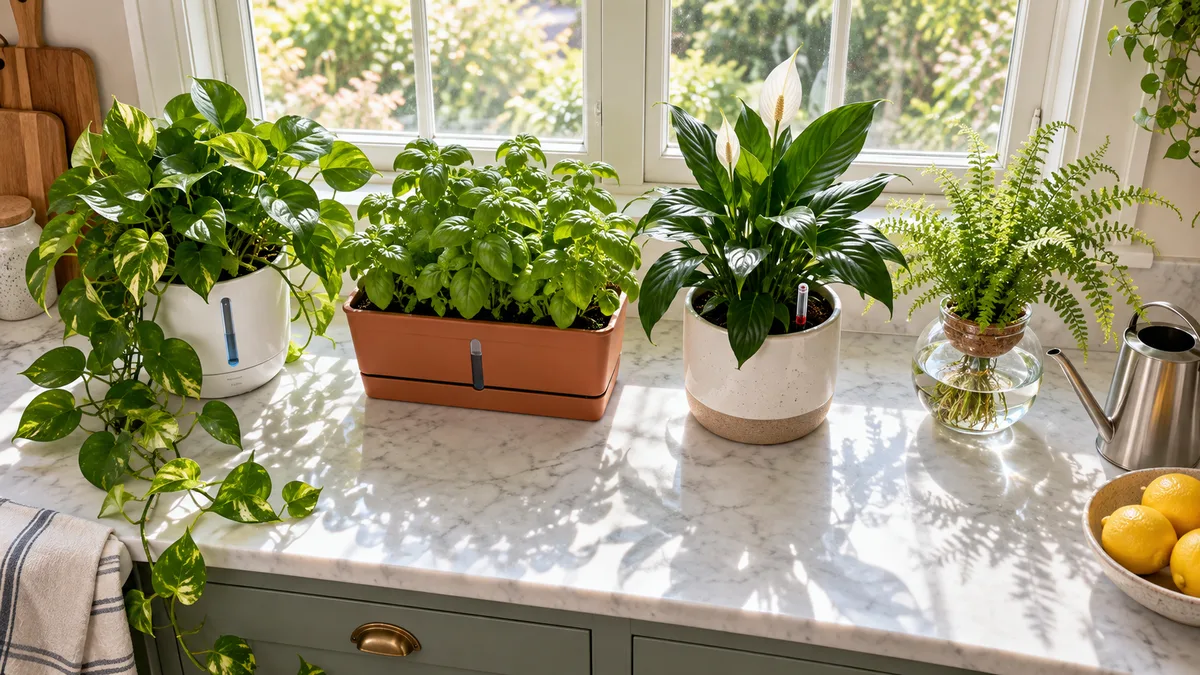
- Peace lily — the only flowering plant on this list, and it tells you when it needs water by drooping dramatically. The one thing: water as soon as the leaves begin to droop, and it springs right back. Waiting too long past that point causes permanent brown edges.
A beginner does not need five plants. One of these, matched to the light their room actually provides, is the right starting point.
Three Starter Plants for Rooms With Almost No Light
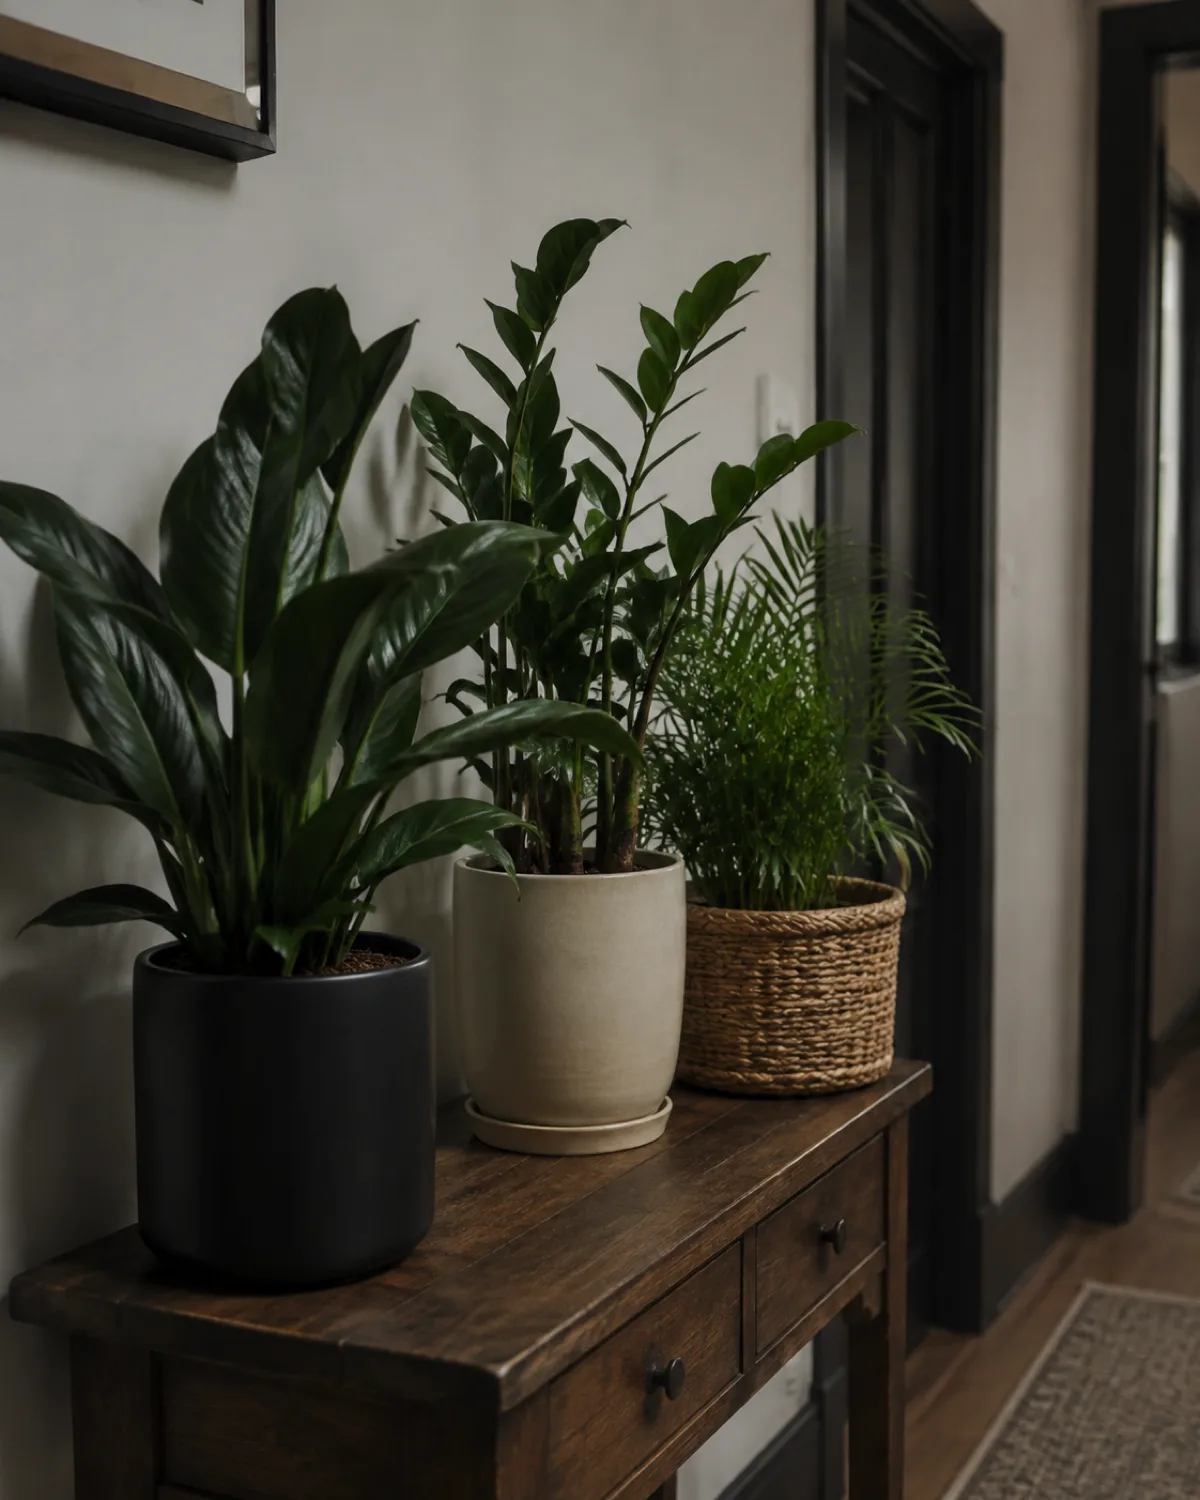
Not every room has a window that lets in useful light. Hallways, bathrooms without windows, and north-facing rooms in winter can drop below a hundred foot-candles — the threshold where most houseplants stop growing and start declining.
These three handle it:
- Cast iron plant (Aspidistra elatior) — earned its name by surviving Victorian parlors heated by coal. Grows slowly in low light but does not yellow, stretch, or drop leaves the way tropical species do. Water when the top two inches of soil are dry. Virtually pest-free.
- ZZ plant — appears again because its low-light tolerance is not an exaggeration. The thick, waxy leaflets reflect what little light is available, and the underground rhizome stores enough water and energy to sustain the plant through weeks of near-darkness.
- Parlor palm (Chamaedorea elegans) — a naturally understory palm that evolved beneath a canopy of taller trees. It needs less light than almost any other palm, and its fine fronds add softness to spots where most plants would look sparse and sad.
For more options, including trailing varieties that work in low-light hanging planters, see the full guide to low-light houseplants.
What to Look for When Buying a Plant at the Store
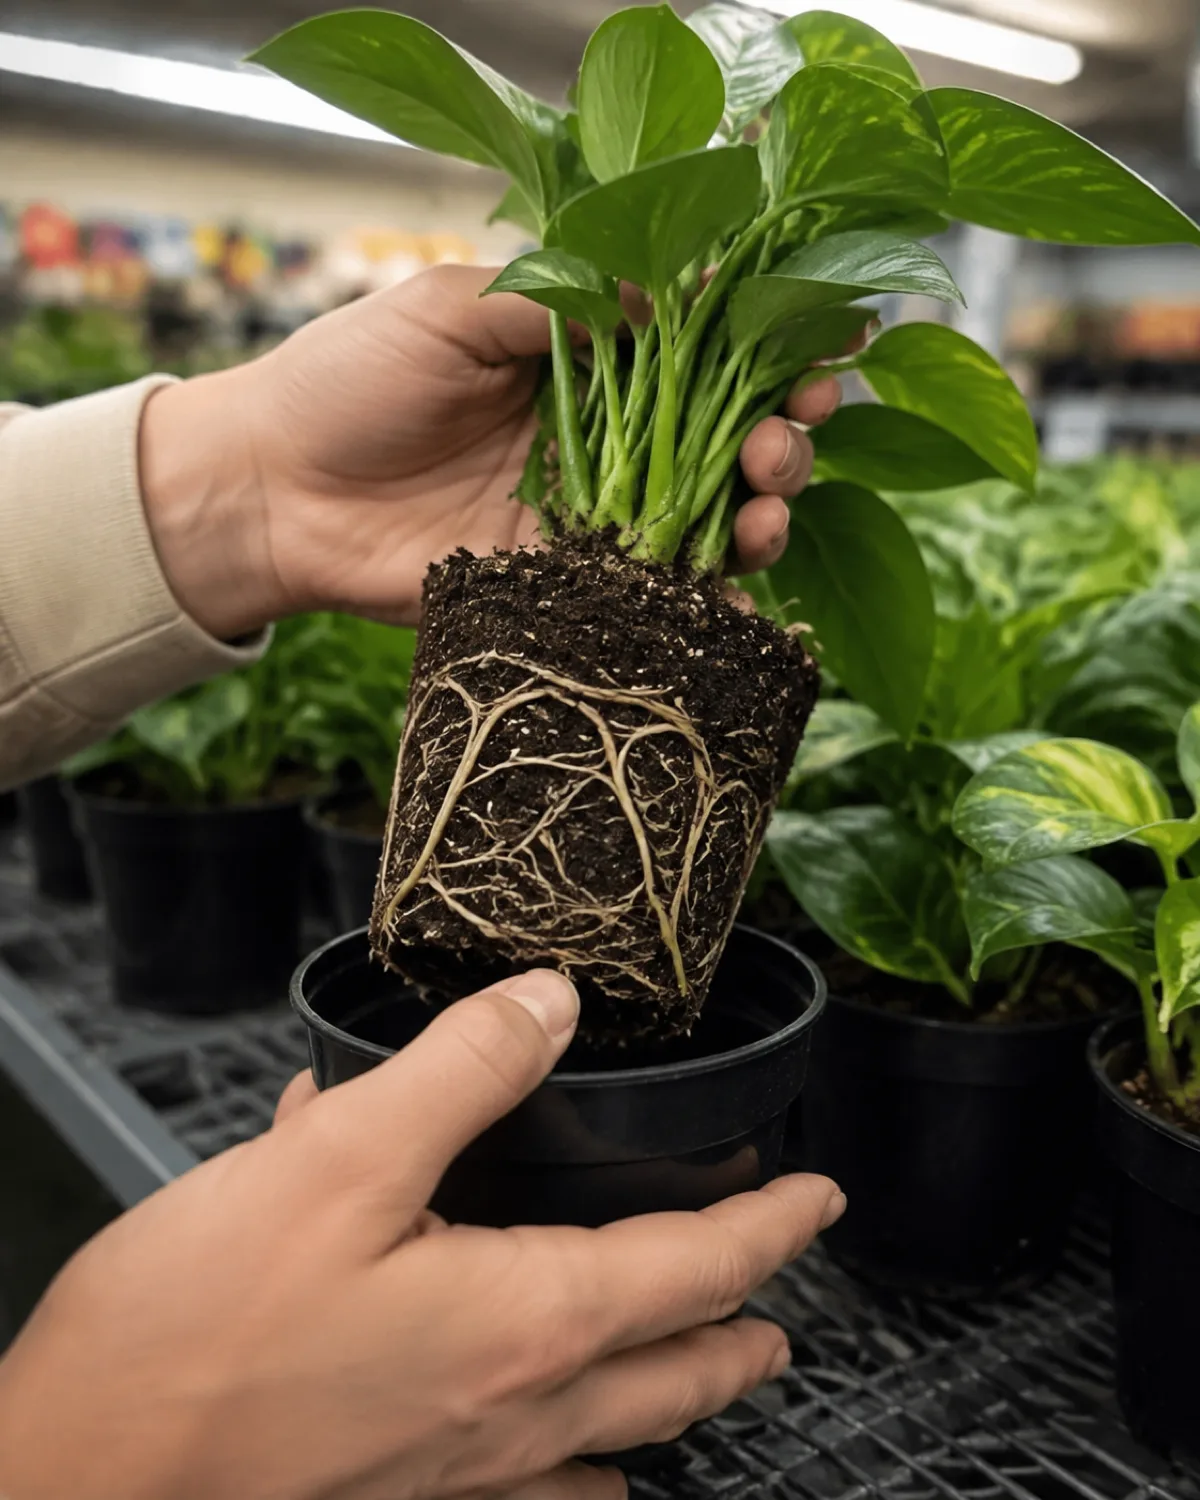
A healthy plant from the store adapts to your home in a week. A stressed or infested plant starts dying the day you bring it home, and you blame yourself for months.
Spend two minutes checking before you buy:
Avoid the discount rack of half-dead clearance plants. Reviving a stressed bargain plant requires more experience than a beginner has, and the risk of bringing home pests that spread to your healthy plants is not worth the savings.
The Only Supplies You Actually Need on Day One
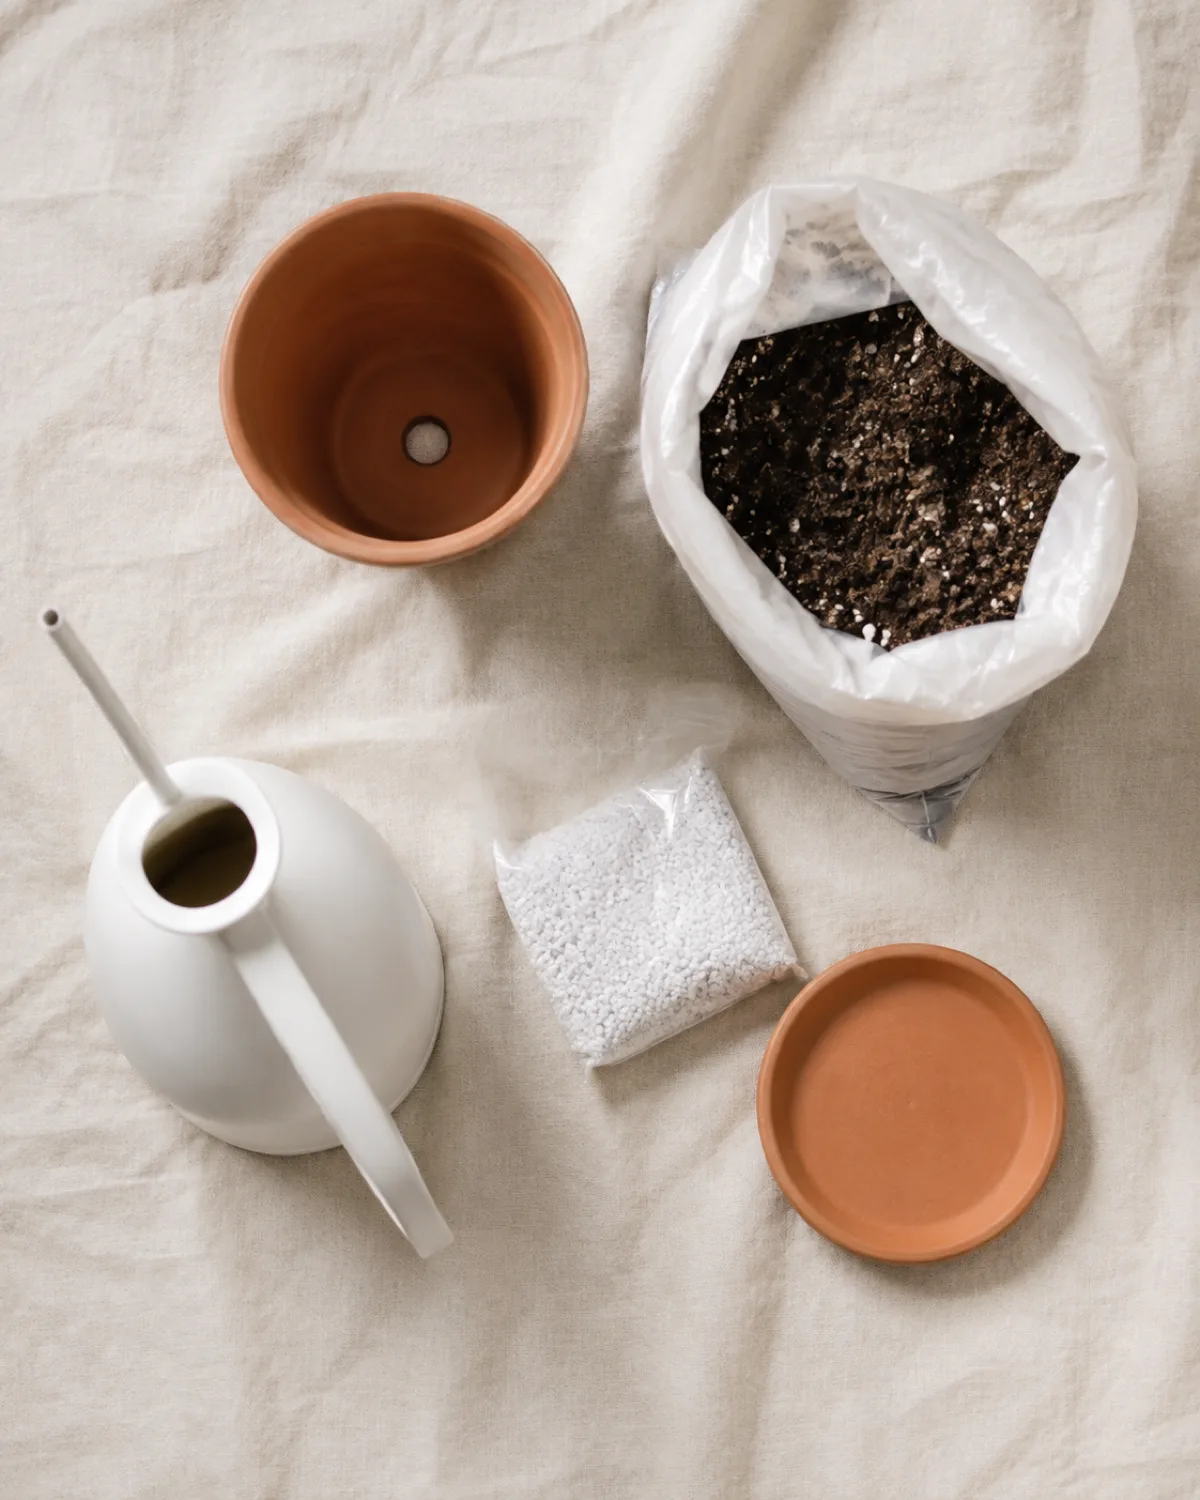
Plant care content loves to sell you accessories. Moisture meters, humidity trays, misting bottles, specialized plant food, decorative cache pots — most of it is unnecessary on day one and some of it actively causes problems.
What you actually need:
- A pot with a drainage hole. This is the only non-negotiable supply. Water must be able to leave the bottom of the pot. A pot without drainage holds excess water around the roots and creates the conditions for root rot. Terracotta is the most forgiving material for beginners because it breathes and dries out faster, reducing overwatering risk.
- Indoor potting mix. Not garden soil, not topsoil from a hardware store, not dirt from outside. Indoor potting mix is formulated to drain well in containers. Adding a handful of perlite to the bag improves drainage further, which helps with the most common beginner mistake.
- A watering can or pitcher. Anything that lets you pour water slowly and directly onto the soil without splashing the leaves. A narrow spout helps with accuracy.
That is it. A saucer under the pot to catch runoff is practical but not essential. Everything else — fertilizer, decorative pots, plant stands — can come later, after the plant has settled and you have established a routine.
Your First Watering Routine Without Overcomplicating It
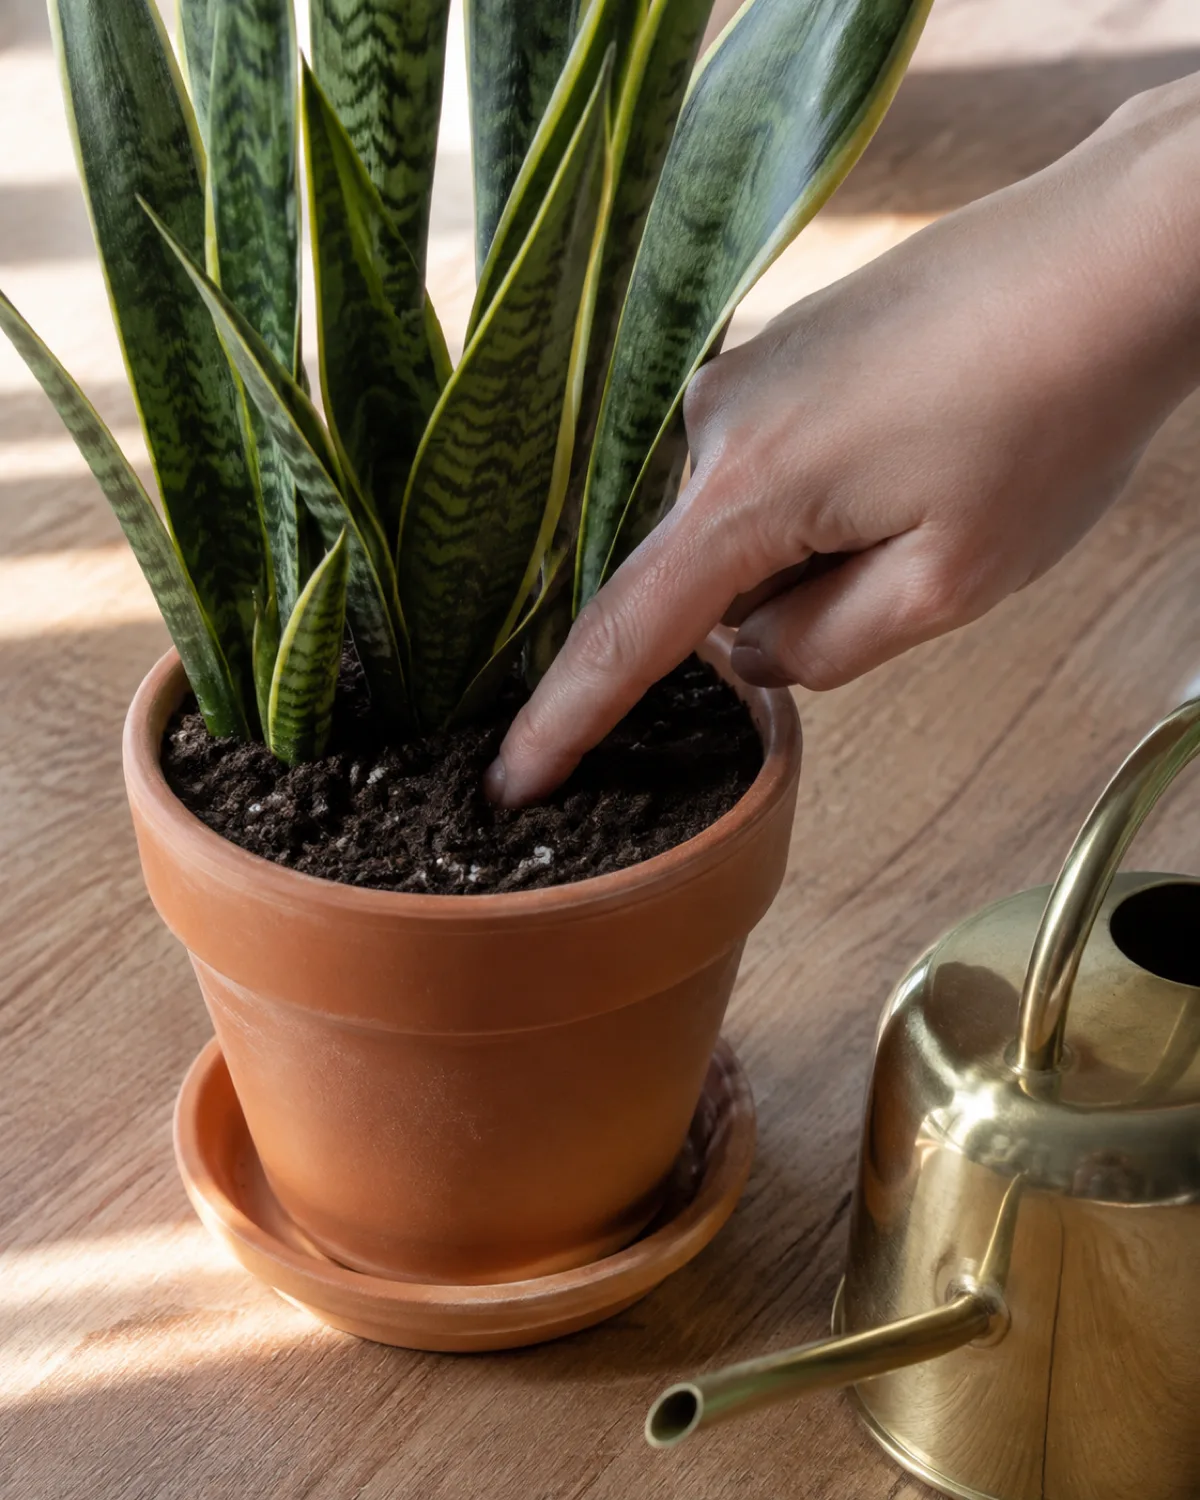
Overwatering kills more beginner plants than anything else. The instinct to care for a new plant expresses itself as pouring water on it, and most people water far too often.
The finger test replaces every watering schedule:
- Push your finger one inch into the soil.
- If it feels damp, do not water. Check again in two days.
- If it feels dry, water slowly until liquid drains from the bottom of the pot. Empty the saucer after ten minutes.
That is the entire routine. No moisture meter, no app, no schedule pinned to the fridge. The finger test works because it accounts for every variable — pot size, soil type, humidity, temperature, season — without you having to track any of them.
- Signs you are watering too much: yellowing leaves starting from the bottom, mushy stem base, soil that stays wet for more than a week, fungus gnats circling the pot
- Signs you are watering too little: wilting or drooping leaves that perk back up after watering, dry crispy leaf edges, soil pulling away from the sides of the pot
For a more detailed breakdown of watering methods including bottom watering and the weight test, see the full guide to watering indoor plants.
Where to Put Your First Plant So It Actually Thrives
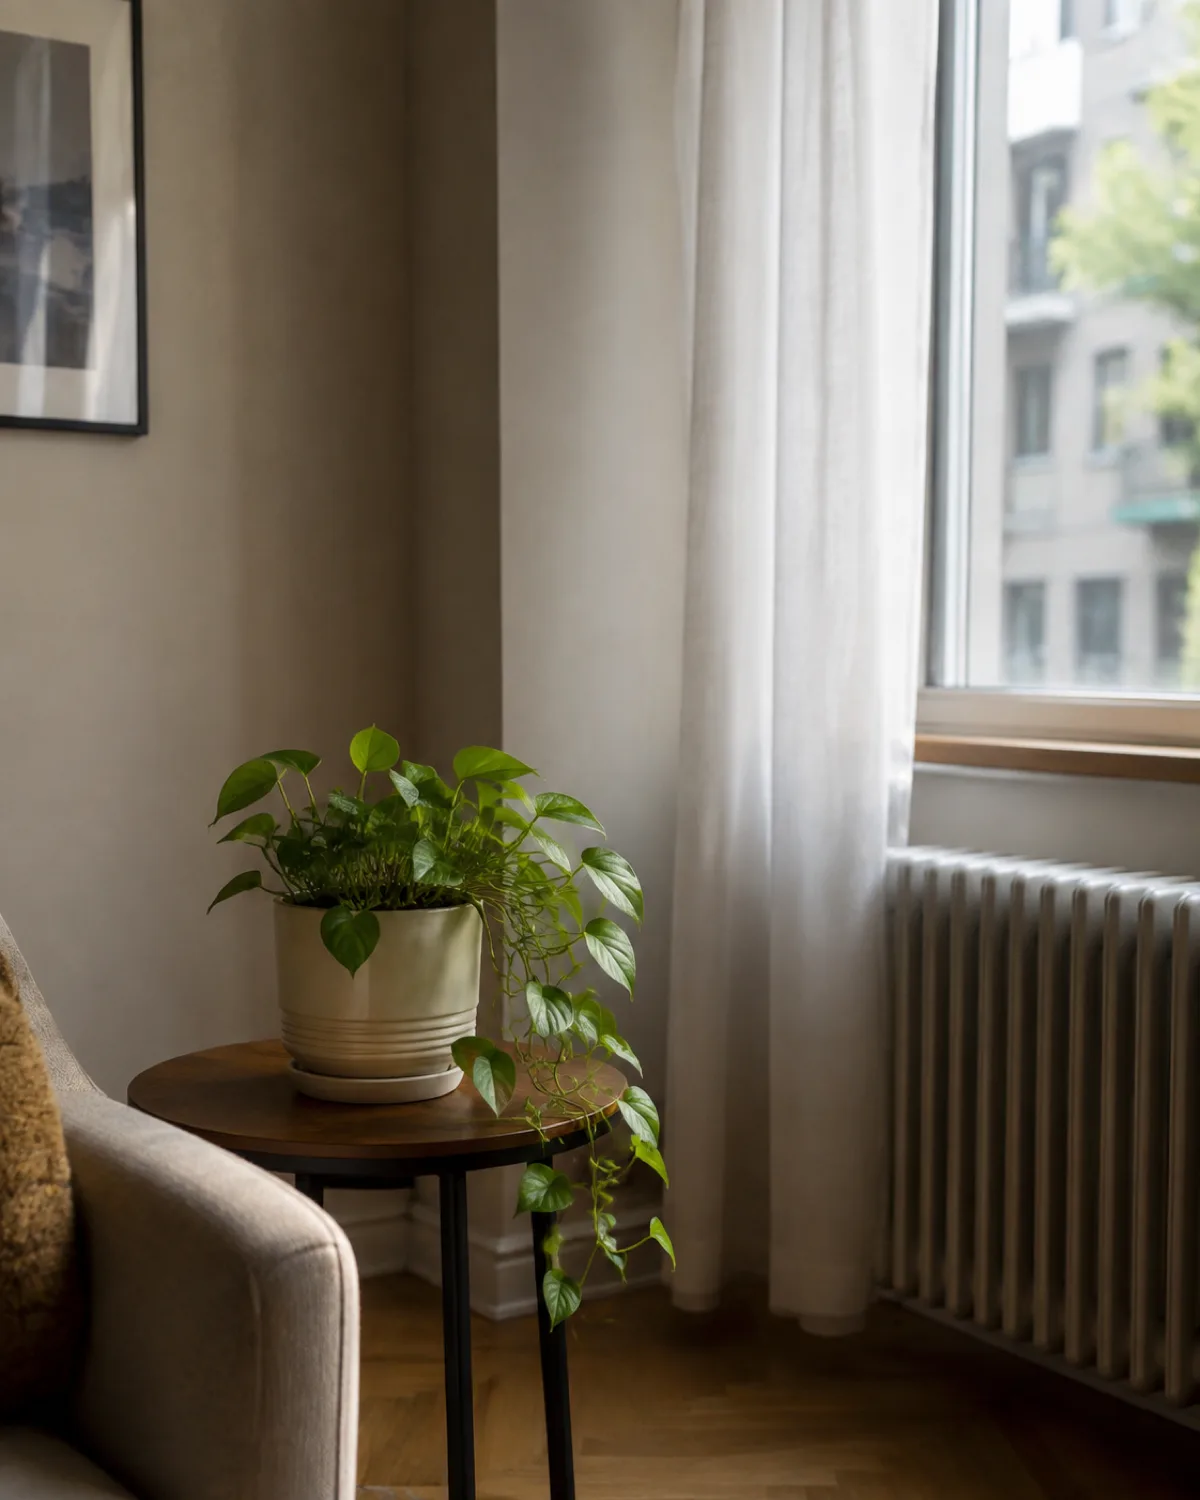
Match the plant to the spot you already have. Do not rearrange your furniture to accommodate a plant — that commitment never lasts.
The practical approach:
- Identify your brightest spot that is not in direct sun. For most rooms this is within three to five feet of the largest window, slightly off to the side. This is where the majority of beginner-friendly plants want to be.
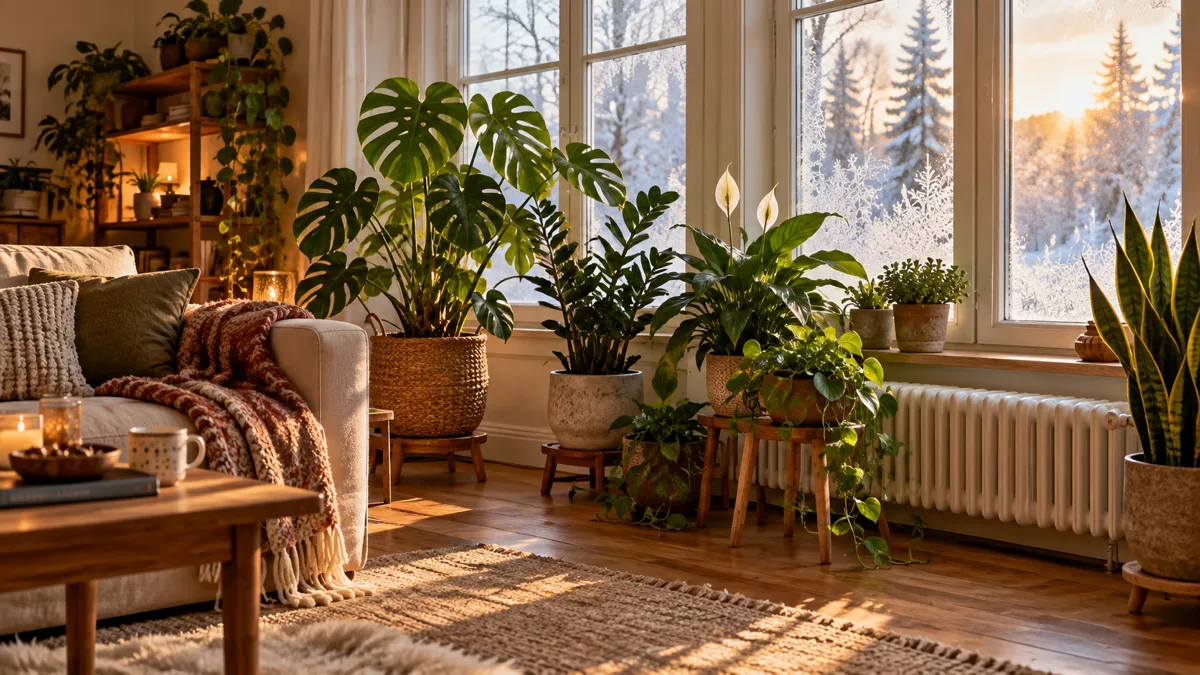
- Avoid spots near heating vents, radiators, and exterior doors. Hot dry air from heating dries out tropical plants unevenly, causing brown crispy edges. Cold drafts from exterior doors in winter can shock warm-climate species overnight.
- Keep plants away from air conditioning vents. The cold dry air causes the same damage as winter drafts but year-round.
A plant can always be moved if it is not happy. Yellowing leaves and leggy growth mean too little light — move closer to the window. Scorched brown patches on the side facing the window mean too much direct sun — pull it back a foot or add a sheer curtain.
Fertilizing for Beginners: When to Start and How Little You Need
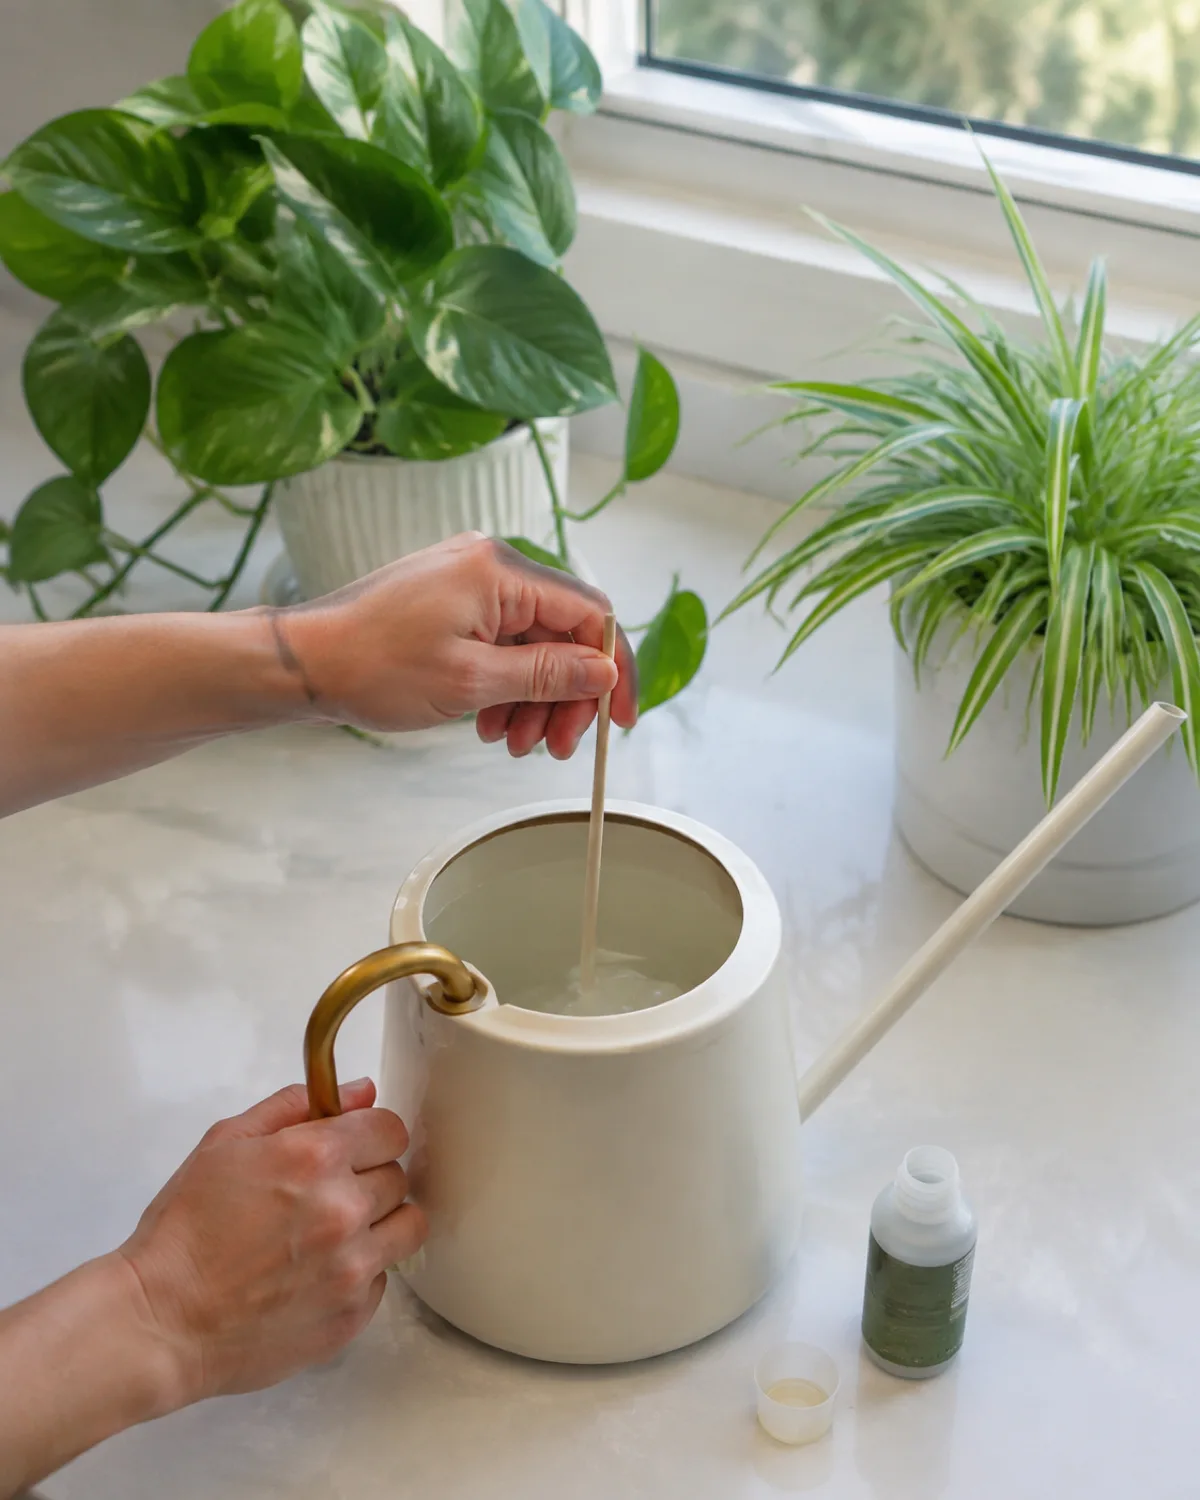
Do not fertilize a new plant for at least a month after bringing it home. Nursery potting mix already contains slow-release fertilizer, and the plant needs time to adjust to your home's light and humidity before it can use additional nutrients.
After that settling period, the simplest approach is the weakly-weekly method:
-
Dilute a balanced liquid fertilizer (look for equal NPK numbers like 10-10-10 or 20-20-20) to one-quarter of the recommended dose.
-
Add it to your watering routine once a week during the growing season (spring through early fall).
-
Stop completely in winter. Growth slows, roots are less active, and unused fertilizer builds up as salt deposits that burn root tips.
-
Signs of over-fertilizing: white crusty buildup on the soil surface, brown leaf tips, wilting despite moist soil
-
Signs of under-fertilizing: pale new growth, slow or stalled growth during summer, smaller-than-normal new leaves
A plant that gets adequate light and correct watering can survive indefinitely without any fertilizer. The reverse is not true — no amount of fertilizer compensates for poor light or wrong watering. Get those two right first. For the full breakdown of NPK ratios and feeding schedules by species, see the guide to fertilizing houseplants.
The Five Mistakes That Kill Beginner Plants
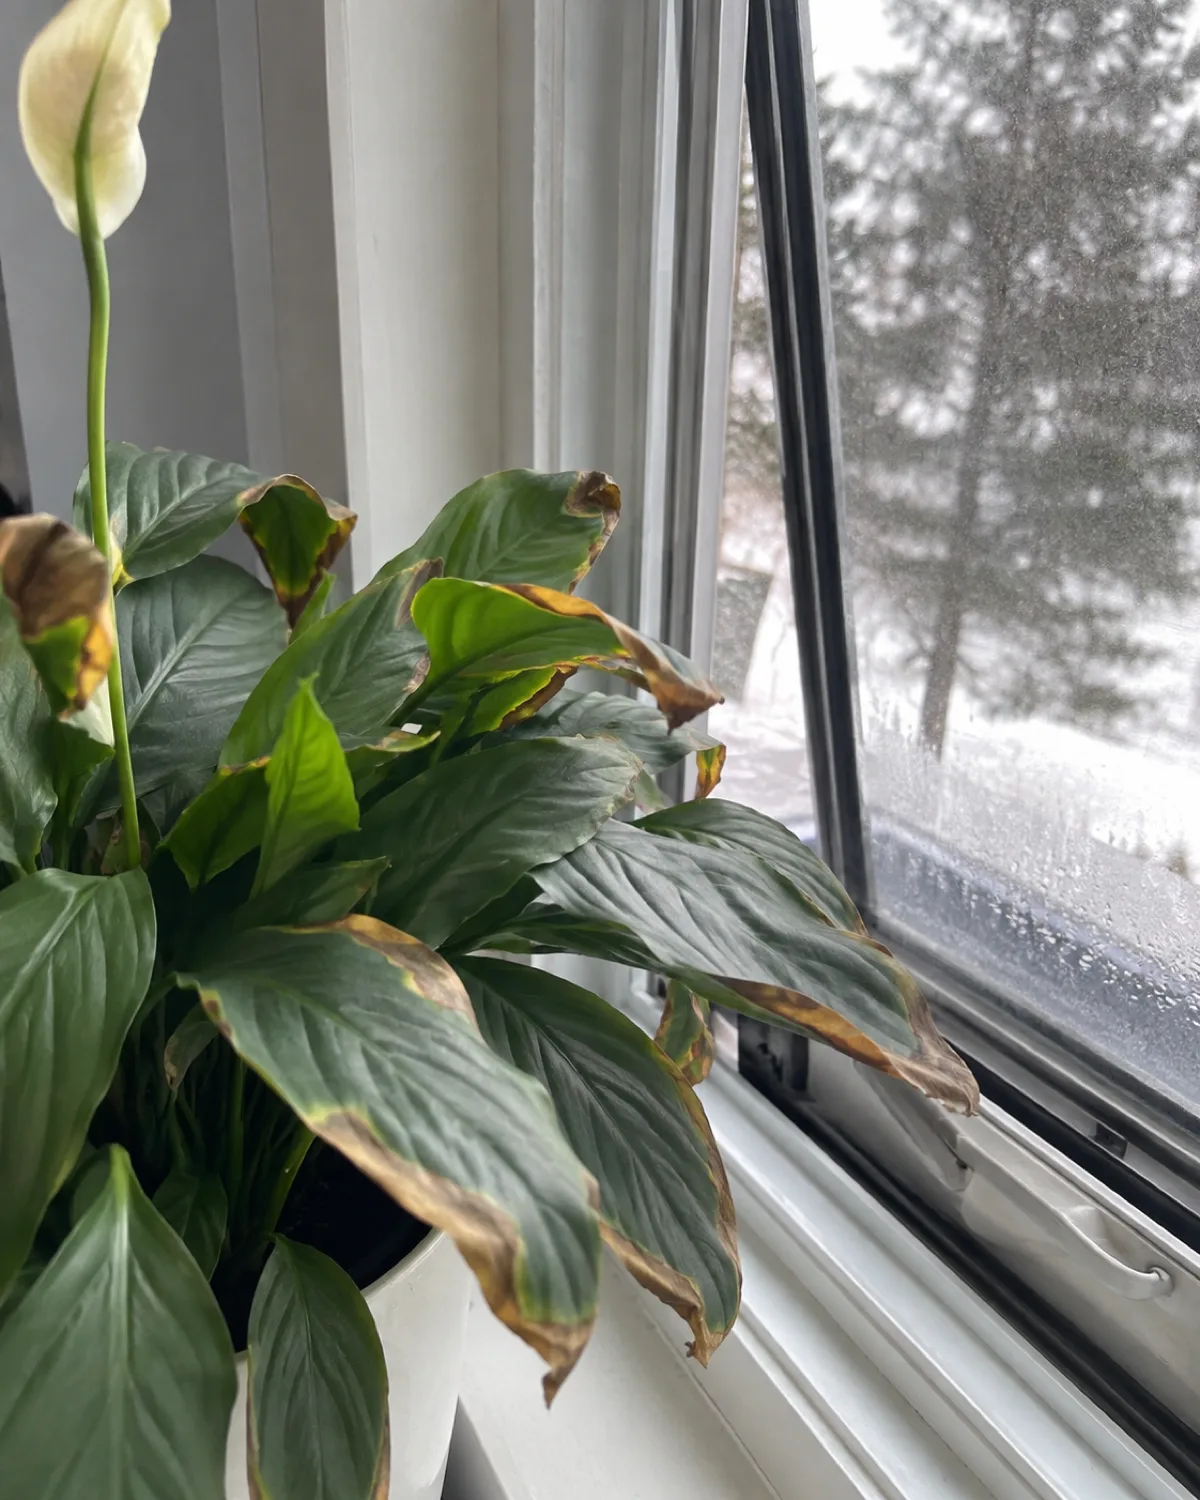
These five mistakes account for the vast majority of beginner plant deaths. Every one of them is fixable once you recognize the pattern.
Save for Later
Beginner Plant Mistakes Quick Reference
- 1OverwateringThe number one killer. More plants die from too much water than from too little. Use the finger test — dry to one inch deep before adding water.
- 2Not enough lightA plant far from a window declines slowly enough that you do not notice until the damage is severe. Move it closer to the light at the first sign of leggy stretching.
- 3Repotting on arrivalA new plant is already stressed from changing environments. Repotting adds root disturbance on top of acclimation shock. Wait at least a month before considering a new pot.
- 4Ignoring drainageA pot without a drainage hole traps water at the bottom where roots sit and rot. Decorative cache pots are fine as long as the plant stays in its nursery pot with drainage inside them.
- 5Placing near cold draftsAn open window in winter, an exterior door that opens frequently, or an air conditioning vent can drop leaf temperature fast enough to cause irreversible cell damage overnight.
kultivy.com
The connecting thread is that each mistake involves doing too much or ignoring the environment. Most plants for beginners are adapted to survive neglect — the common tropical species evolved in environments where rain is inconsistent and understory light is low. Matching those conditions is easier than overriding them with constant attention.
How to Tell if Your Plant Is Happy or Struggling
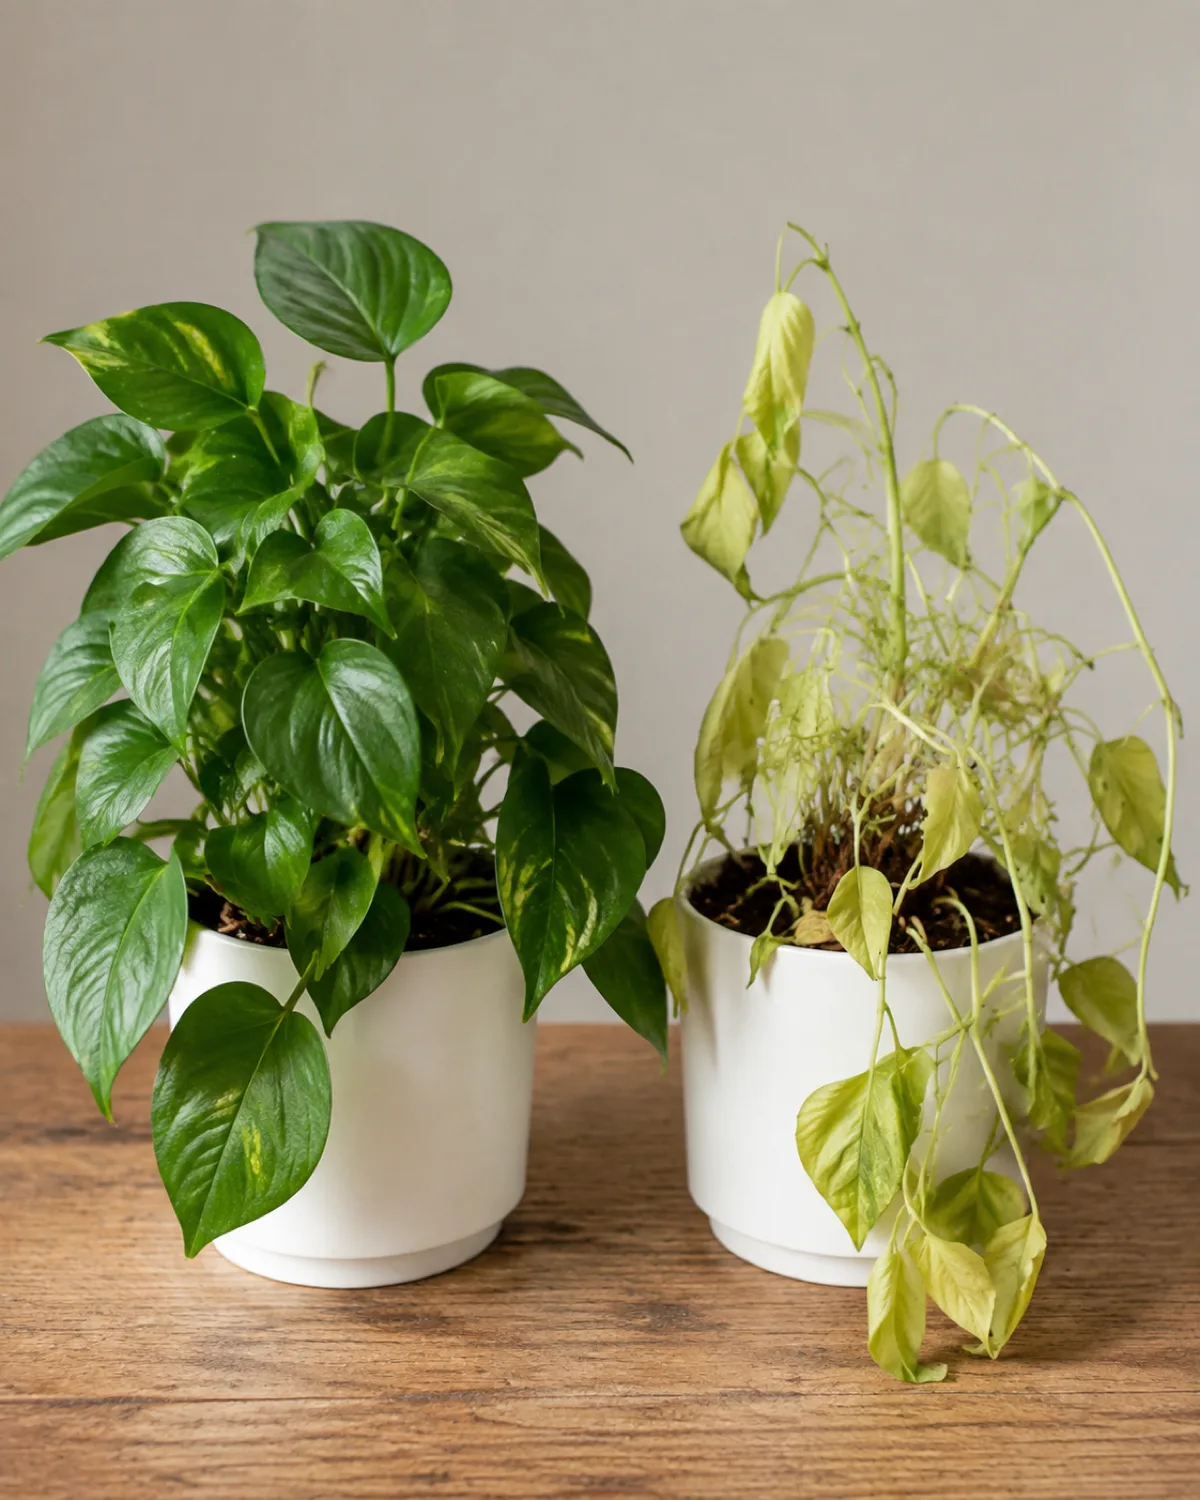
Plants communicate with their leaves, and once you learn to read the signals, diagnosis becomes straightforward.
Signs of a happy plant:
- New growth appearing regularly during spring and summer
- Leaves holding their color — consistent green (or consistent variegation for patterned species)
- Firm stems that stand upright without support
- Soil drying at a predictable rate between waterings
Signs of a struggling plant:
- Yellow leaves starting from the bottom and working upward — usually overwatering or natural aging of the oldest leaves
- Brown crispy leaf edges — usually low humidity, underwatering, or fertilizer burn
- Leggy stretched stems with wide gaps between leaves — not enough light
- Drooping or wilting — either underwatering (soil is dry) or overwatering (soil is soggy)
- Soil that smells sour or rotten — root rot from chronic overwatering, needs immediate attention
The one diagnostic shortcut that covers most problems: check the soil. If the plant looks bad and the soil is wet, the issue is almost certainly overwatering. If the plant looks bad and the soil is bone dry, it needs water. Most beginner problems reduce to one of those two scenarios.
When and How to Repot Your First Plant
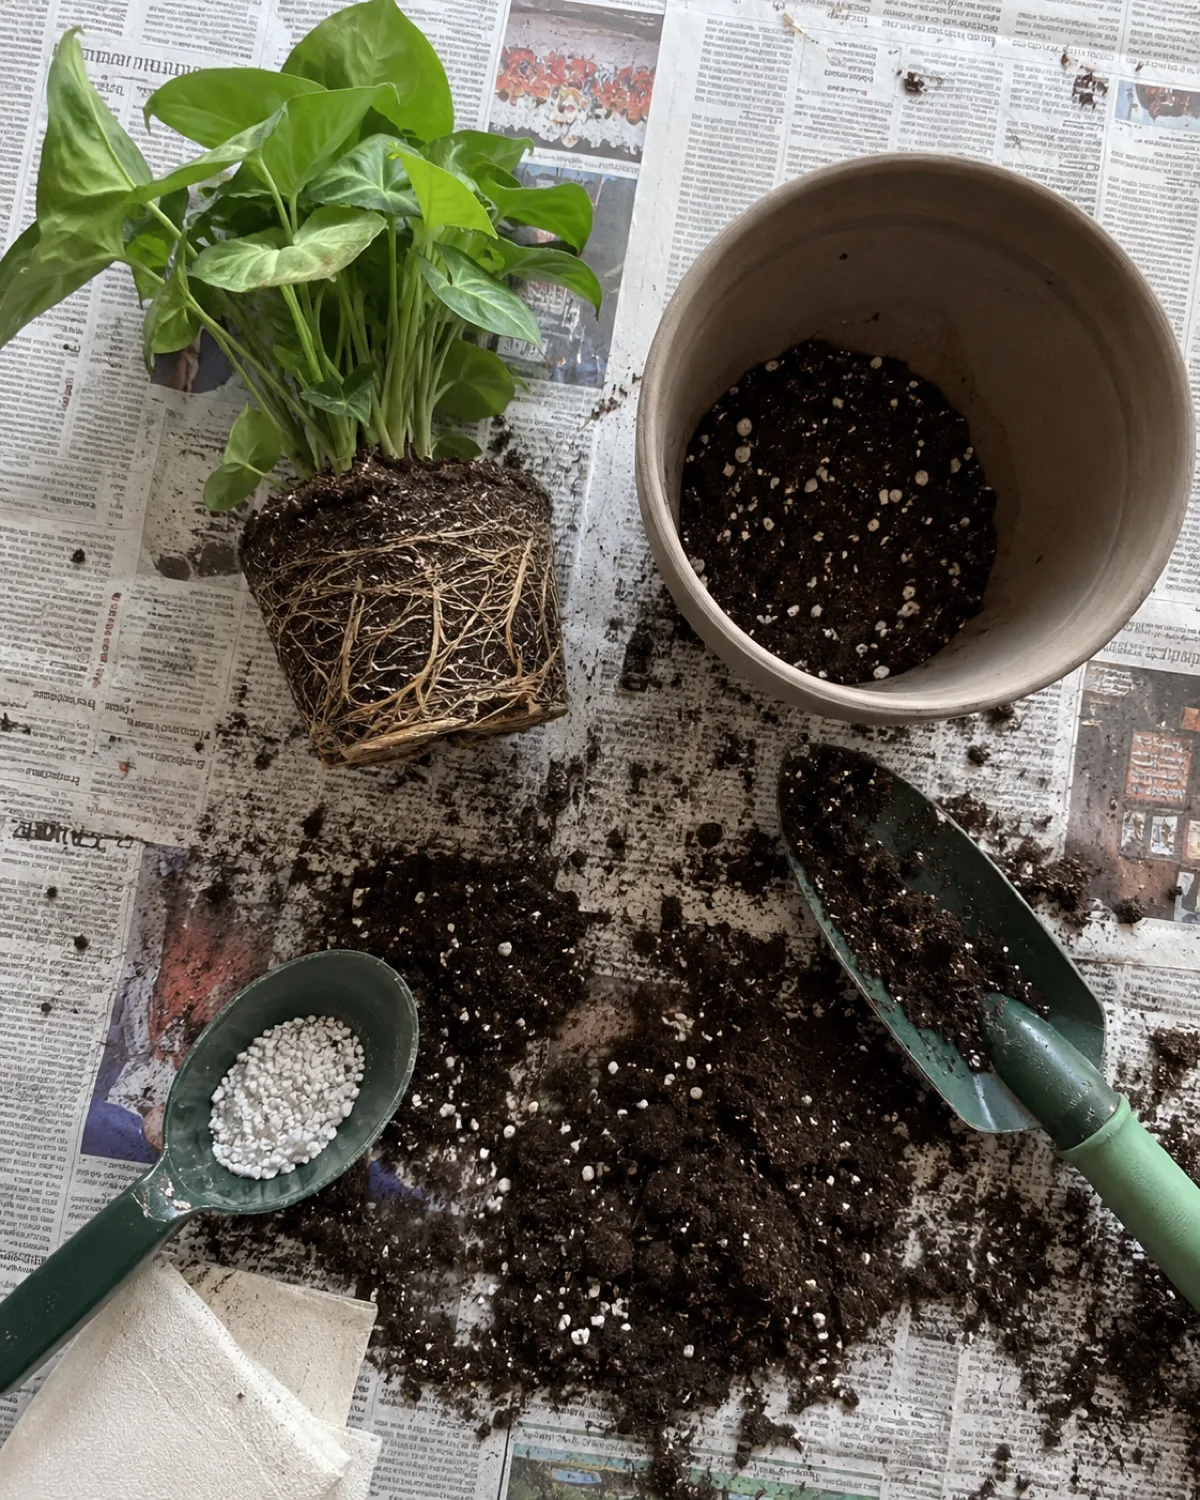
Do not repot a plant the day you bring it home. The plant is already adjusting to new light, humidity, and temperature. Adding root disturbance on top of environmental change is the fastest way to send a healthy plant into decline.
Wait at least a month. Then look for these signs that repotting is actually needed:
- Roots circling visibly inside the pot or growing out of the drainage hole in a dense mass
- Water running straight through the pot without being absorbed by the soil
- The plant becoming top-heavy and tipping over
- Growth stalling despite adequate light, water, and fertilizer during the growing season
When it is time, the process is simple:
- Choose a pot one size larger — one to two inches wider in diameter. Too large holds excess moisture around roots that have not grown into it.
- Water the plant the day before to reduce root shock.
- Slide the plant out, loosen the outer roots, and place it in the new pot with fresh potting mix.
- Water thoroughly and let it drain completely.
For the full step-by-step including soil mix recommendations for different species, see the guide to repotting indoor plants.
Going From One Plant to a Small Collection
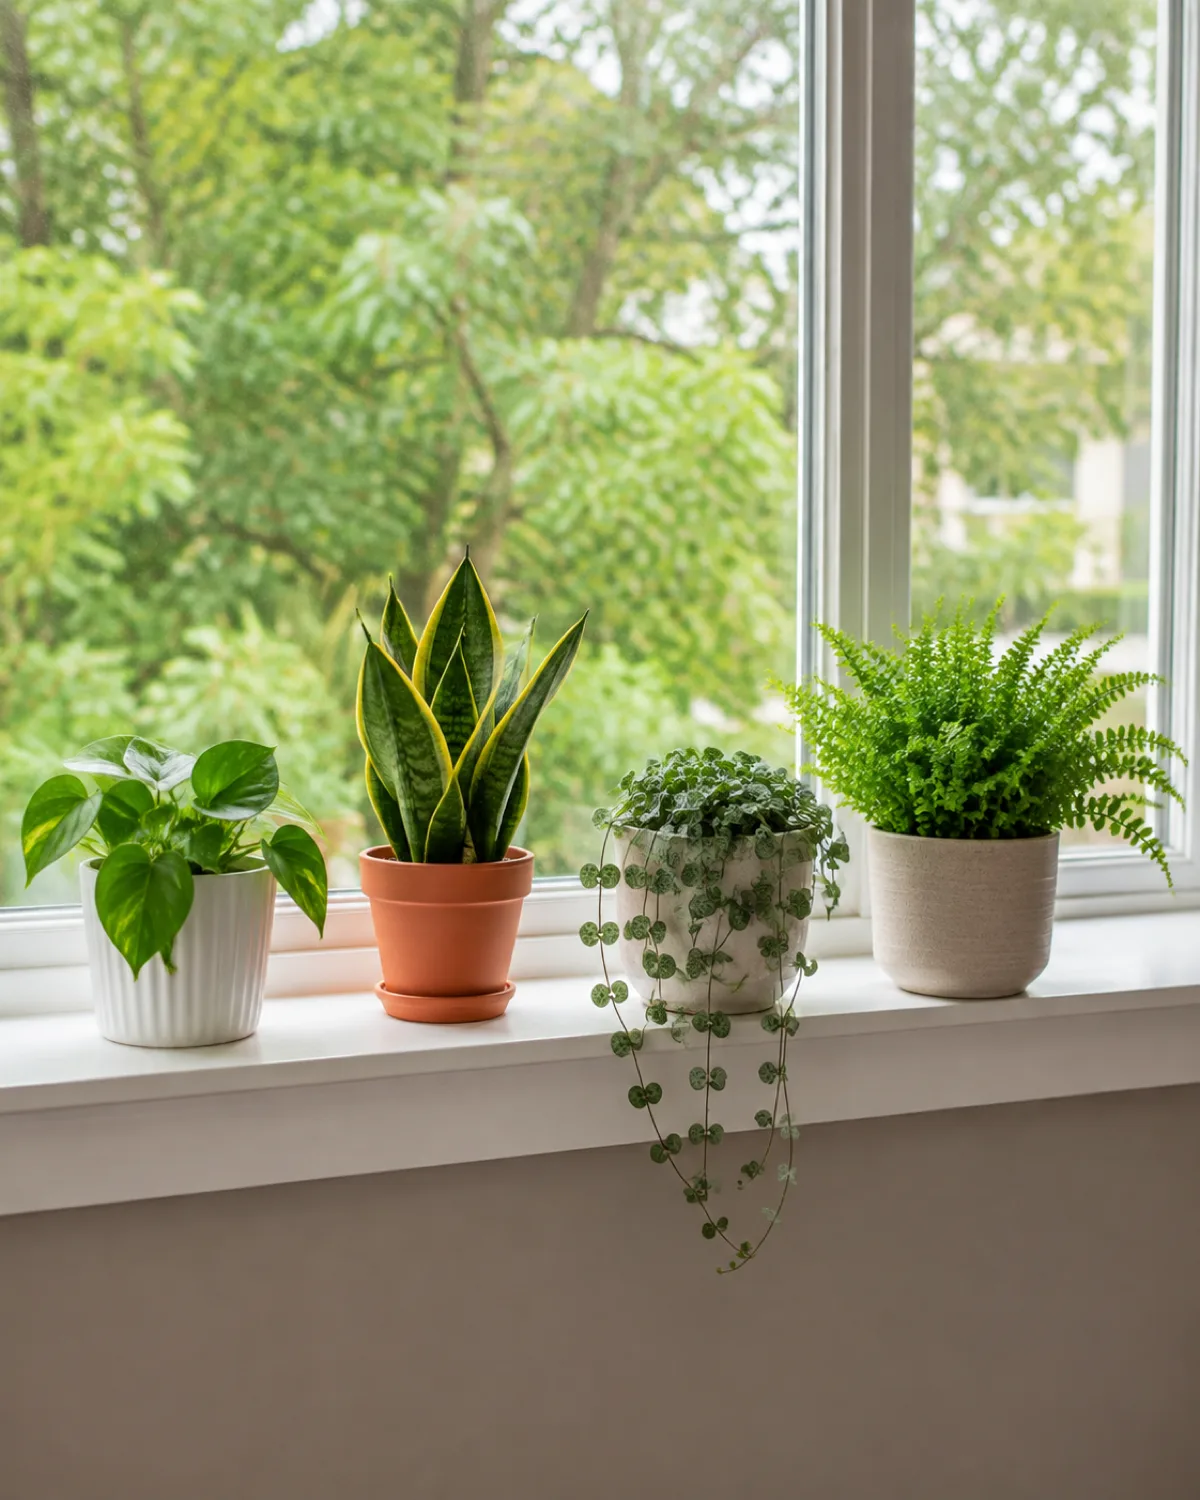
The jump from one plant to a collection is where most beginners overspend and under-plan. The garden center trip that starts as "I'll get one more" ends with six plants crammed into a space that barely suits two.
The second-plant rule makes this easier: choose a plant with different needs from your first one, and put it in a different spot.
- If your first plant is a low-light snake plant on a shelf, your second could be a pothos in a hanging planter near a brighter window.
- If your first is a humidity-loving peace lily in the bathroom, your second could be a drought-tolerant ZZ plant on the desk in your office.
This approach forces you to learn two different care routines instead of one, which builds skill faster than owning five plants that all want the same thing. It also spreads your collection across multiple light zones in your home, so one bad window placement does not kill everything at once.
Resist the urge to buy matching sets. A collection that grows one plant at a time, each chosen for a specific spot, ends up looking more intentional than a dozen impulse purchases lined up on a single shelf.
A Simple Weekly Plant Check That Takes Two Minutes
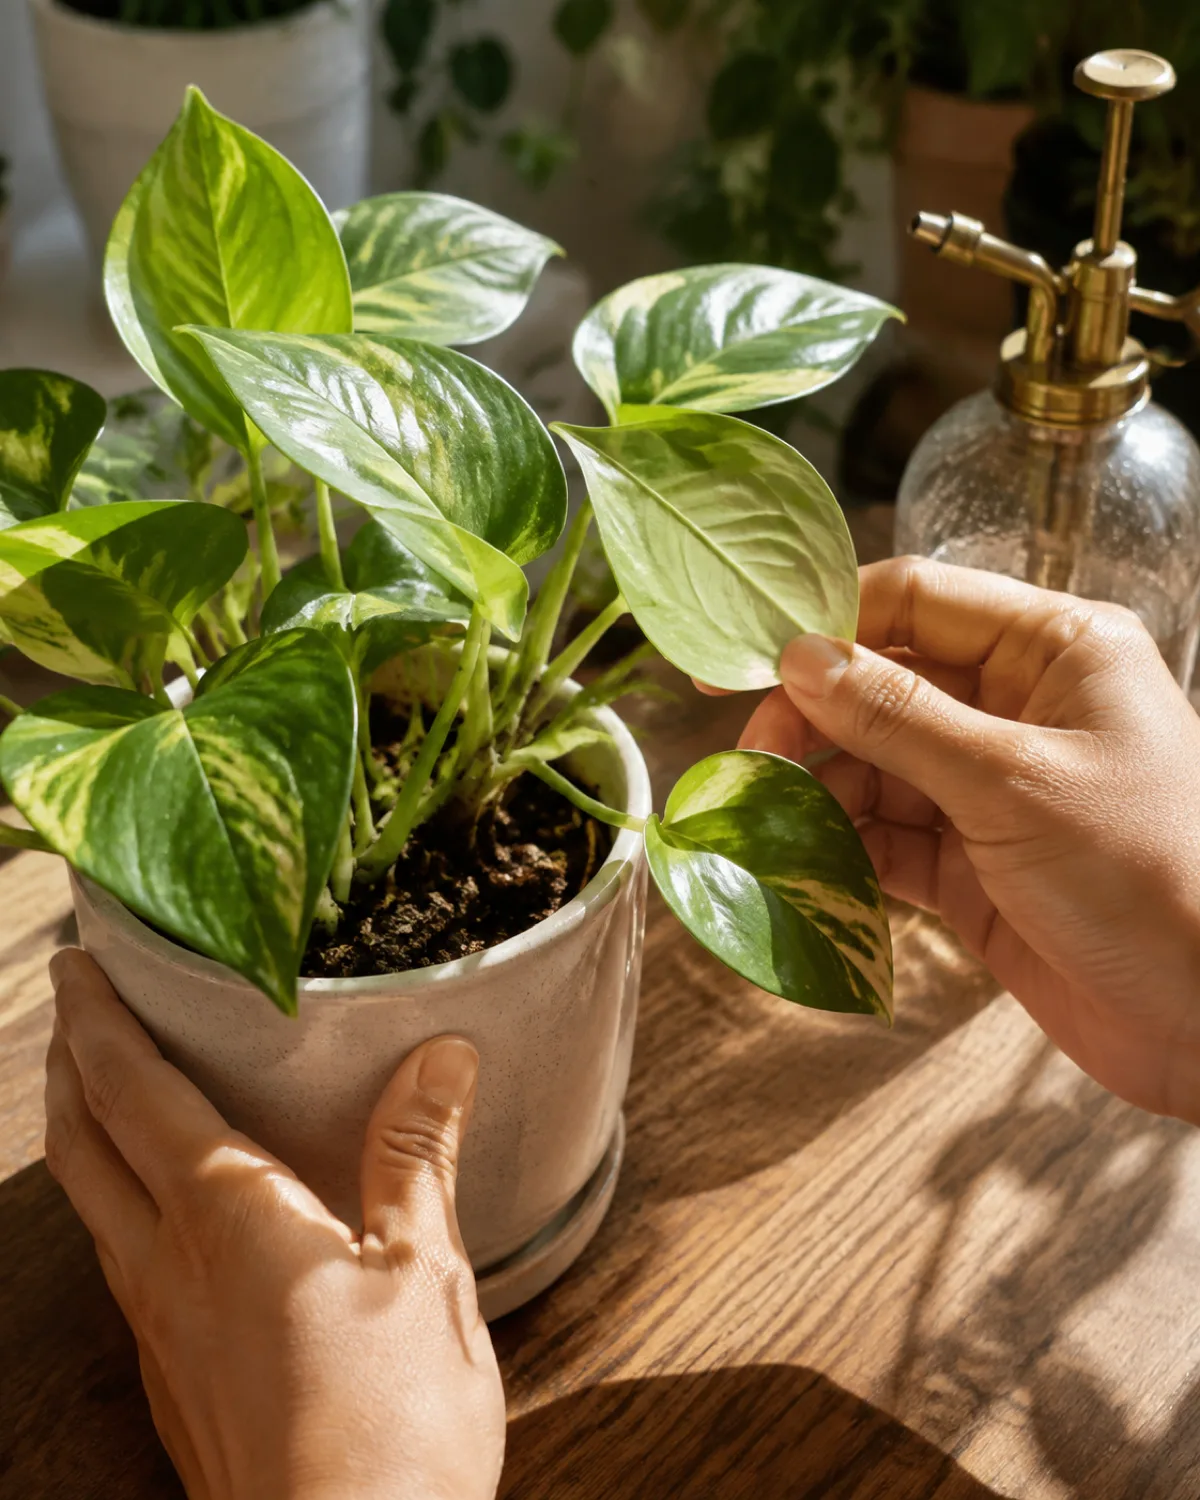
A two-minute weekly check catches every problem early enough to fix it before real damage sets in. No calendar reminder needed — pick any day of the week and make it a habit.
The routine has four steps:
- Touch the soil. Finger test each plant. Water the ones that are dry to one inch deep. Skip the rest.
- Look at the leaves. Yellow, brown, or drooping leaves get attention. Snip fully dead leaves at the base — they will not recover.
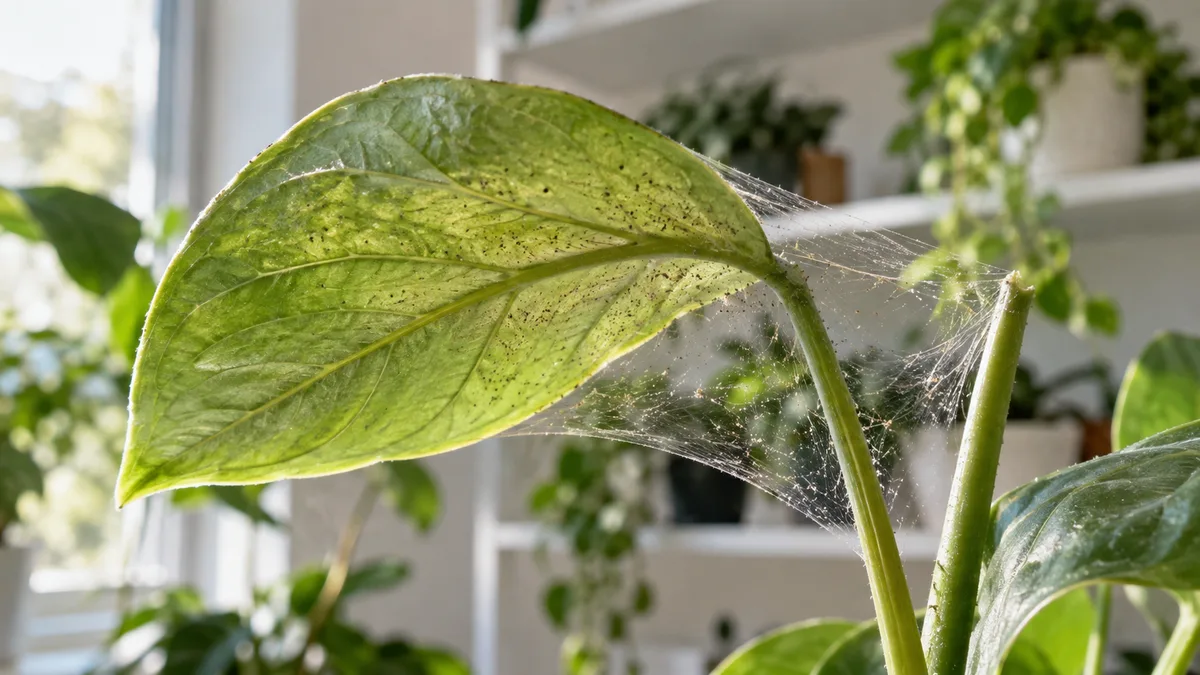
- Check leaf undersides. Flip two or three leaves per plant and look for pests — tiny dots, webbing, or cottony white spots. Catching an infestation early means wiping a few leaves instead of losing the plant.
- Rotate a quarter turn. Plants grow toward light. Rotating prevents the one-sided lean that develops when the same face always points away from the window.
That is the entire maintenance routine for a small beginner collection. Once it becomes muscle memory, it takes less time than making a cup of coffee and prevents every slow-burn problem that kills plants over weeks and months instead of days.

Mara Quinn edits Kultivy, where she shares houseplant care, propagation, beginner-friendly plant picks, and plant-styling ideas for anyone who wants their indoor plants to actually thrive. Every guide is image-led and reviewed for clarity, usefulness, image accuracy, and Pinterest-to-page alignment before it goes live. Visit the About page.