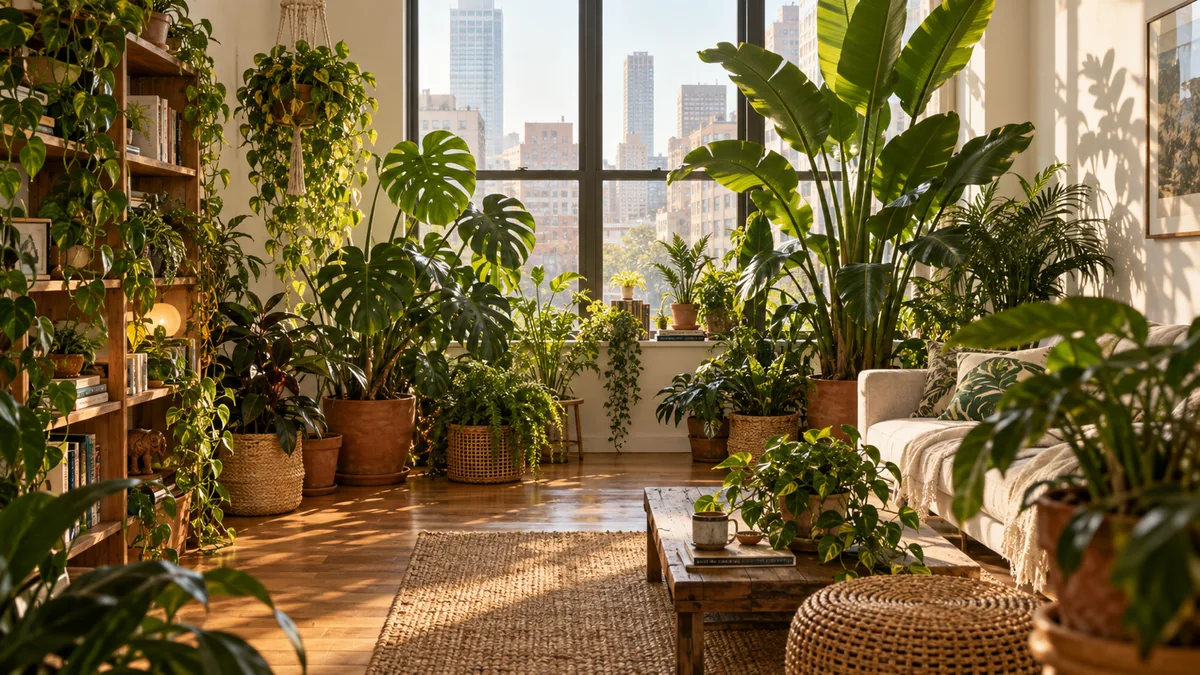
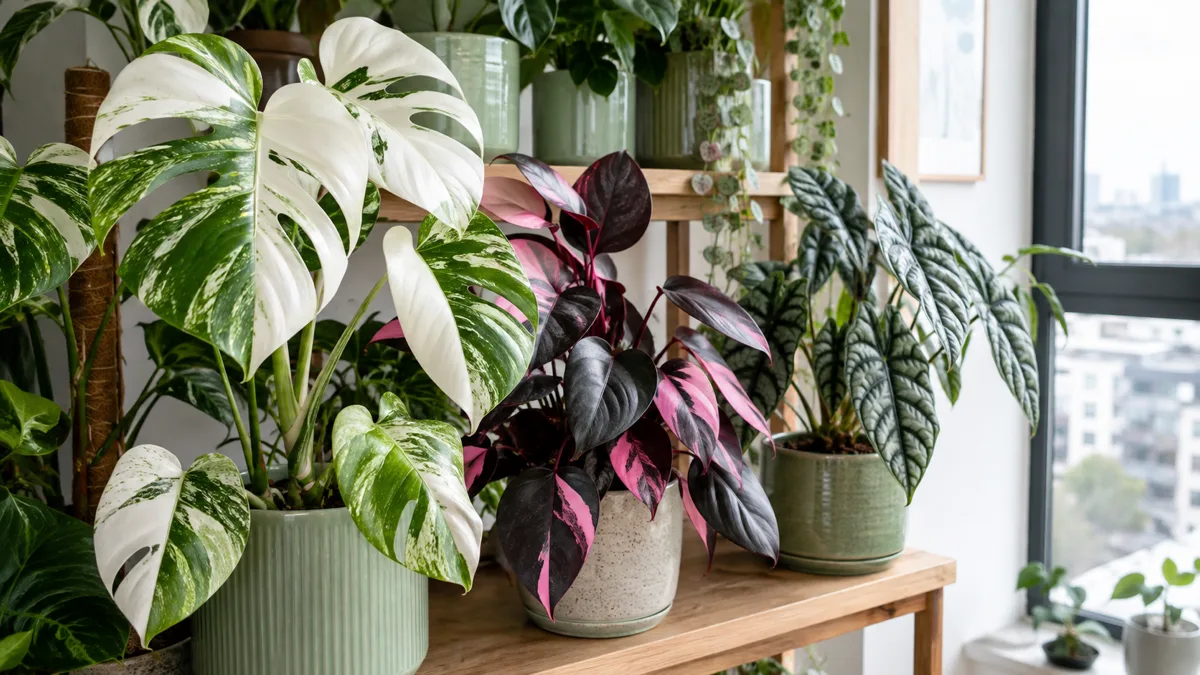
A plant room is not a greenhouse. It is a regular room where plants are the primary decor, arranged with enough intention that the space feels like a garden.
The difference between a room with plants and a plant room comes down to three things: layering heights, mapping light, and unifying your pots.
From a single sunny windowsill to a dedicated sunroom, these thirteen setups cover the layering logic, light mapping, and plant picks that make each arrangement actually work long-term.
The sunny window shelf cluster
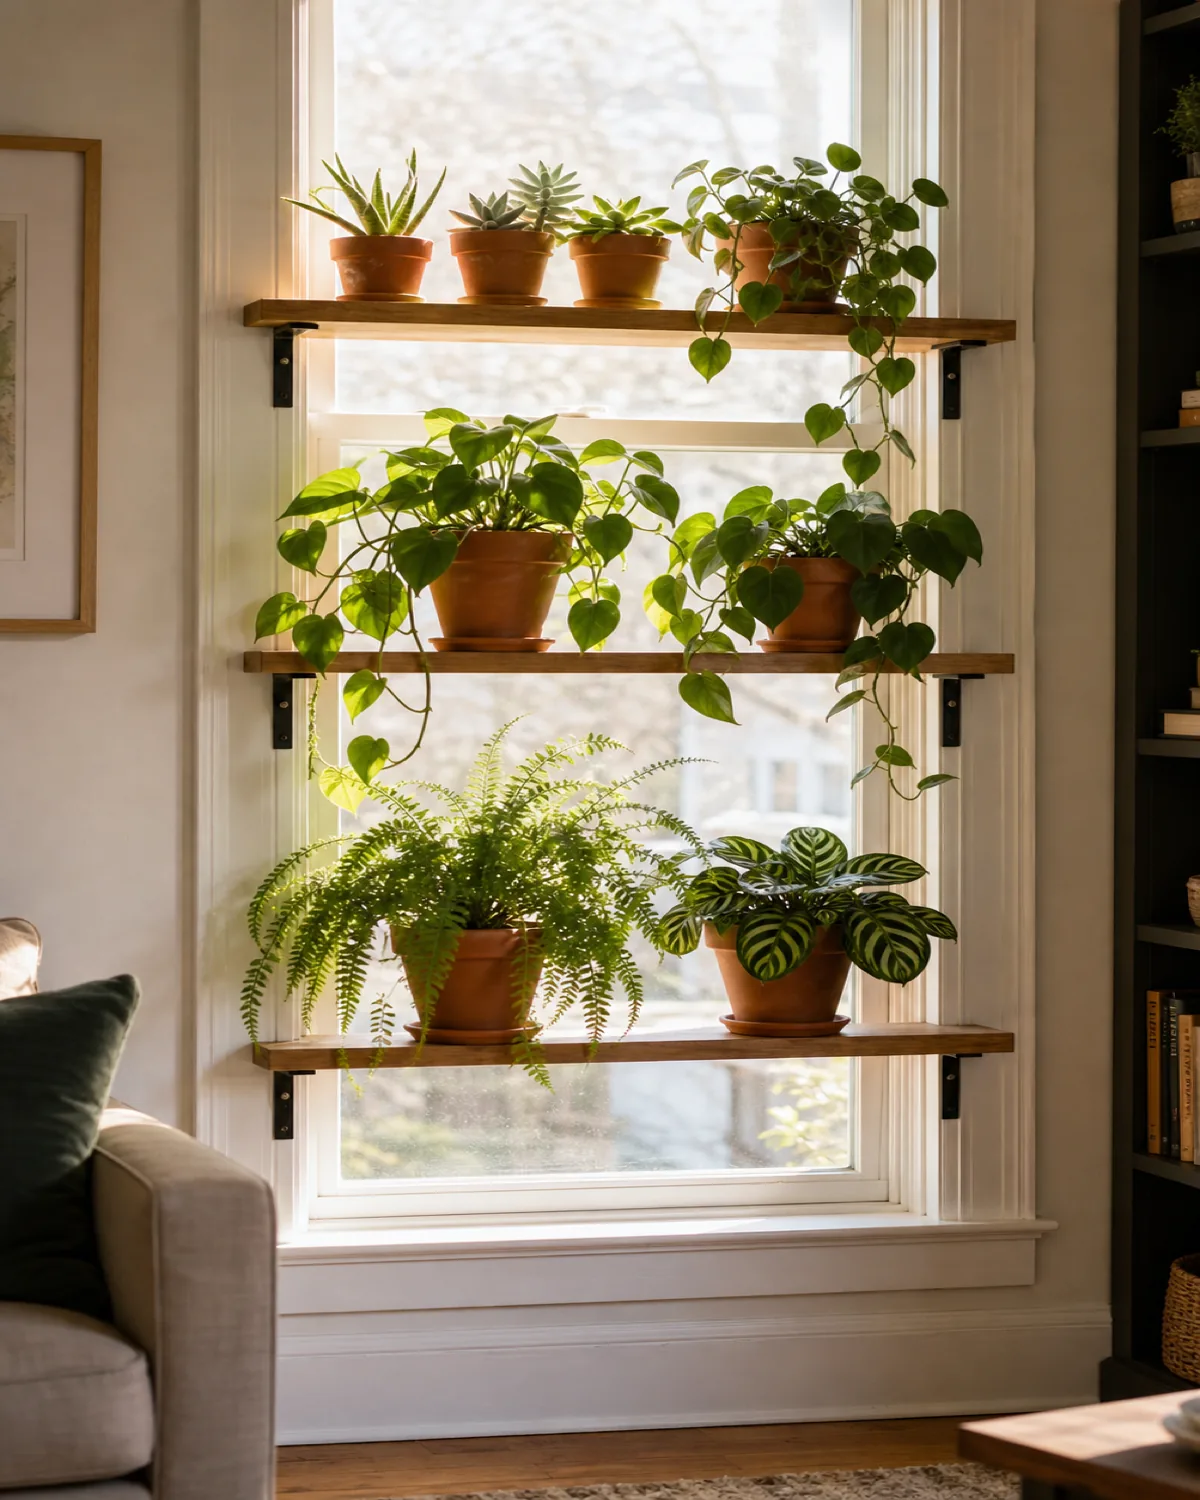
This is where most plant rooms begin. A south or east-facing window with two or three shelves stacked at different heights gives you a natural light gradient that lets you grow a wide range of species in a single vertical footprint.
The key mechanism is light mapping. The top shelf catches direct morning sun, making it the right spot for succulents, cacti, and hoya. The middle shelf gets bright indirect light, ideal for pothos and philodendron. The bottom shelf sits in filtered shade, which ferns and calathea prefer.
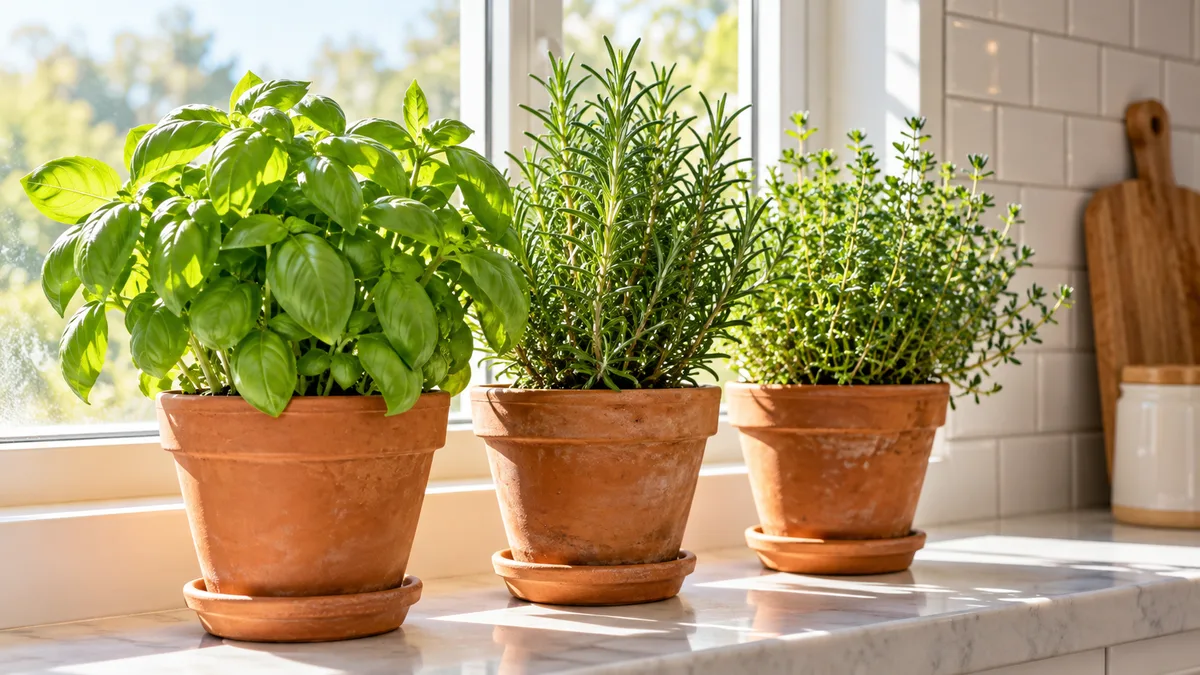
Keep the shelves narrow, about six to eight inches deep, so the plants on the upper shelf do not block light from reaching the lower ones. Use matching pots in a single material, terracotta or white ceramic, for visual cohesion. The matched pots make five different species look like a deliberate collection rather than a random assortment.
This setup grows naturally. One shelf becomes two, then three, then the windowsill fills in below. Before you know it, you have a dedicated plant shelf arrangement that anchors the entire room.
The floor-to-ceiling corner stack
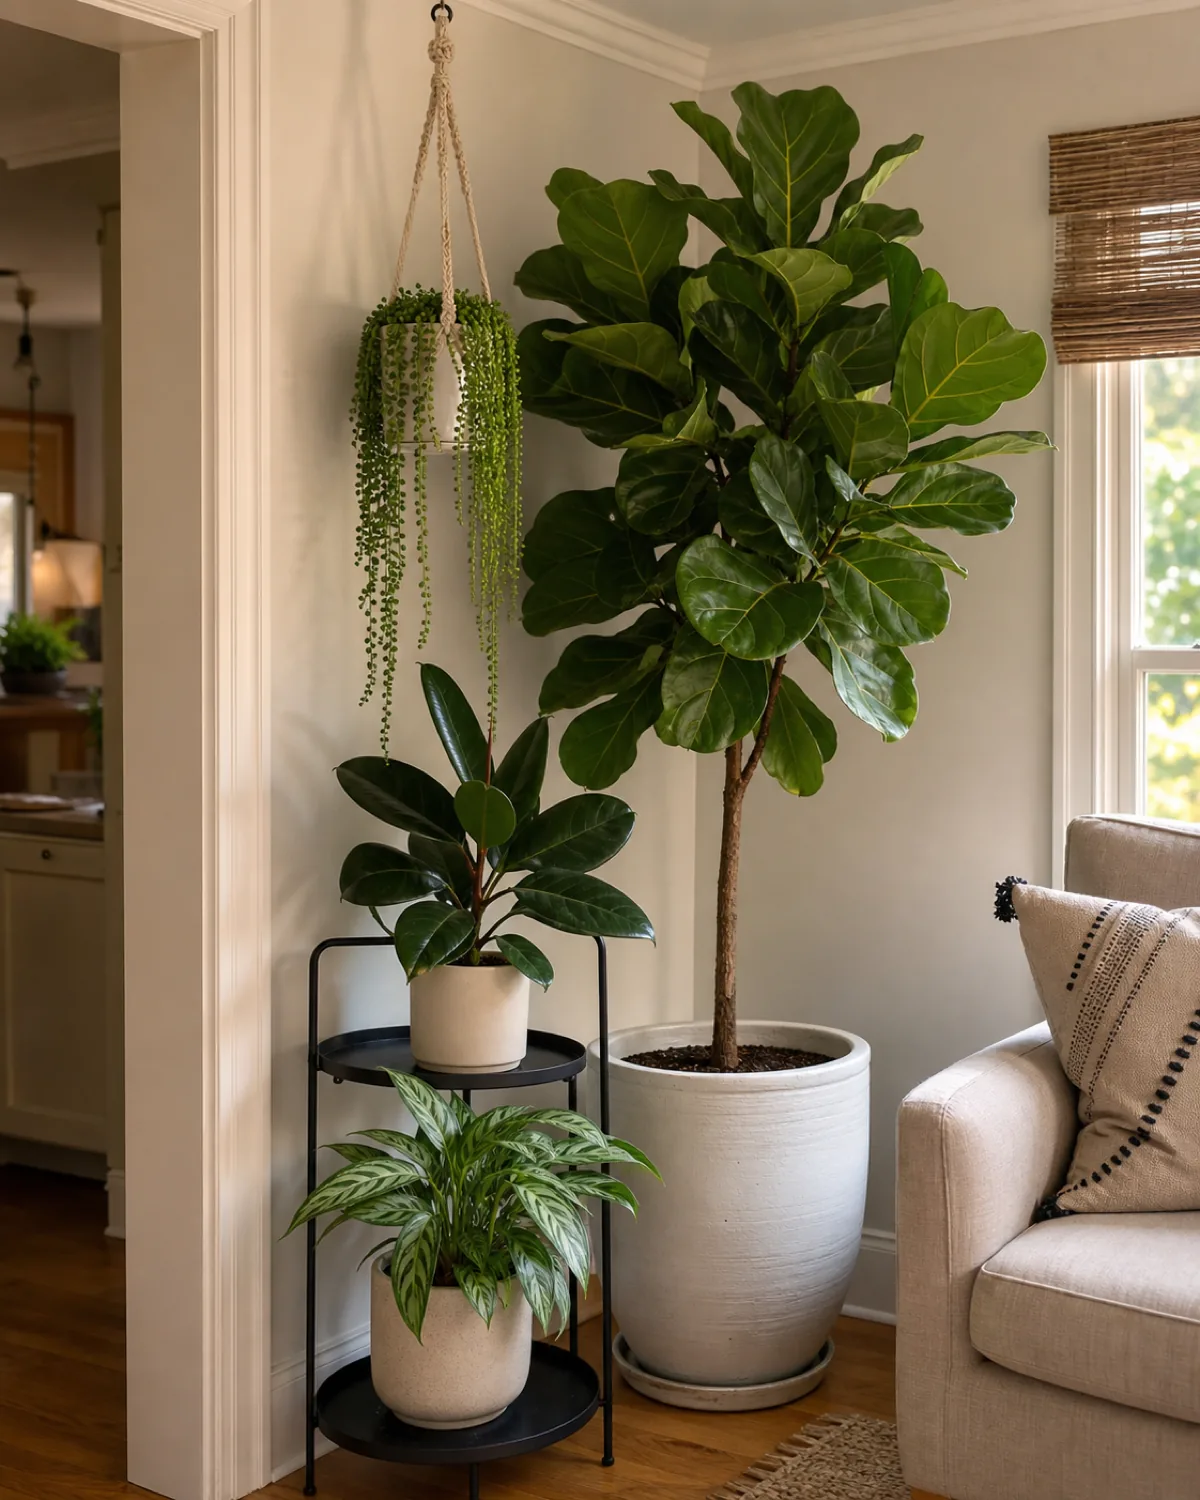
Dead corners are the easiest space to convert into a plant display because they touch two walls, giving you vertical surface on both sides and a natural frame for the arrangement.
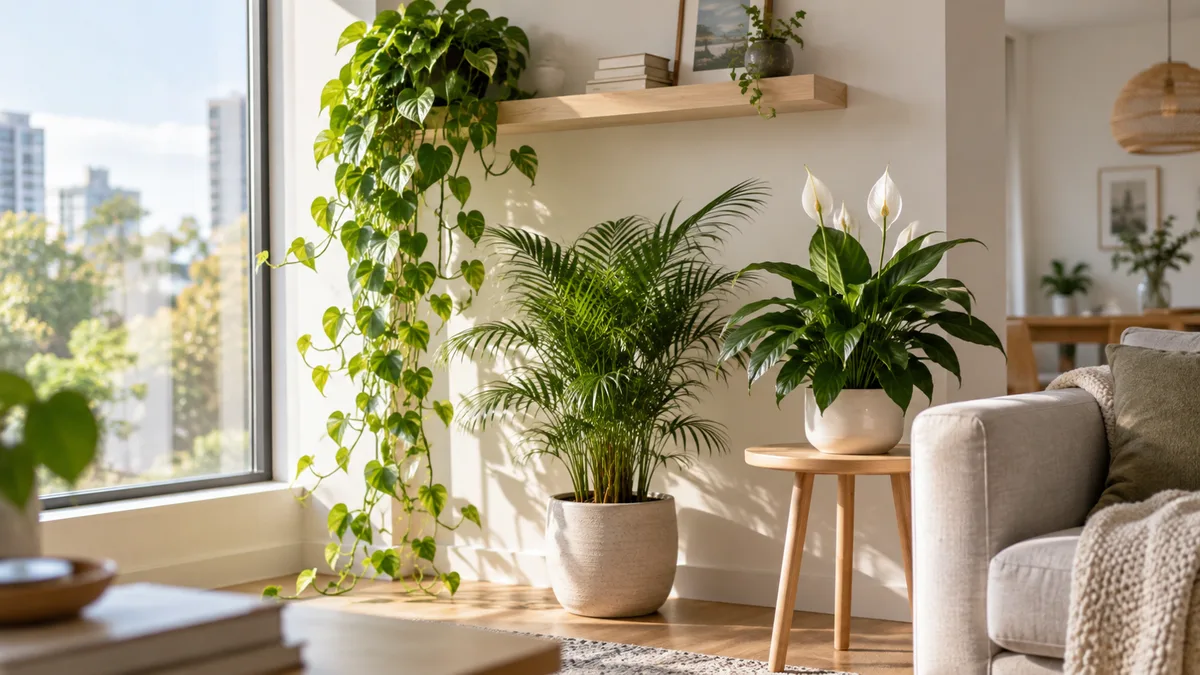
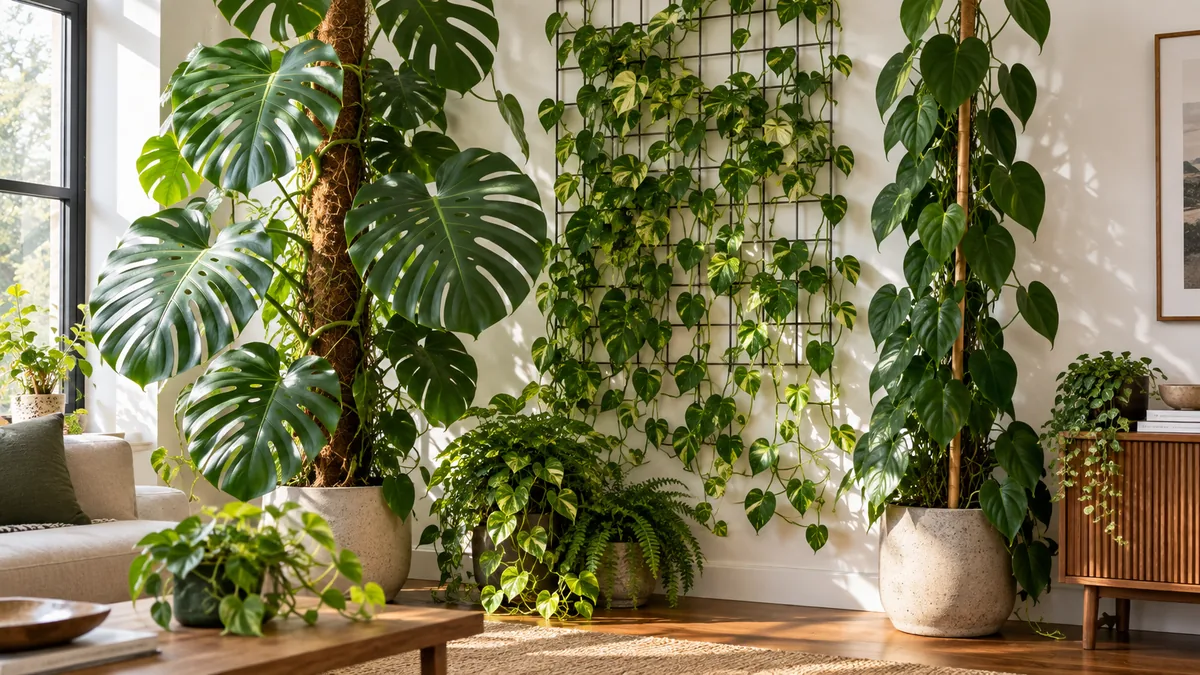
Start with a large floor plant as the anchor. A fiddle leaf fig, monstera, or bird of paradise fills the back of the corner at eye level and above, establishing the highest point in the composition.
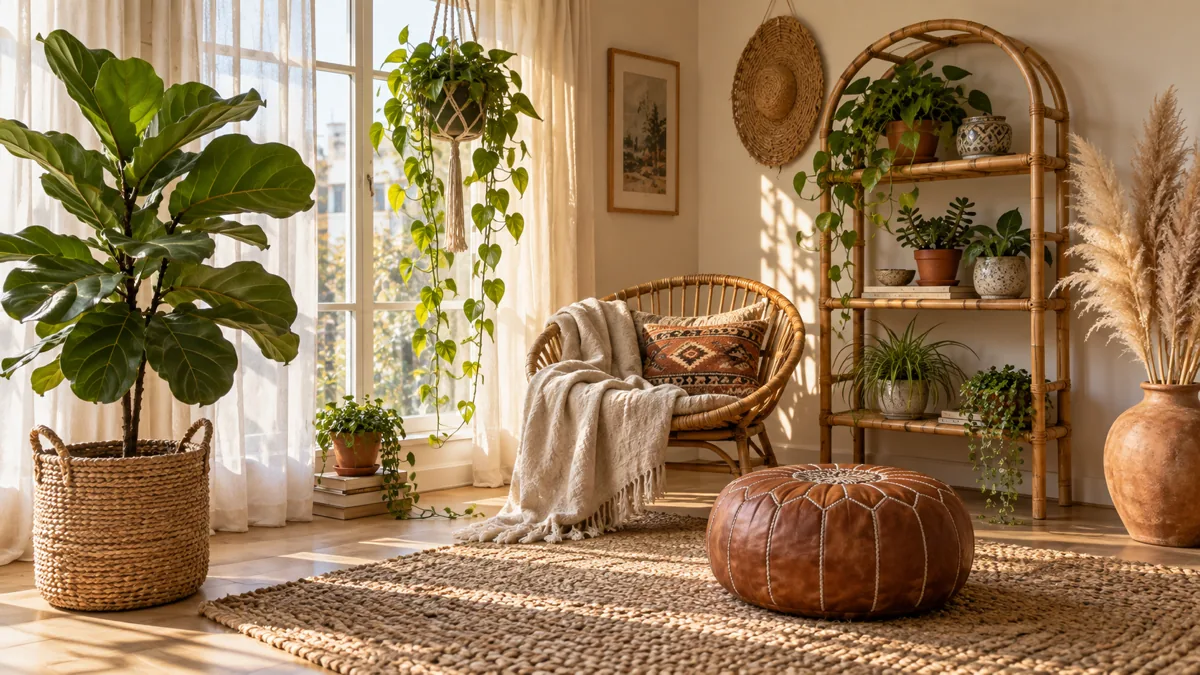
In front and to the side, a mid-height plant stand holds two or three medium plants like a rubber plant and a Chinese evergreen. Above it all, a wall-mounted shelf or macrame hanger suspends a trailing plant, string of pearls or pothos, that cascades down and fills the visual gap between the floor plant and the ceiling.
The layering rule is tallest in back, shortest in front, trailers on top. This creates the illusion of depth in a footprint that takes up no more than two feet by two feet of floor space.
The mechanism that makes it work is height rhythm. Vary the heights between layers by twelve to eighteen inches so each plant is visible and none is hidden behind the one in front of it.
The living room plant ledge
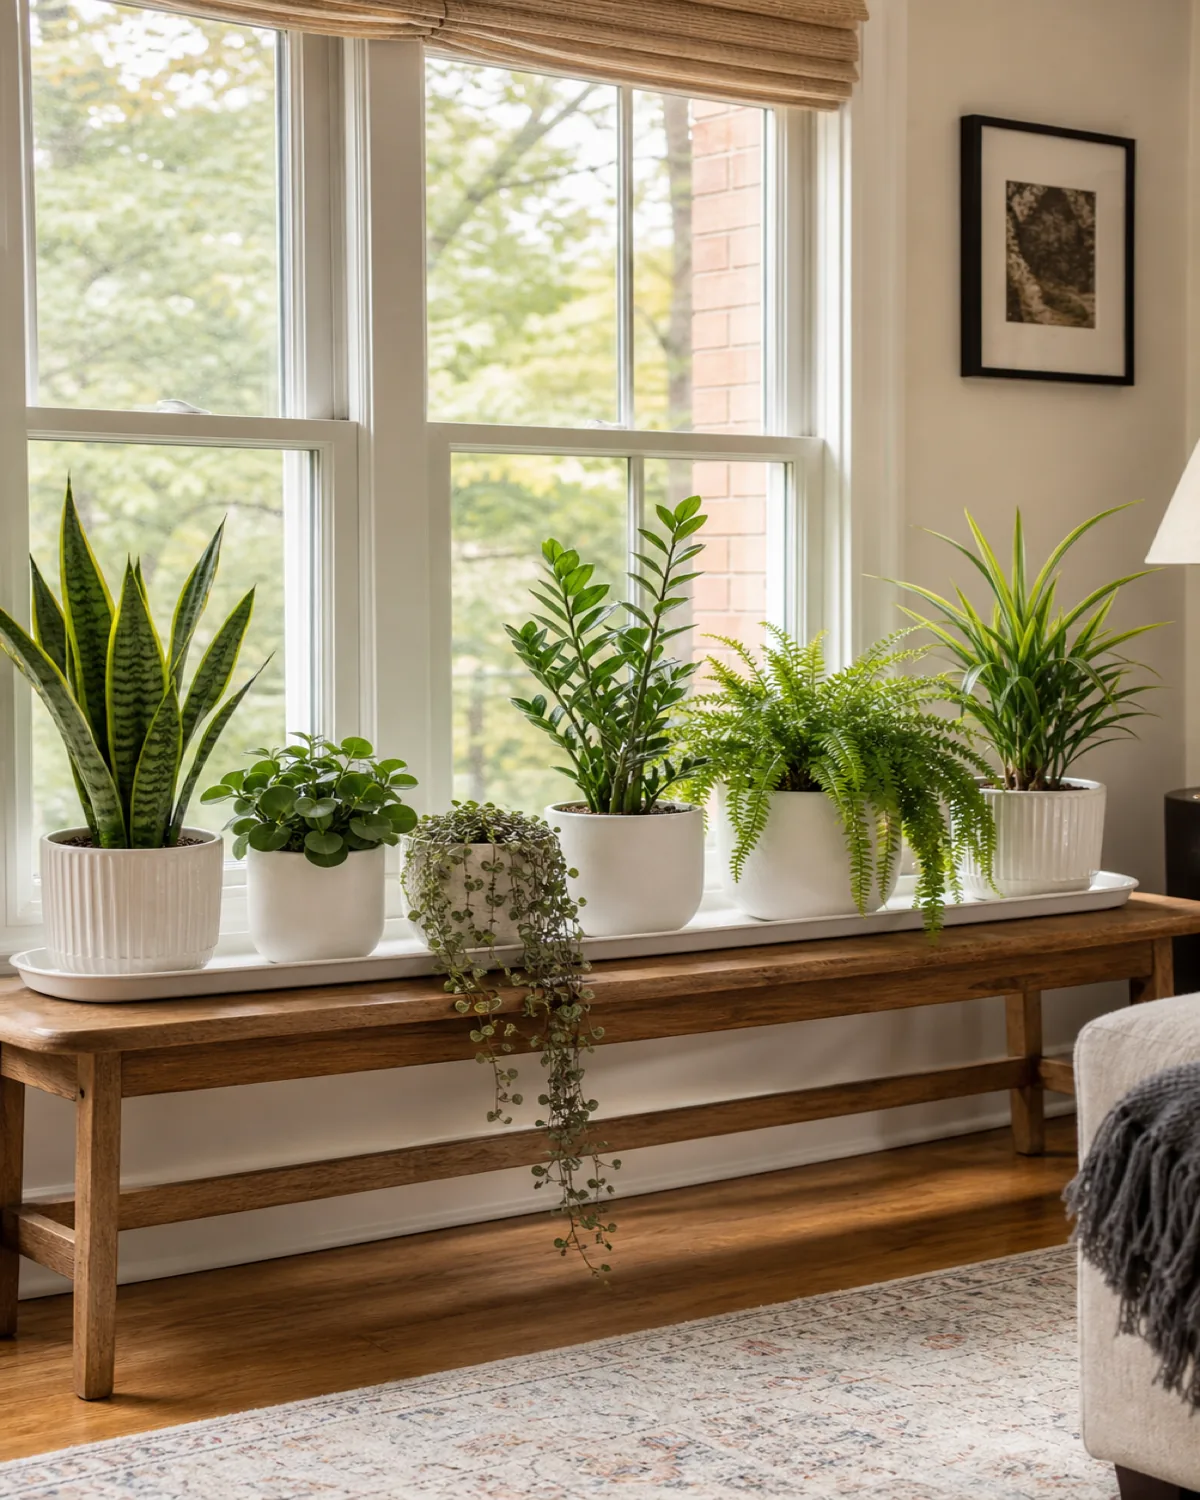
A long, low console table or windowsill dedicated entirely to plants in a row works best below a large window where the light is consistent across the whole length.
The trick is alternating silhouettes. An upright snake plant, then a mounding peperomia, then a trailing string of hearts dangling over the front edge, then an upright ZZ plant, then a cascading Boston fern. The lineup reads as visual rhythm, not repetition. Each plant contrasts with its neighbors in shape, height, and texture.
Five to seven plants in a row creates a hedge effect that can double as a room divider between a living area and a dining space. Place a long waterproof tray under all the pots to protect the furniture surface. Use matched pot color in varied sizes so the scale shifts but the palette stays consistent.
The statement wall with mounted planters
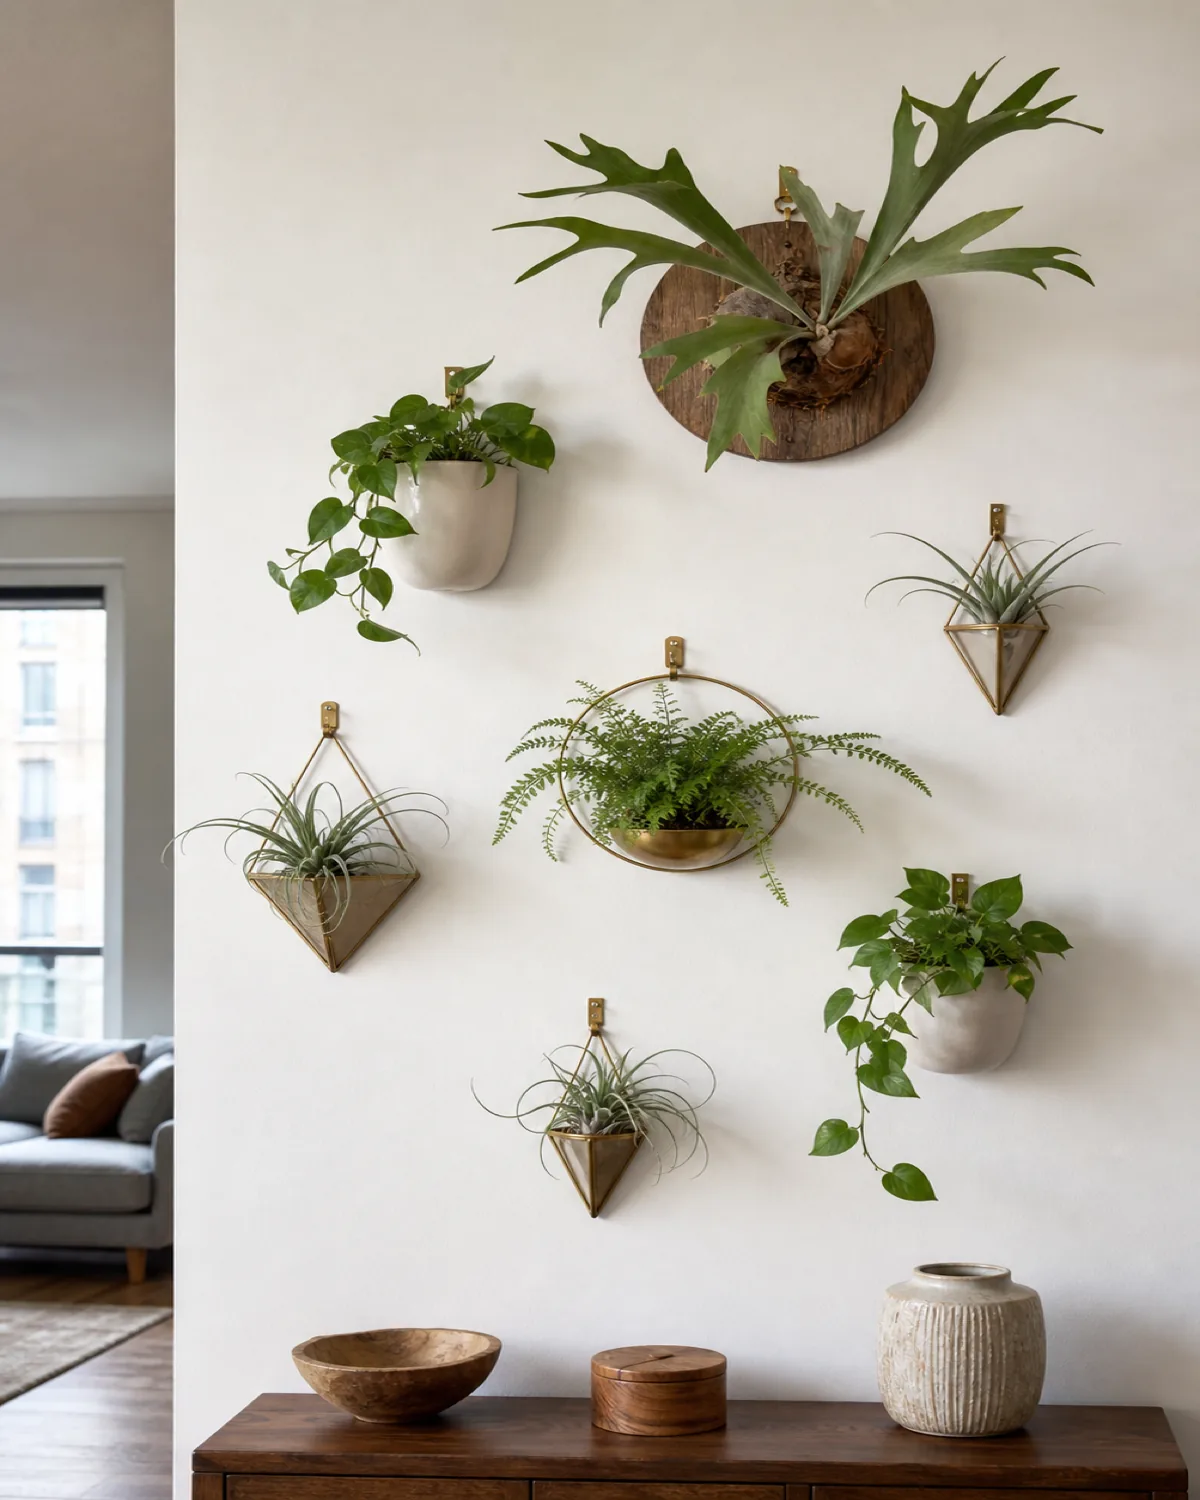
Wall-mounted planters, ring holders, and mounted staghorn ferns create a vertical plant display that uses zero floor space. This is the setup for apartments and rooms where the floor is spoken for.
Arrange the planters in an asymmetric, staggered gallery-wall pattern. Grids look clinical. Staggered feels organic. Plan the layout on the floor first, photograph it from above, adjust the spacing, then mount everything.
The best plants for wall mounting are staghorn ferns on wooden boards, air plants in geometric metal holders, small trailing pothos in ceramic wall pockets, and compact ferns in ring planters. Limit the arrangement to five to nine pieces. Odd numbers feel more natural than even. Leave about thirty percent of the wall surface visible as negative space.
The mechanism here is treating plants as wall art. The same compositional rules apply: vary sizes, balance visual weight across the arrangement, and resist the urge to fill every gap.
The reading nook jungle
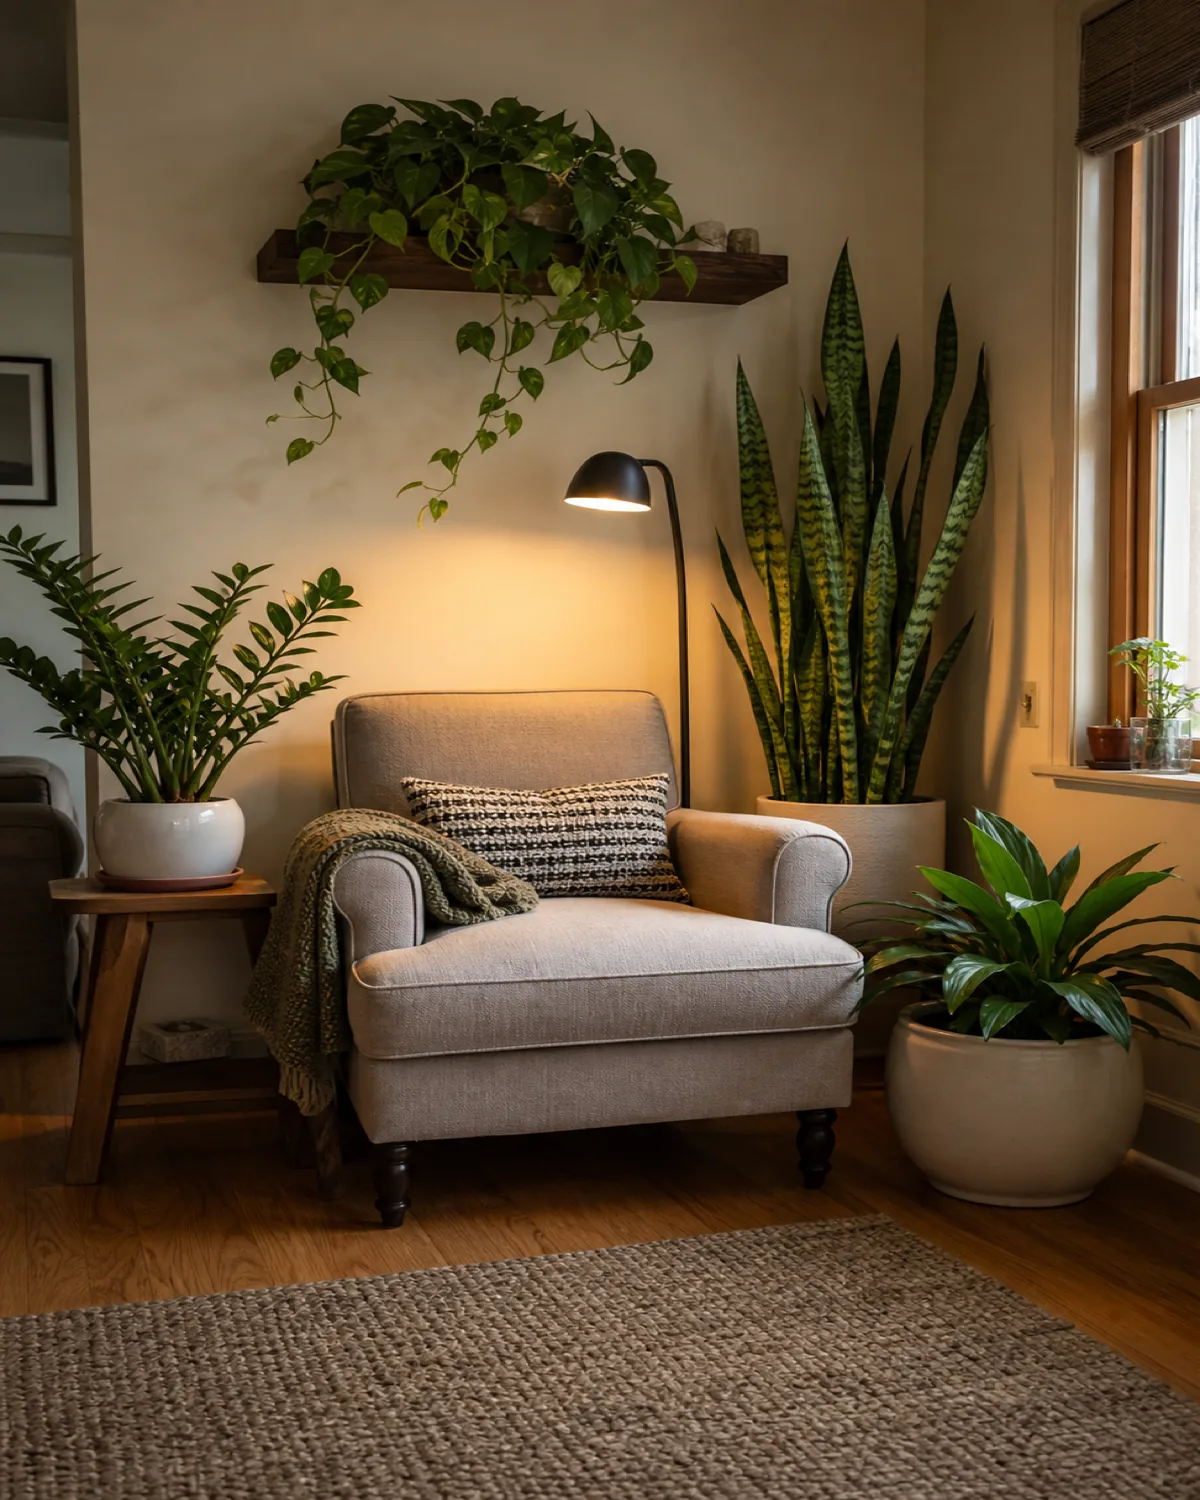
A chair or small sofa flanked and backed by plants on three sides creates the feeling of sitting inside a garden. The psychological mechanism is enclosure. Green on three sides, with the front open for entry, gives the brain the sense of a sheltered, private space within the larger room.
This works best in a corner where two walls provide structure. Place a tall plant behind the chair against the wall, medium plants on side tables or low stands flanking both sides, and trailing plants from a floating shelf directly above the seat.
Choose quiet plants that require minimal fussing. ZZ plant, snake plant, pothos, and cast iron plant all tolerate the lower light levels that a corner typically gets, and none of them drop leaves or need frequent attention. The chair is the focal point. The plants are the frame.
The bathroom spa garden
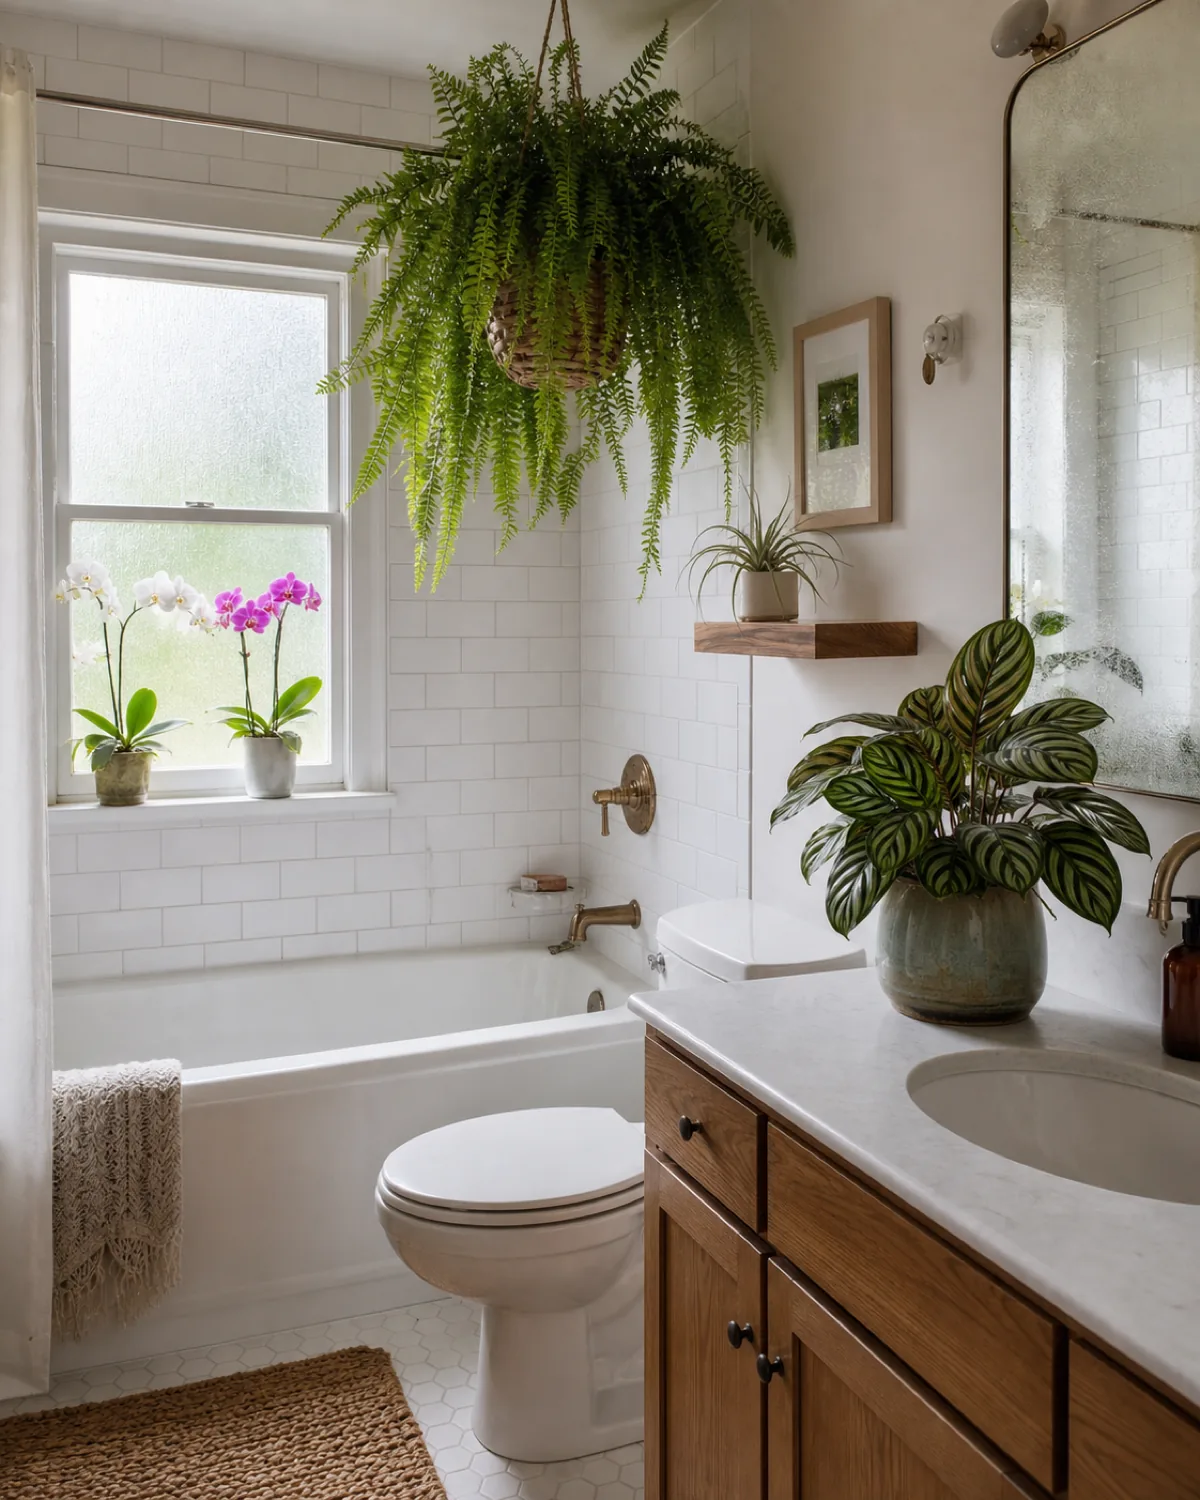
High-humidity rooms are the ideal home for tropical plants that struggle in the dry air of living rooms and bedrooms. The daily shower steam provides free humidity that you would otherwise need a humidifier to replicate.
Group humidity-loving plants on the counter, the window ledge, and a shelf above the toilet. Boston ferns, calathea, orchids, air plants, and maidenhair ferns all thrive in the warm, moist air of a bathroom. Use moisture-resistant planters in glazed ceramic, plastic, or concrete, since unglazed terracotta will absorb the excess moisture and stain.
Even a windowless bathroom works for certain species. Pothos, ZZ plant, and snake plant all tolerate low light, and a small grow light on a timer can supplement the rest. For more species that thrive in bathroom conditions, that guide breaks down the humidity, light, and drainage specifics.
The trailing curtain from a high shelf
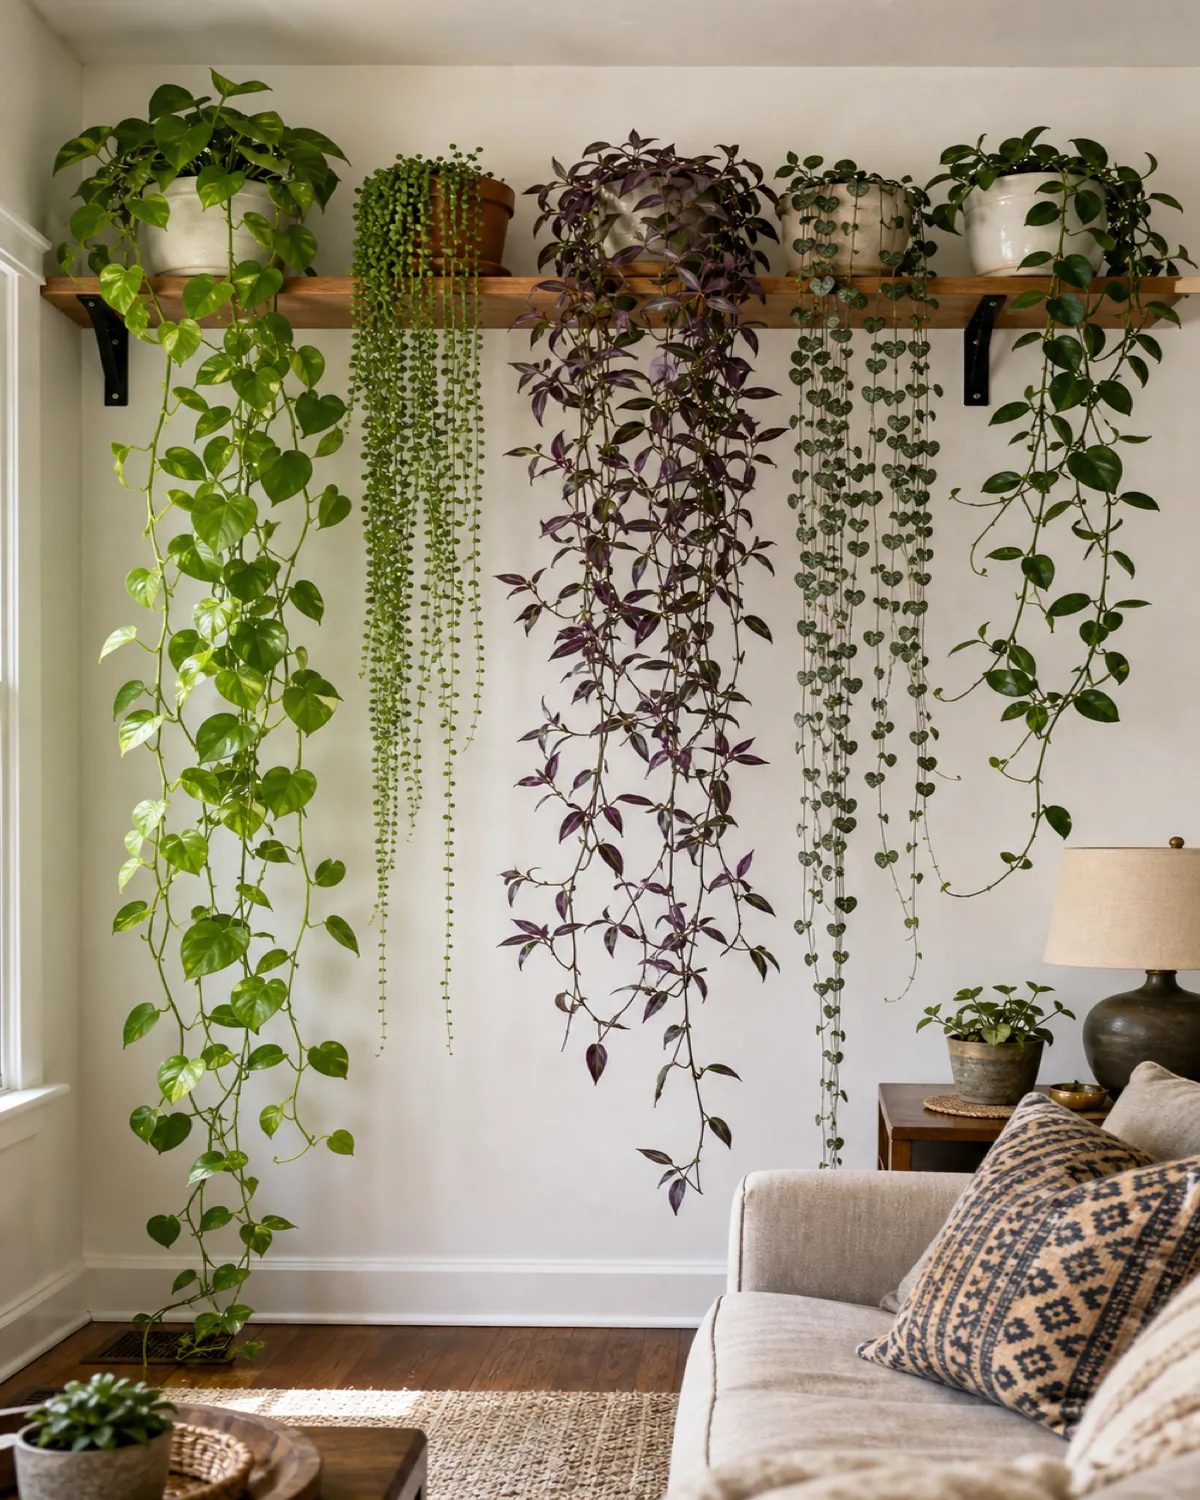
A single long shelf mounted twelve to eighteen inches below the ceiling with four to six trailing plants creates a living green curtain across an entire wall. This is the single highest visual-impact-per-dollar plant room setup because trailing plants are inexpensive and multiply fast.
The mechanism is gravity-driven coverage. Each trailing plant sends vines down three to six feet over a growing season. When four to six pots are spaced about eighteen inches apart along the shelf, the vines eventually merge into a solid green curtain.
The best trailers for maximum cascade are pothos for sheer speed, string of pearls for textural contrast, string of hearts for delicate density, tradescantia for purple and green color, and hoya for waxy, substantial vine coverage. Keep a step stool accessible for watering, or use self-watering pots that reduce the frequency.
The terrarium cluster on a table
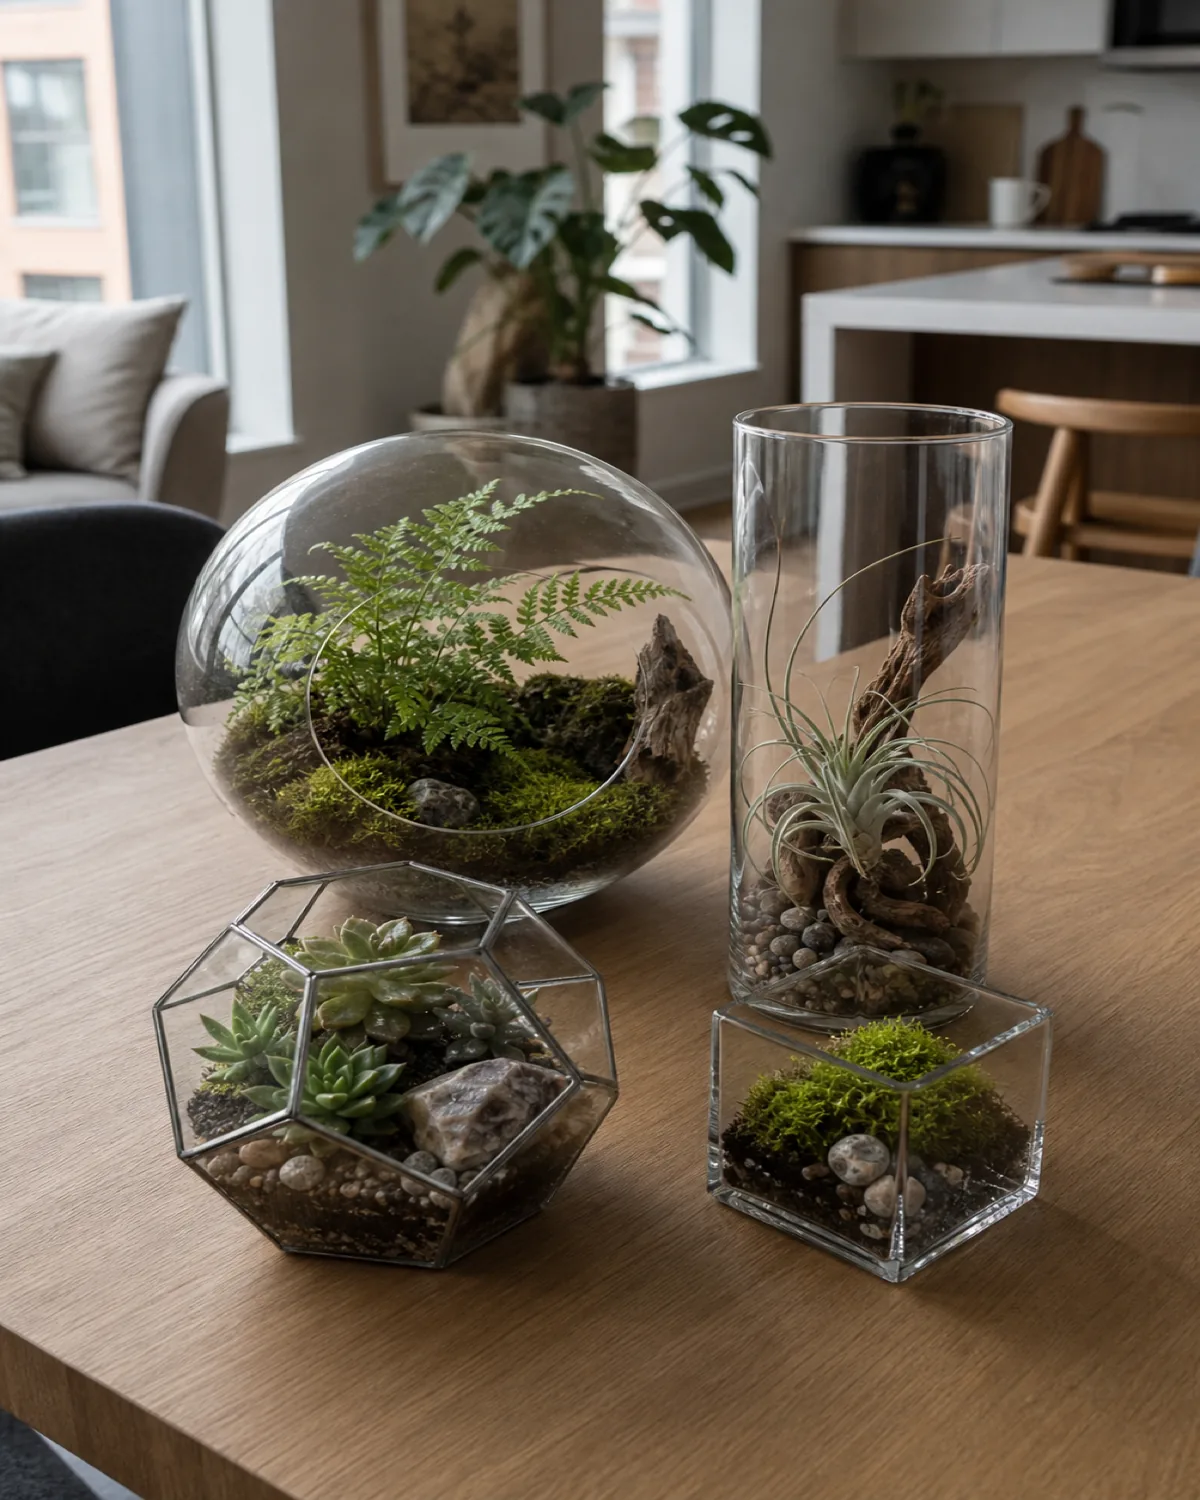
Three to five glass terrariums of different sizes clustered on a dining table, coffee table, or entryway console create a miniature plant room without claiming any floor or wall space. This is the apartment solution for anyone who wants green but lives in a space where a floor plant would block the path.
Use open terrariums for succulents and air plants since they need low humidity and good air circulation. Use closed terrariums for ferns and moss since the sealed lid creates a self-sustaining water cycle that keeps the interior humid without any maintenance.
The design mechanism is micro-worlds. Each terrarium tells its own tiny story at miniature scale. Mix shapes, sphere and geometric and tall cylinder, but keep the glass clear. Add layers of small stones, driftwood, and activated charcoal beneath the soil for drainage and visual depth.
The plant room divider
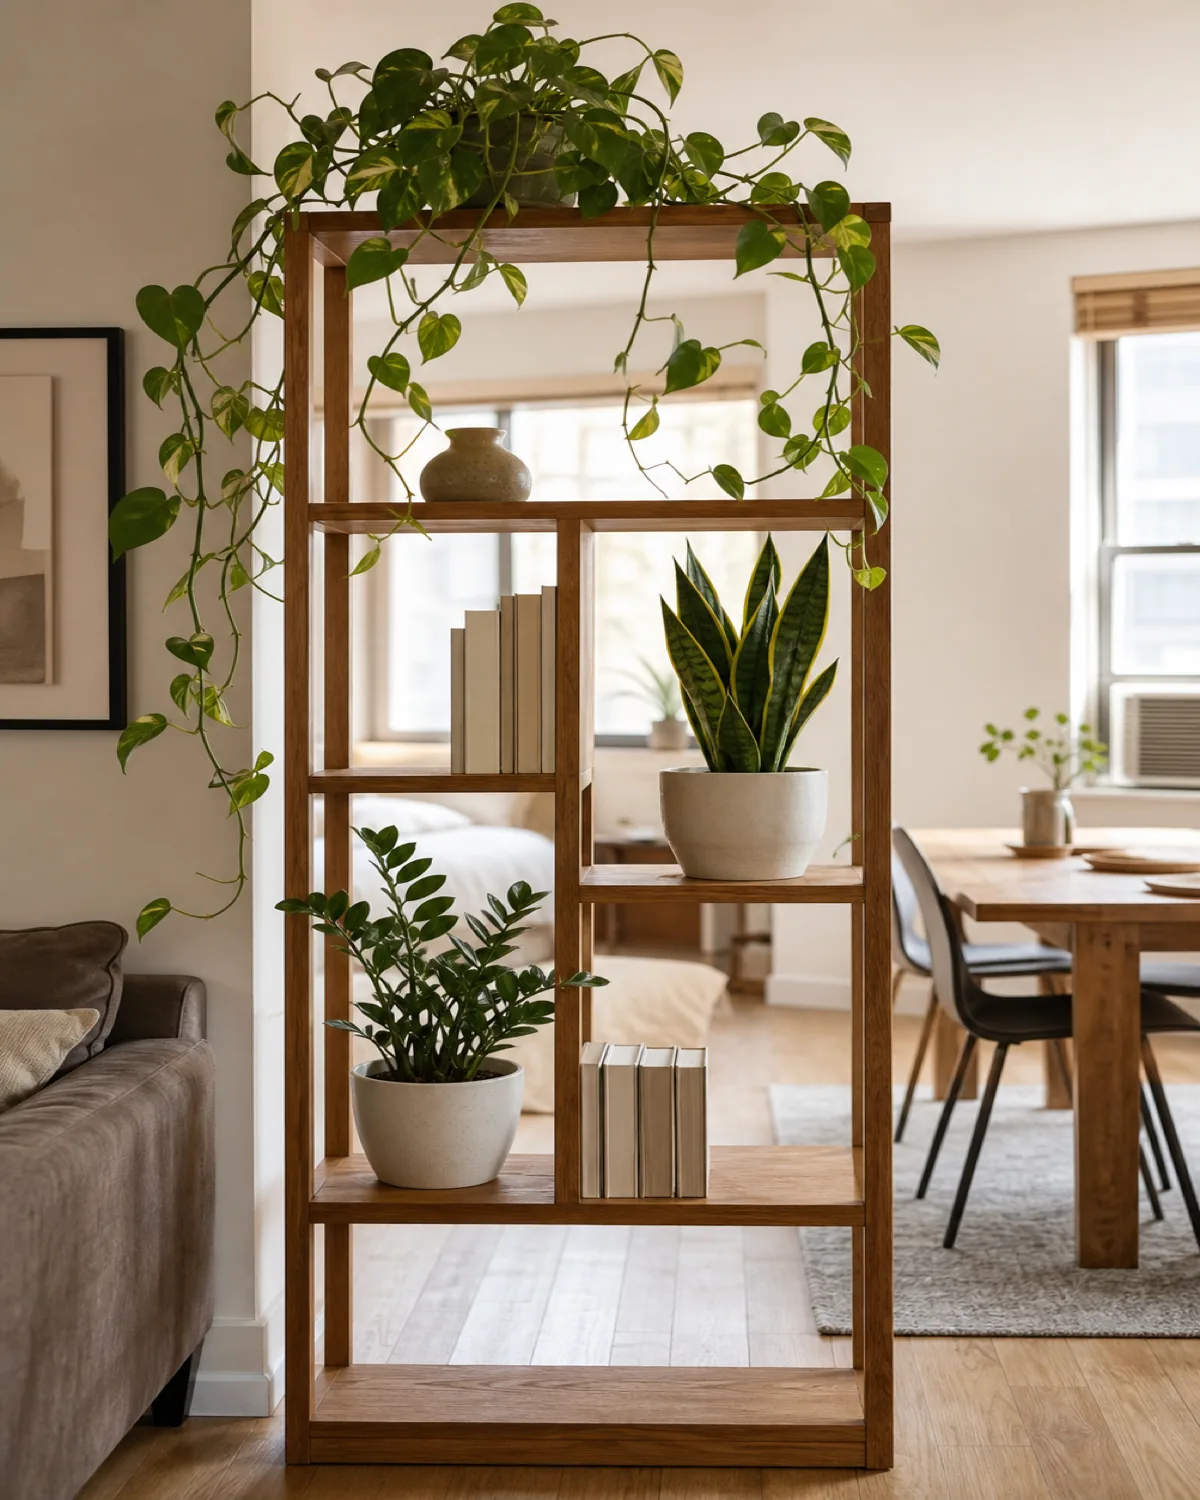
A tall open shelving unit filled with plants functions as a room divider that lets light pass through while providing visual separation. This works between a living and dining area, or in a studio apartment between the bed and workspace.
The mechanism is transparency. Unlike a solid wall or curtain, a plant-filled open shelf divider creates zones without blocking light or making either side feel closed off. The plants add privacy without the permanence of construction.
Fill the top shelves with trailing plants where the vines cascade over both sides, giving the divider a living, dynamic quality. Place medium upright plants in the middle cubbies, and leave a few cubbies empty for books, candles, or small objects.
This prevents the divider from looking like a plant store display. Waterproof each shelf with a plastic tray insert to protect the wood from drainage water.
The staircase plant gallery
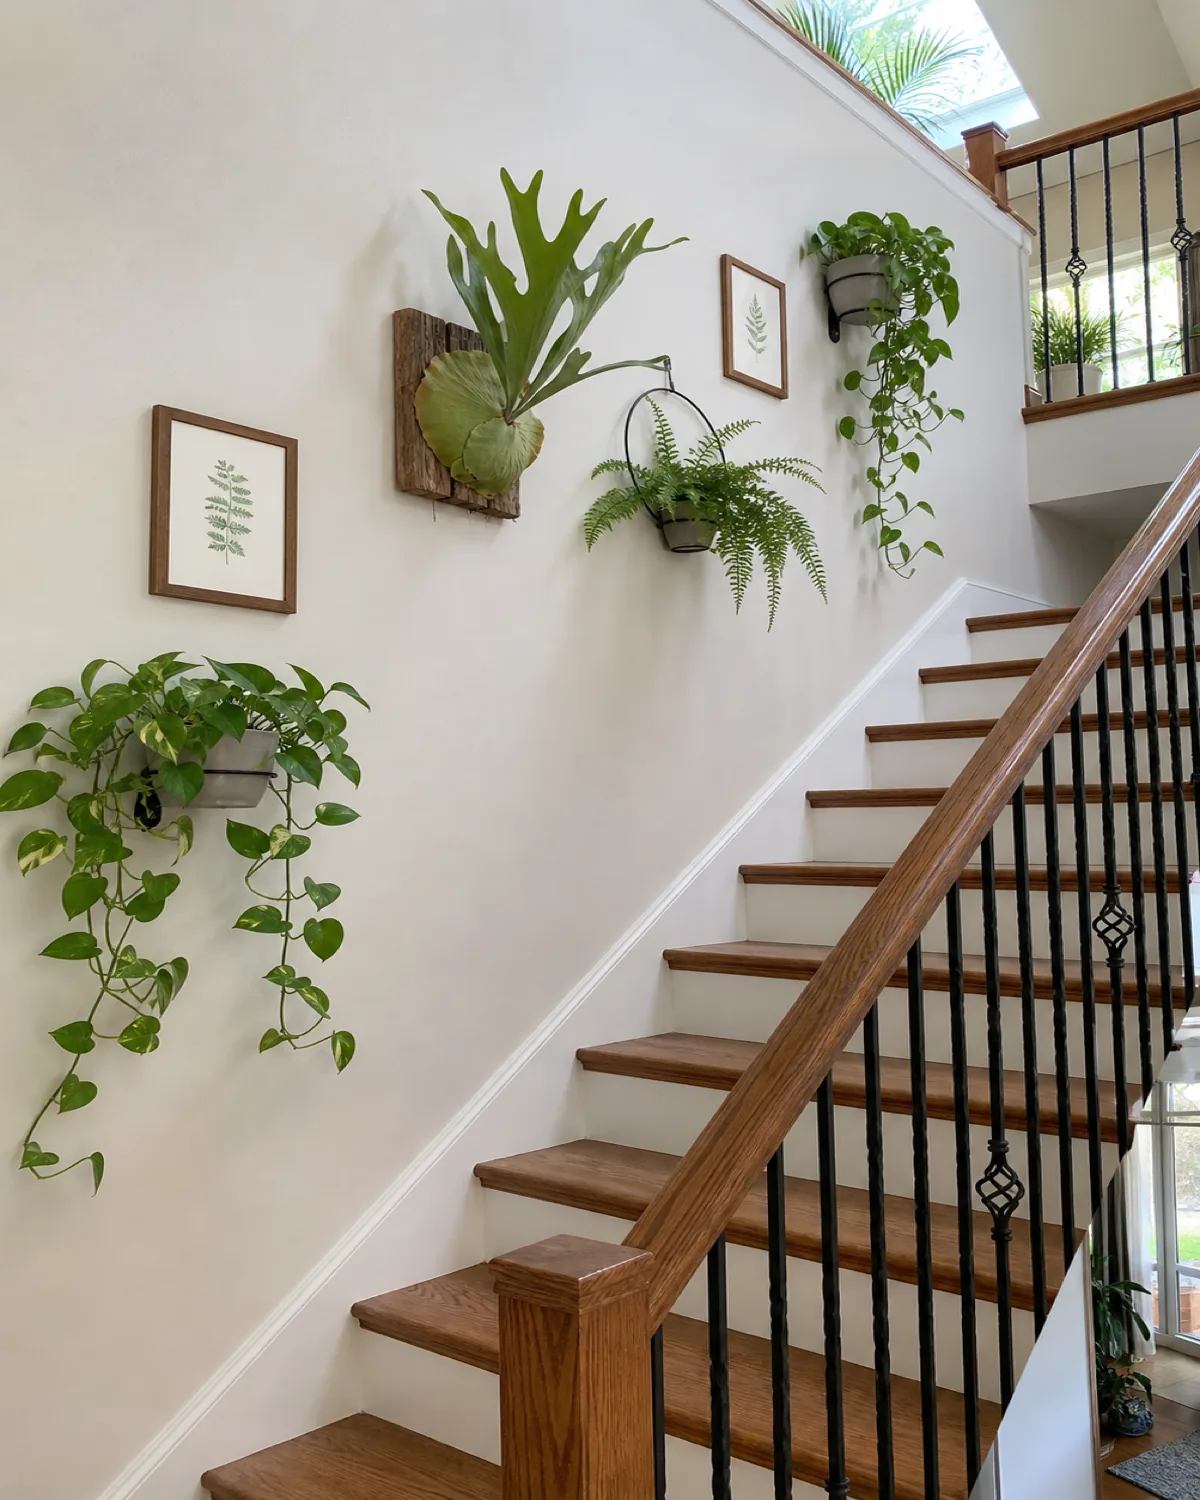
The wall running up a staircase is often the largest bare vertical surface in a home, and it typically has nothing competing for the space. No furniture backs up against it. No shelves line it. It is pure vertical canvas.
Mount three to five plants at staggered heights following the diagonal angle of the stairline. Trailing pothos in wall-mounted pots, a mounted staghorn fern on a wooden board, and small ferns in ring holders all work well. The diagonal rhythm of the staircase naturally creates visual flow, and the plants echo that ascending movement.
Natural light comes from both the top and bottom of the stairwell, creating relatively even illumination that suits a wider range of species than you might expect. Combine the plants with small framed botanical illustrations between them for a gallery-meets-garden effect.
The dedicated plant room or sunroom
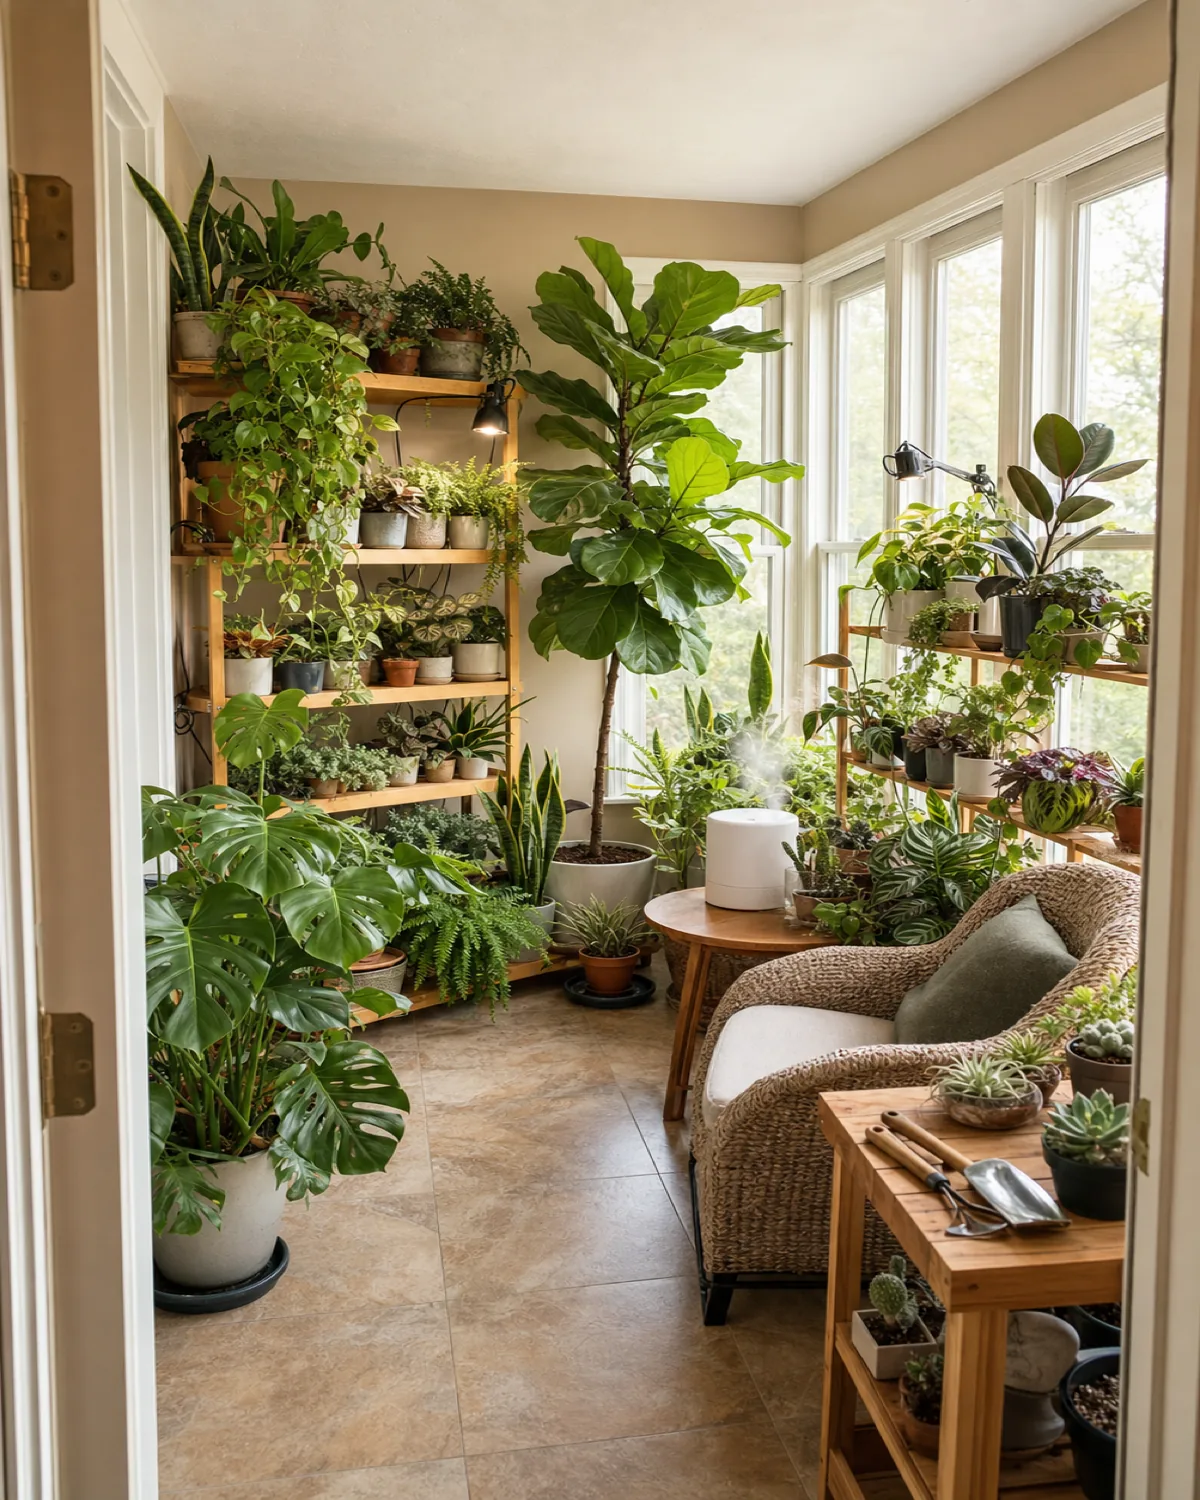
If you have a spare room, enclosed porch, or sunroom with strong natural light, this is where you go all in. Shelving units on every available wall, large floor plants anchoring the corners, a potting bench for repotting and propagation, and a humidifier running to keep the air at sixty to seventy percent.
The mechanism is microclimate control. A dedicated plant room lets you raise humidity and manage temperature independently from the rest of the house. You are not compromising your living room comfort for the sake of your tropicals.
Keep a waterproof floor, tile or vinyl, or line the floor under every pot cluster with large drip trays. Organize plants by light need, bright-window species along the glass walls and shade-tolerant species in the interior corners. Supplement darker spots with a clip-on grow light.
This is also where your propagation stations live, where terrariums get assembled, and where seedlings start before they graduate to their permanent spots throughout the house.
The minimalist three-plant statement
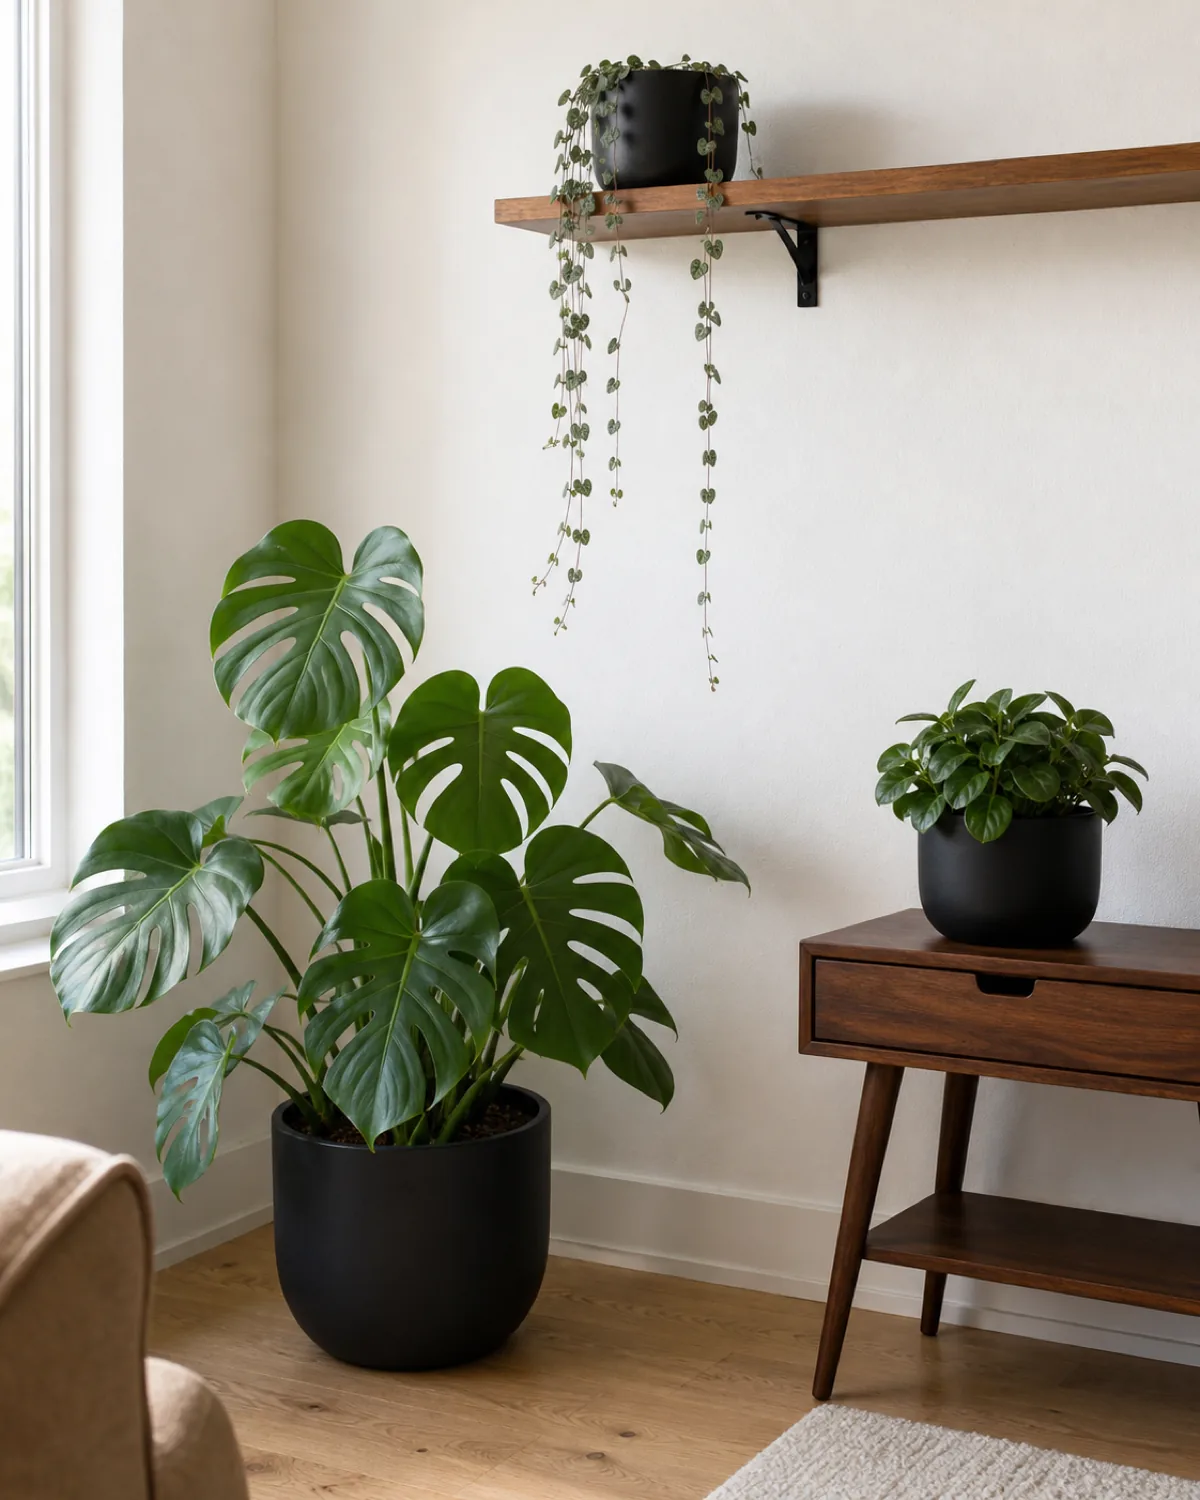
You do not need dozens of plants to make a room feel green. Three carefully chosen plants at different heights, one floor plant, one table plant, one trailing from a shelf, in a single corner creates a clean, intentional plant display that reads as designed.
The mechanism is negative space. The empty wall and floor around the three plants makes each one stand out more than if it were crowded alongside ten others. Every leaf is visible. Every pot is deliberate.
Pick three plants with contrasting silhouettes: one upright, one mounding, one trailing. Match all three pots in the same material and color for maximum cohesion. Matte black, matte white, or raw concrete all work.
This is the anti-jungle approach for anyone who values clean lines and wants green without clutter. It takes five minutes to water, never feels overwhelming, and makes a stronger visual statement than a crowded shelf precisely because it resists the temptation to add more.
How to keep a plant room actually alive long-term
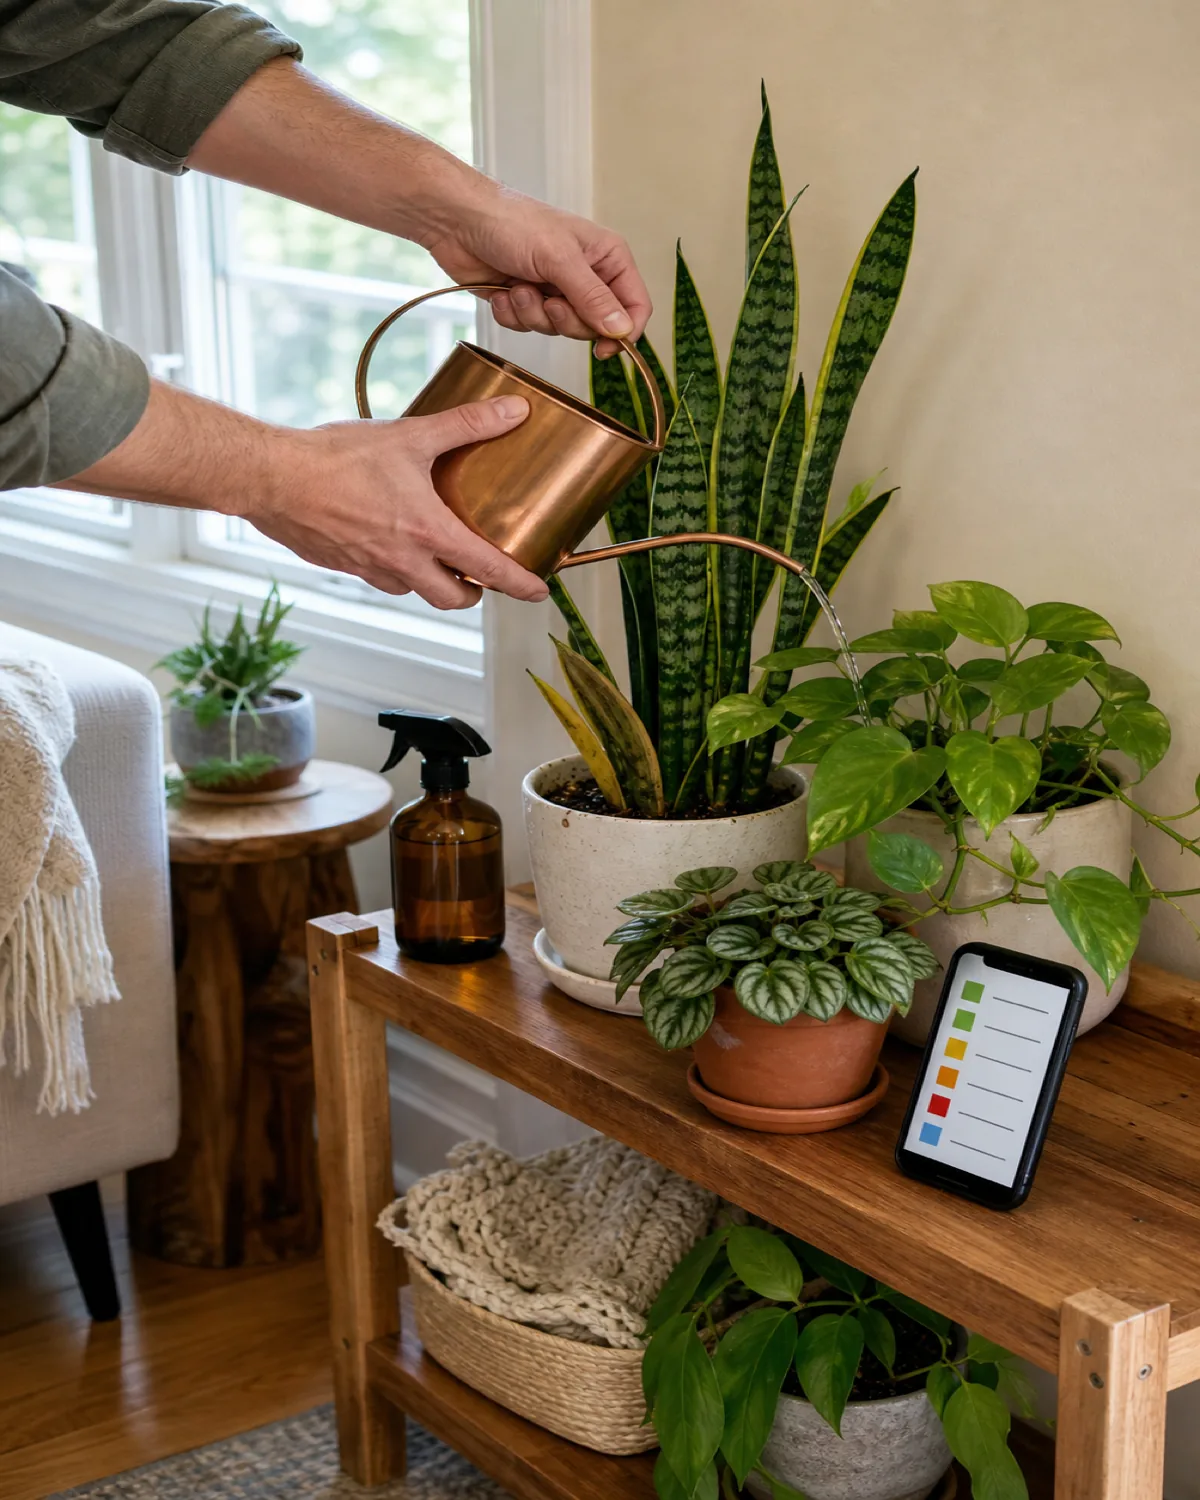
The care logistics that Instagram plant rooms never show are the difference between a display that thrives and one that slowly declines over six months.
Group plants by watering schedule. Plants that need water weekly go on the same shelf or in the same zone so you can water them all in one pass. Monthly waterers go together in a separate zone. This prevents the most common failure mode: overwatering the succulents because they sit next to the ferns that actually need it.
Rotate every plant a quarter turn each time you water. Without rotation, every stem and leaf orients toward the nearest light source, and within a few months you have plants that are lush on one side and bare on the other.
Check for pests weekly when you water. Spider mites and fungus gnats thrive in the warm, humid, densely planted conditions that a plant room creates. Catching an infestation early, before it spreads from one plant to the cluster, is the only practical strategy.
Accept that some leaves will yellow and drop. A healthy plant room is not a perfect plant room. Lower leaves age out, growth slows in winter, and the occasional brown tip is normal biology, not a crisis.
For large collections of twenty-five plants or more, keep a simple note on your phone tracking which zones you watered and when. Fertilize on a seasonal schedule, spring through early fall, rather than trying to remember individual plant needs.
Plant Room Ideas: The Quick Reference
- 1Window shelf clusterMap the light gradient: direct sun on top, indirect in the middle, shade on the bottom. Matched pots unify the look.
- 2Corner stackTall anchor plant in back, medium plants on a stand, trailing plant overhead. Two-foot footprint, floor-to-ceiling impact.
- 3Plant ledgeAlternate silhouettes along a console table for visual rhythm. Five to seven plants creates a living hedge.
- 4Statement wallAsymmetric gallery-wall layout. 5-9 pieces, 30% negative space. Zero floor space required.
- 5Reading nookPlants on three sides of a chair, front open. Low-maintenance species only. The chair is the focal point.
- 6Bathroom spaFree humidity from daily showers. Ferns, calathea, orchids thrive. Glazed pots only.
- 7Trailing curtainOne high shelf, 4-6 trailers. Vines merge into a green curtain in one growing season. Highest impact per dollar.
- 8Terrarium cluster3-5 glass terrariums on a table. Open for succulents, closed for ferns. No floor or wall space needed.
- 9Room dividerOpen shelving unit with trailing plants on top, uprights in the middle, empty cubbies for balance.
- 10Staircase galleryMount plants following the diagonal stairline. The largest bare vertical surface in most homes.
- 11Dedicated sunroomMicroclimate control: raise humidity to 60-70% in one room. Waterproof floor, grow light in corners.
- 12Minimalist three-plantOne upright, one mounding, one trailing. Matched pots. Negative space makes each plant stand out.
- 13Maintenance realityGroup by watering schedule, rotate quarterly, check pests weekly. Yellow leaves are normal, not failure.
kultivy.com

Mara Quinn edits Kultivy, where she shares houseplant care, propagation, beginner-friendly plant picks, and plant-styling ideas for anyone who wants their indoor plants to actually thrive. Every guide is image-led and reviewed for clarity, usefulness, image accuracy, and Pinterest-to-page alignment before it goes live. Visit the About page.